Summer is here, and with it comes a significant upgrade to the REW platform! These new and powerful CRM changes are designed to streamline your workflows, help you stay organized, and allow for more innovation with up-to-date tools centered around SEO and AI.
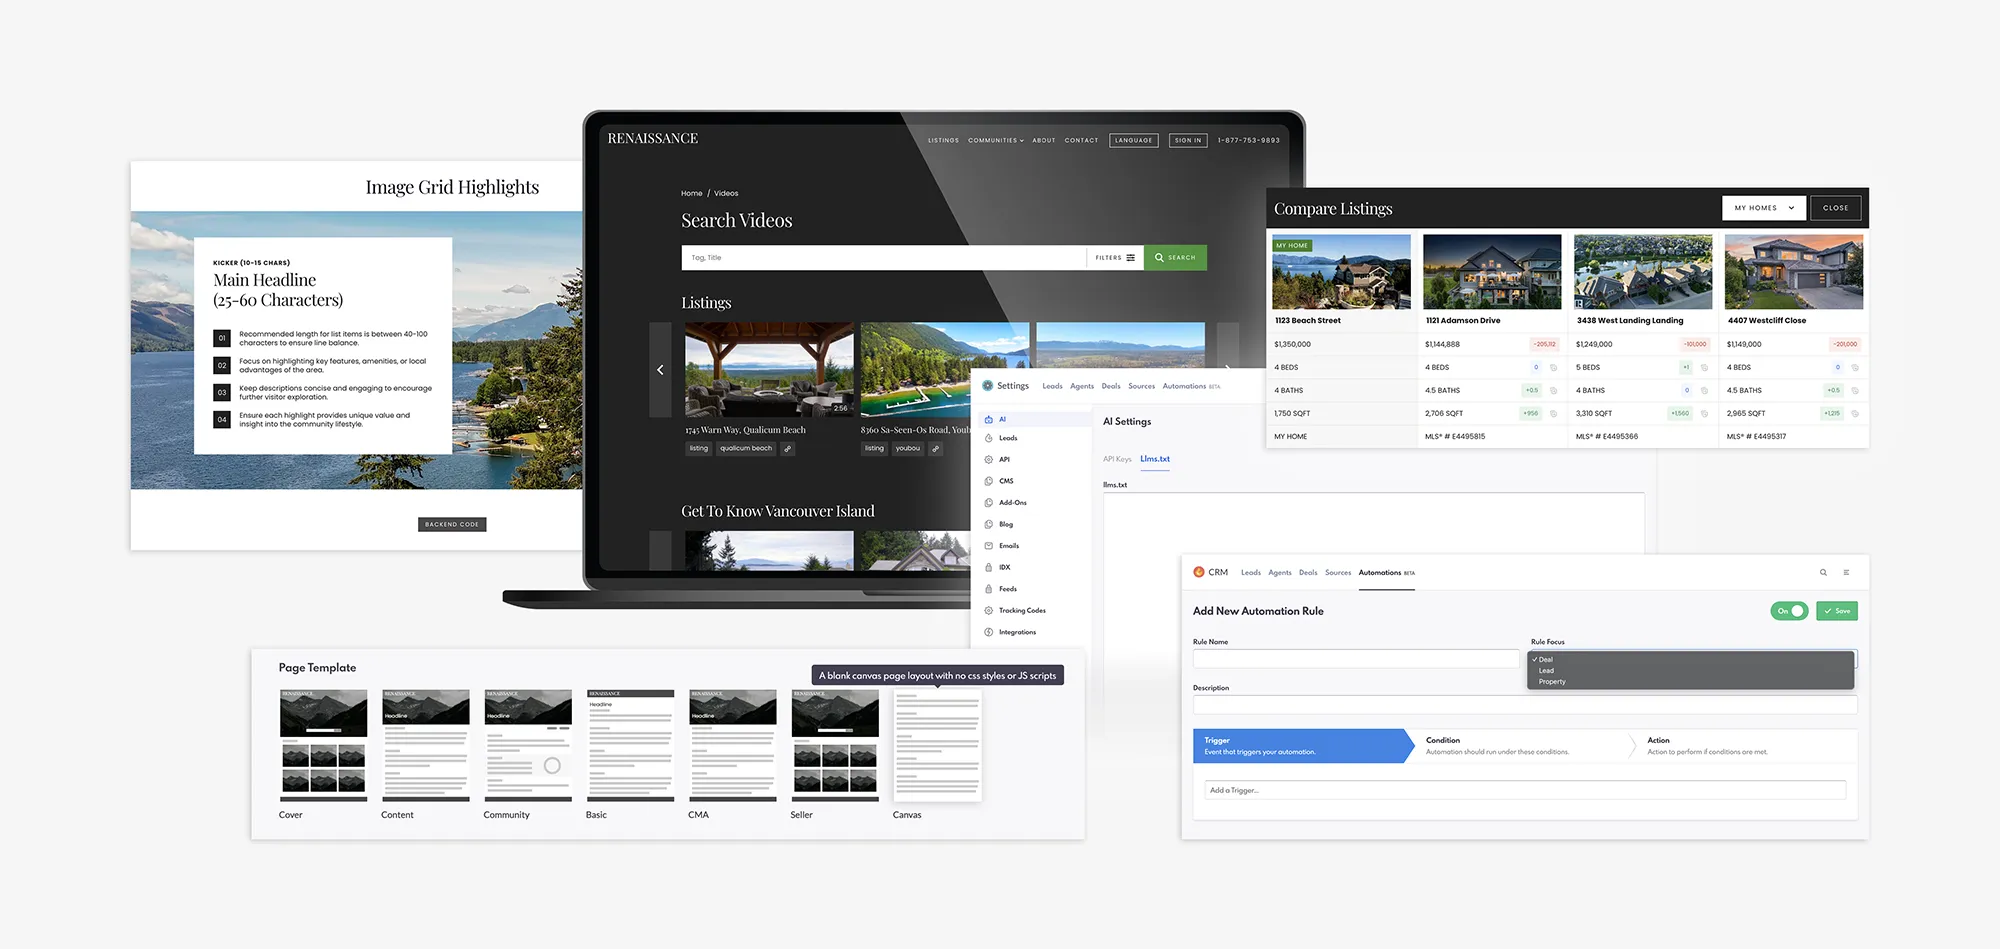
These new updates are focused on providing you with powerful tools to compete in today’s evolving market. Here’s an in-depth look at the key features included in our latest release!
Table of Contents
- Automations Phase 3: Organization Made Easy
- llms.txt: Future-Proofing Your Site for AI
- NORÉ: The Content Multiplier
- My Homes & Compare Listings: Conversational Sales, Elevated
- Snippet Library: Design Elements All In One Place
- Canvas Page Templates: Personalization Through Your Own CSS
- Closing Summary
Automations Phase 3: Organization Made Easy
Our first new feature is Phase 3 of Automations—which deploys greater customization of Automations and improved organization. Phase 3 sees a separation of Rule Focuses into Lead, Property, and Deal, with each of these focuses having individual selections for Triggers, Conditions, and Actions. MLS integration has also been added.
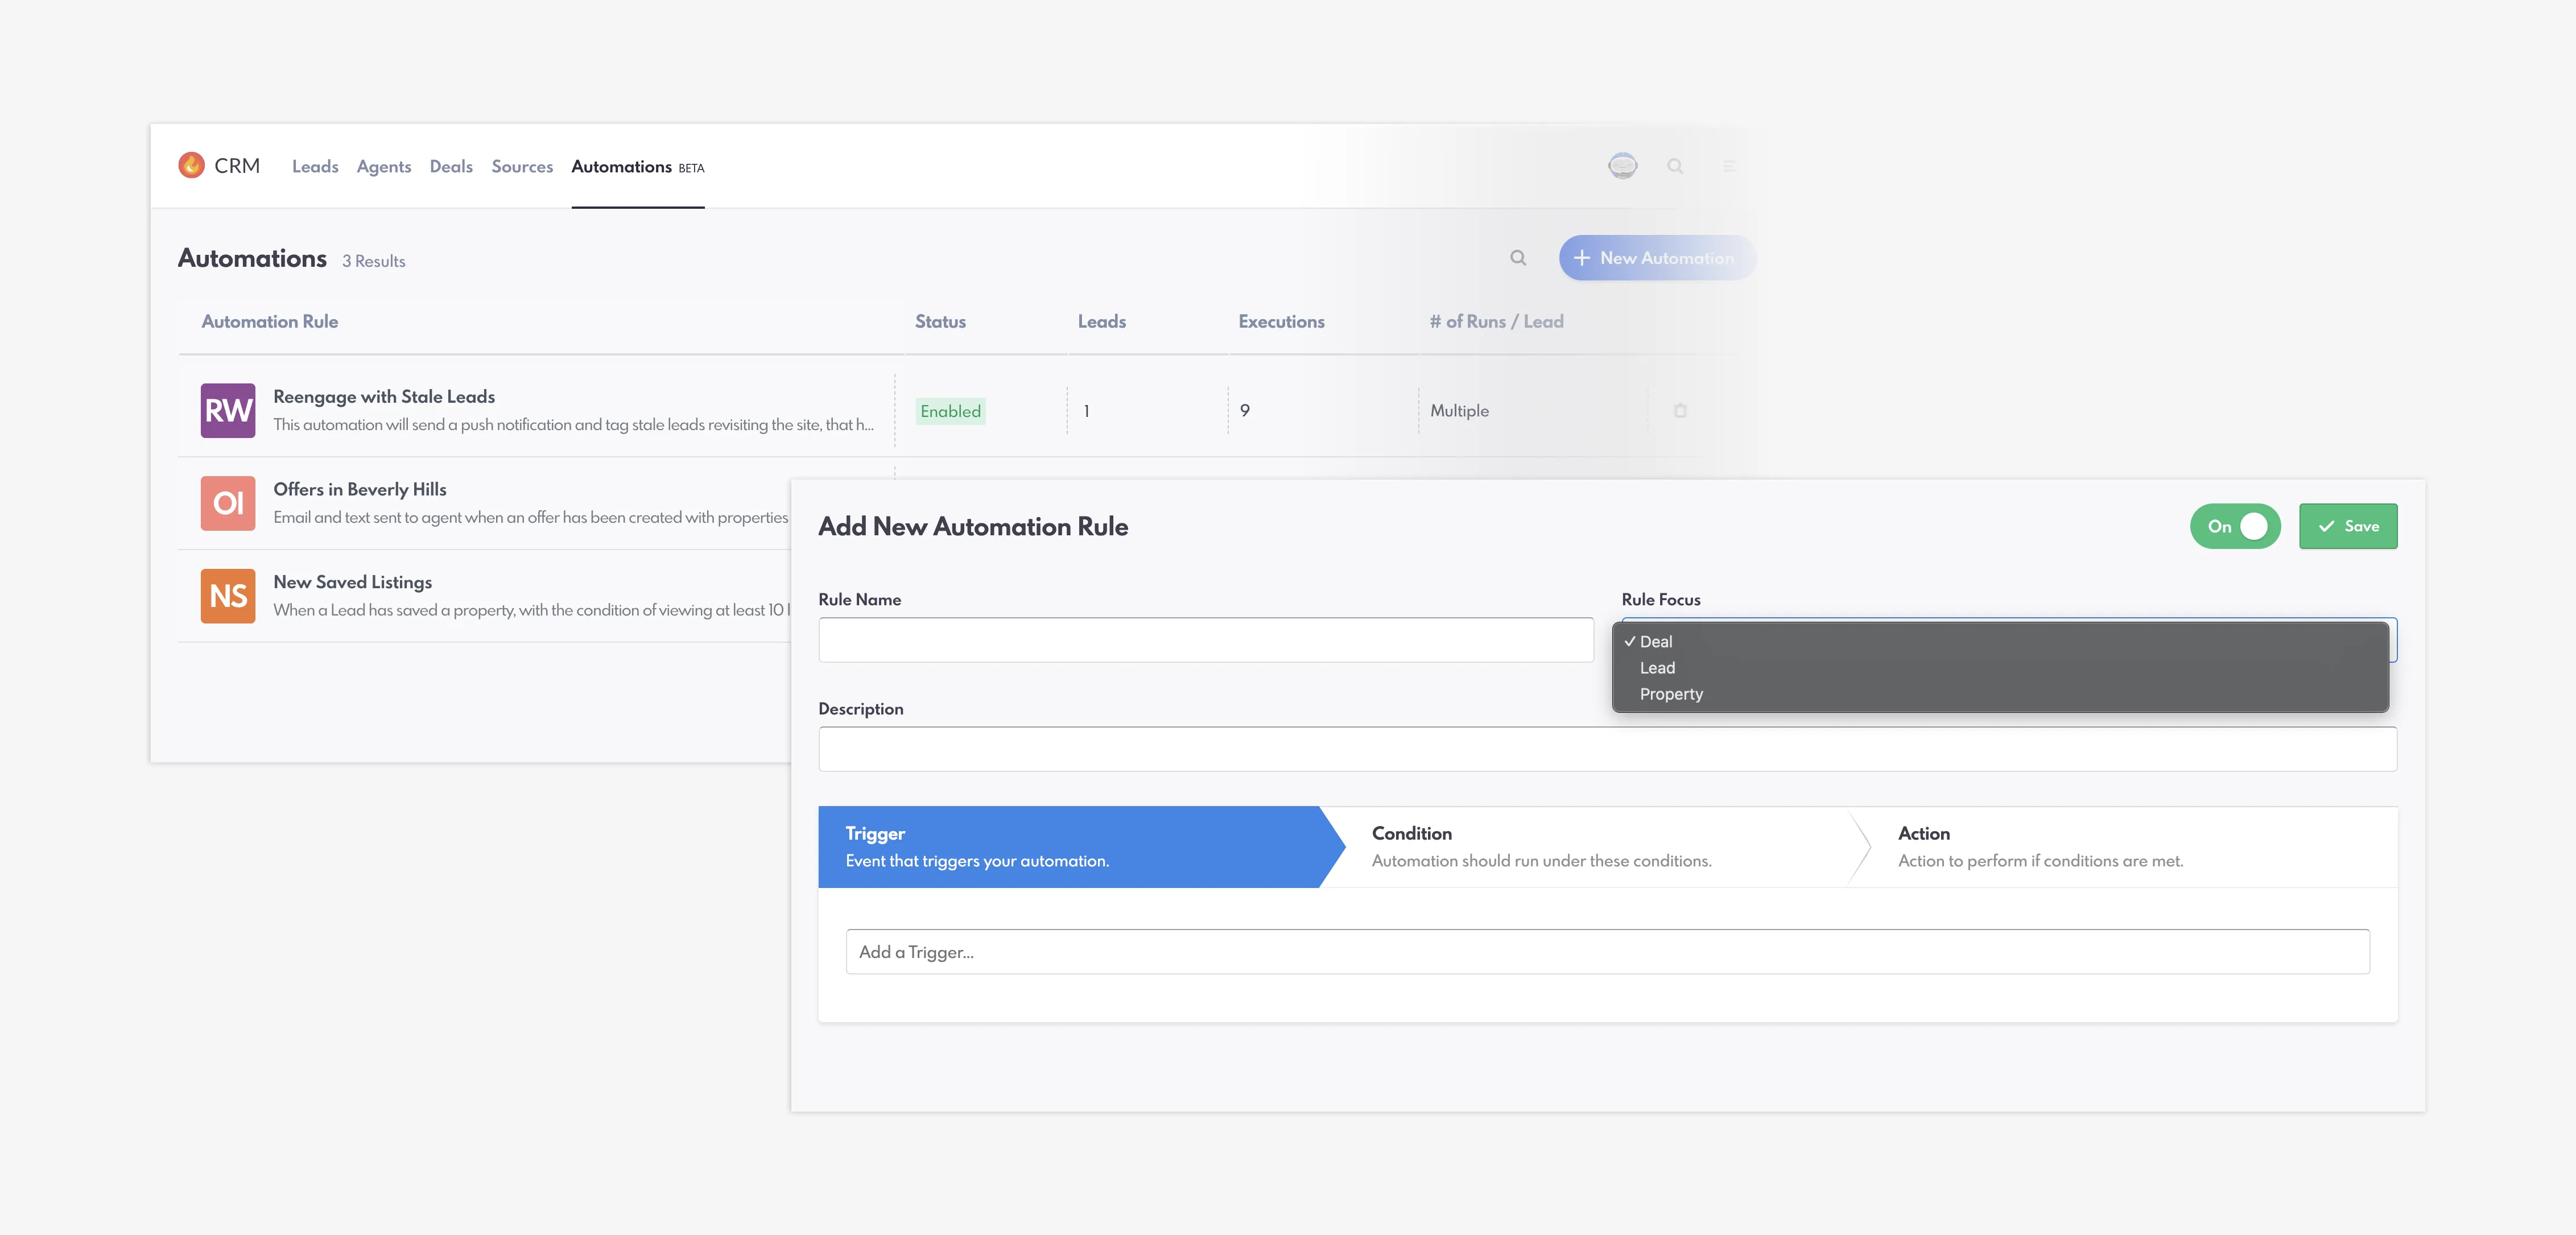
The new Triggers that can be applied are as follows:
- Email Received: If a Lead replies to an email.
- Text Received: If a Lead replies to a text.
- Lead Returns to Website: If an existing Lead visits the site again (can set a timeframe of days, weeks, months, or years).
There are also twenty-three Conditions that can be selected within a Deal Rule, as well as new Property Filters within Conditions for Property Rules.
In addition, we've expanded the Email and Text Actions in both Lead and Property Rules. You can now send notifications directly to the Lead, in addition to the existing Assigned Agent and Custom Recipient options.
To set up a new Automation, complete these steps:
- Find Automations within the CRM section of the backend. Click on the “Automations” tab.

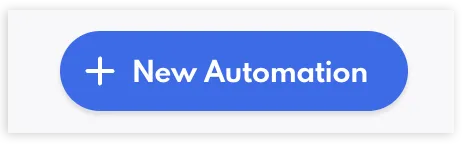
- Create a new Automation by clicking on “+ New Automation” in the top-right corner.
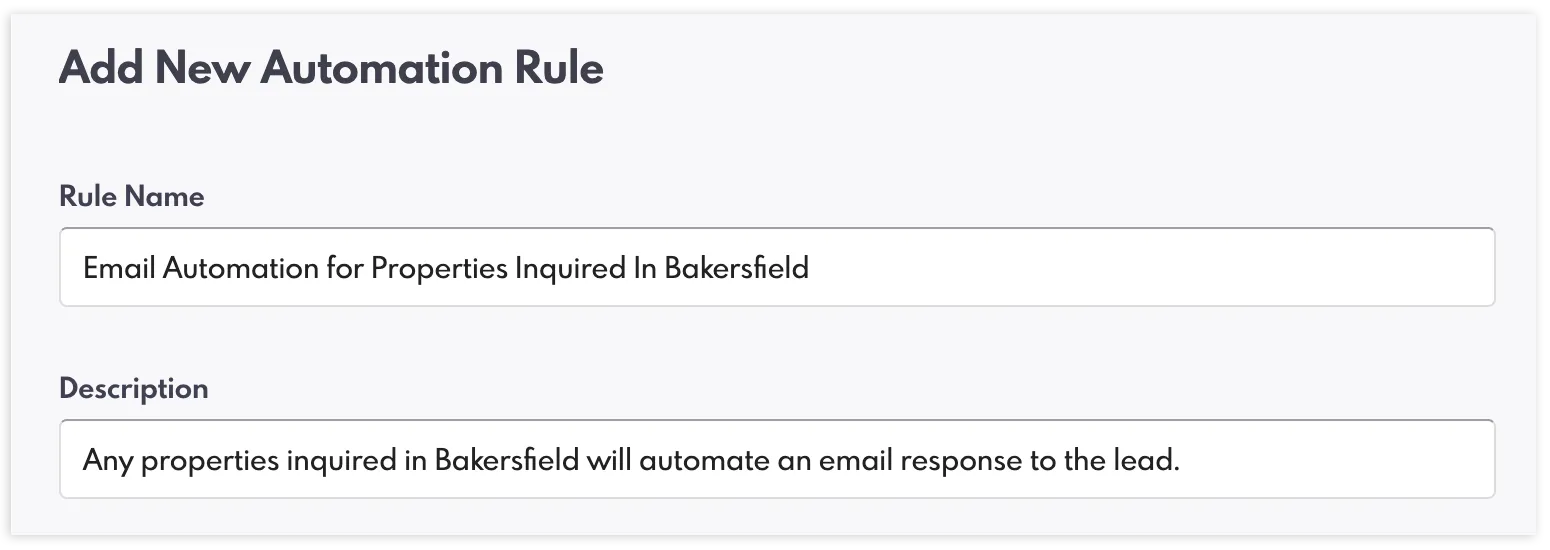
- Give your rule a name and description.
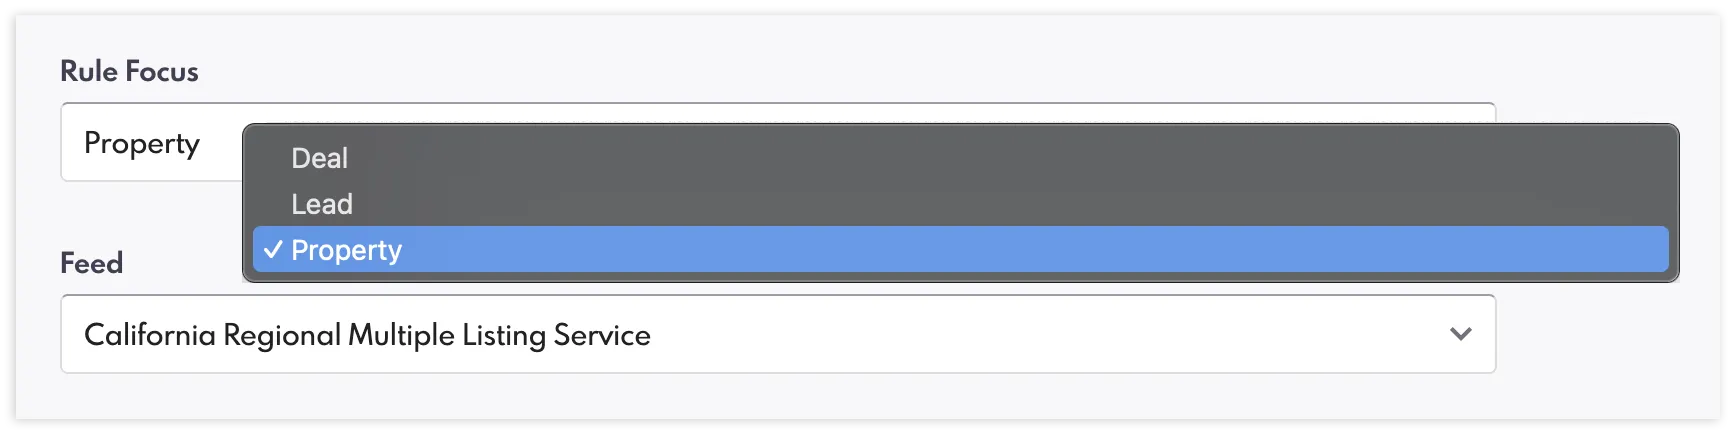
- Select the type of Rule Focus: Lead, Property, or Deal. If using the Property Rule, select your MLS Feed.
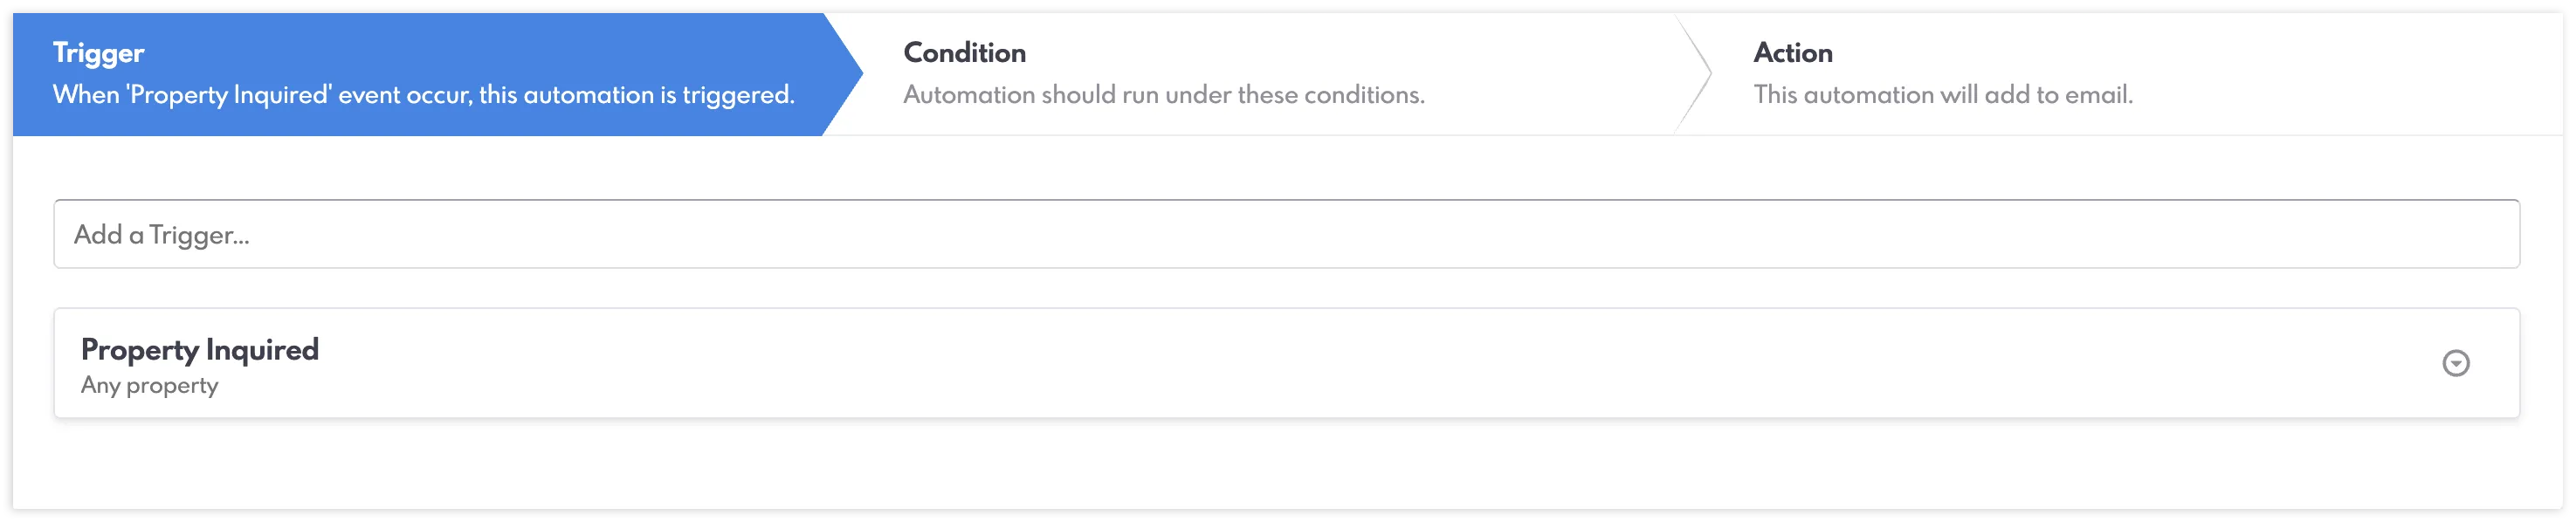
- Set your Trigger, such as “Property Inquired."
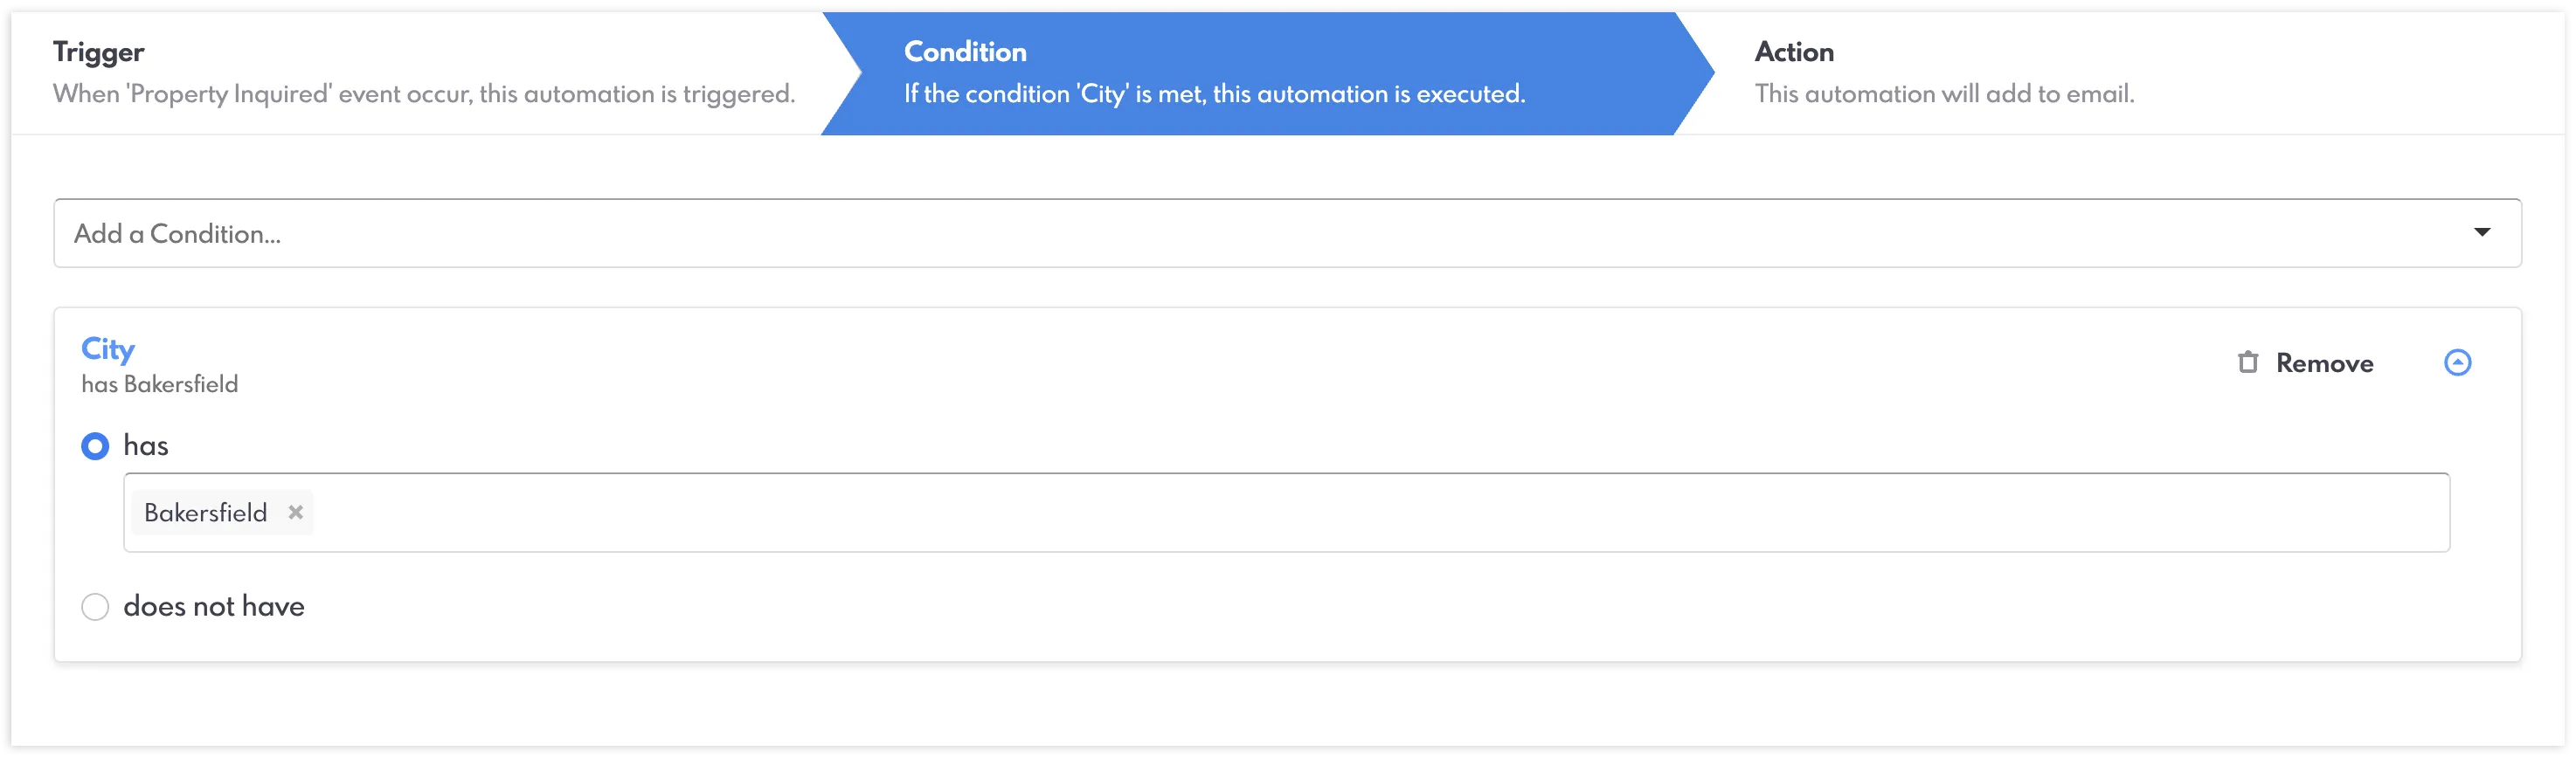
- Set your Condition, such as “City.”
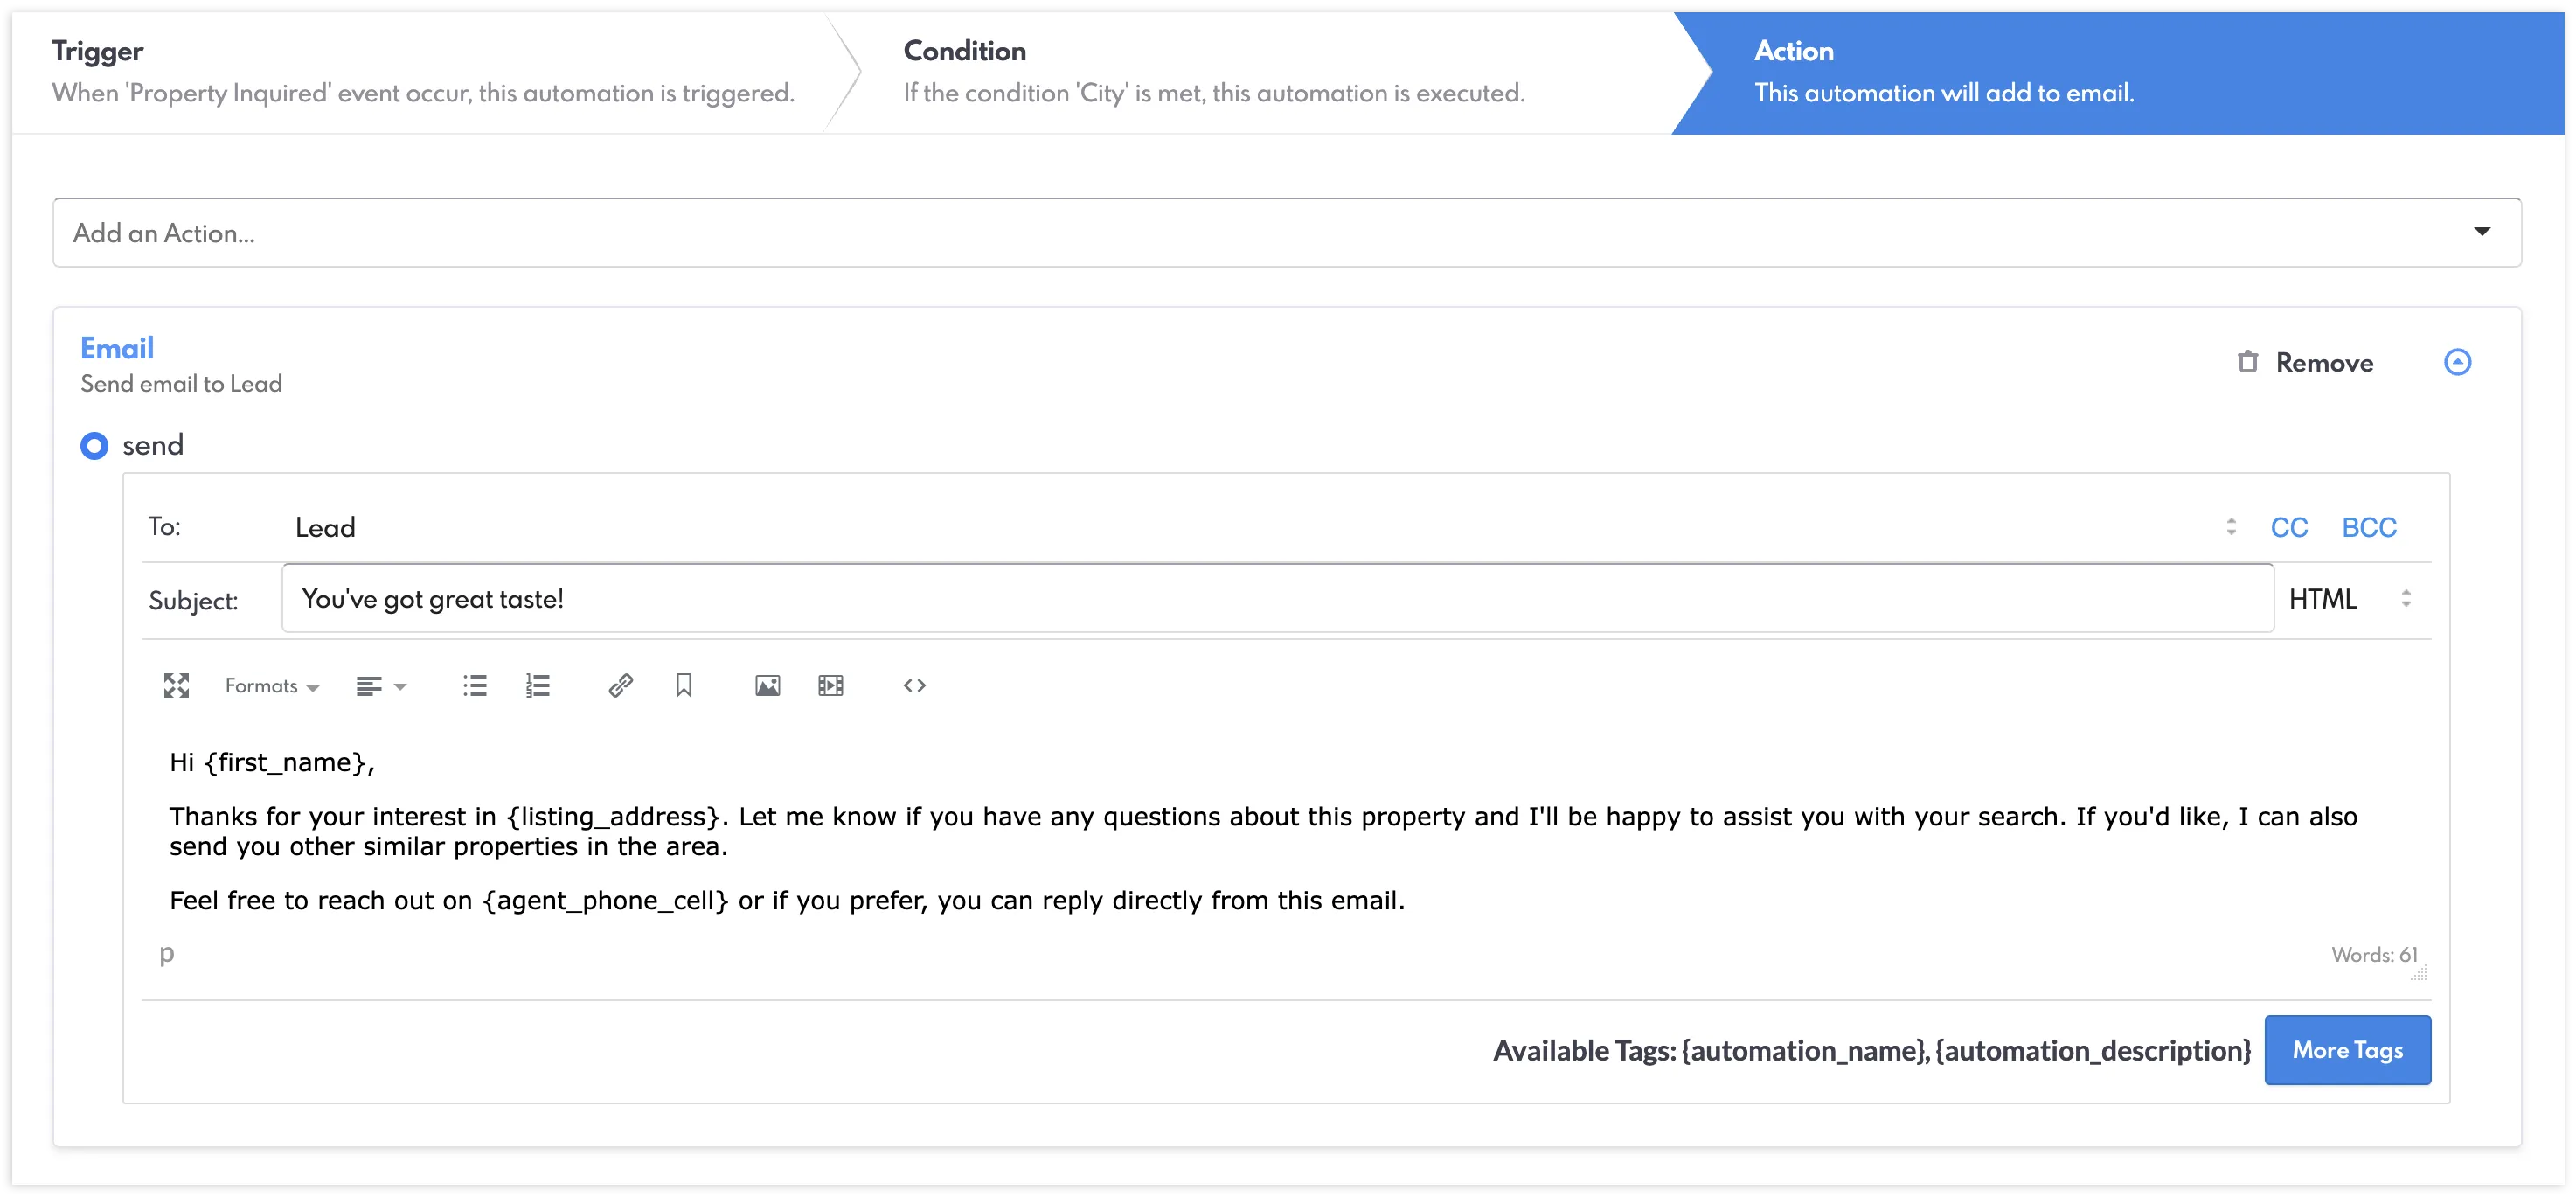
- Set your Action, such as “Email.”
- Click “Save” in the top-right corner.
To summarize, Automations Phase 3 aims to make processes easier by automating them—ensuring that you stay organized with more streamlined workflows.
llms.txt: Future-Proofing Your Site for AI
As AI becomes a popular tool for searching for information online, it is important that your website be as readable for humans as it is for machines. Our new llms.txt feature allows you to define your business context in a structured way that AI models can easily ingest and understand.
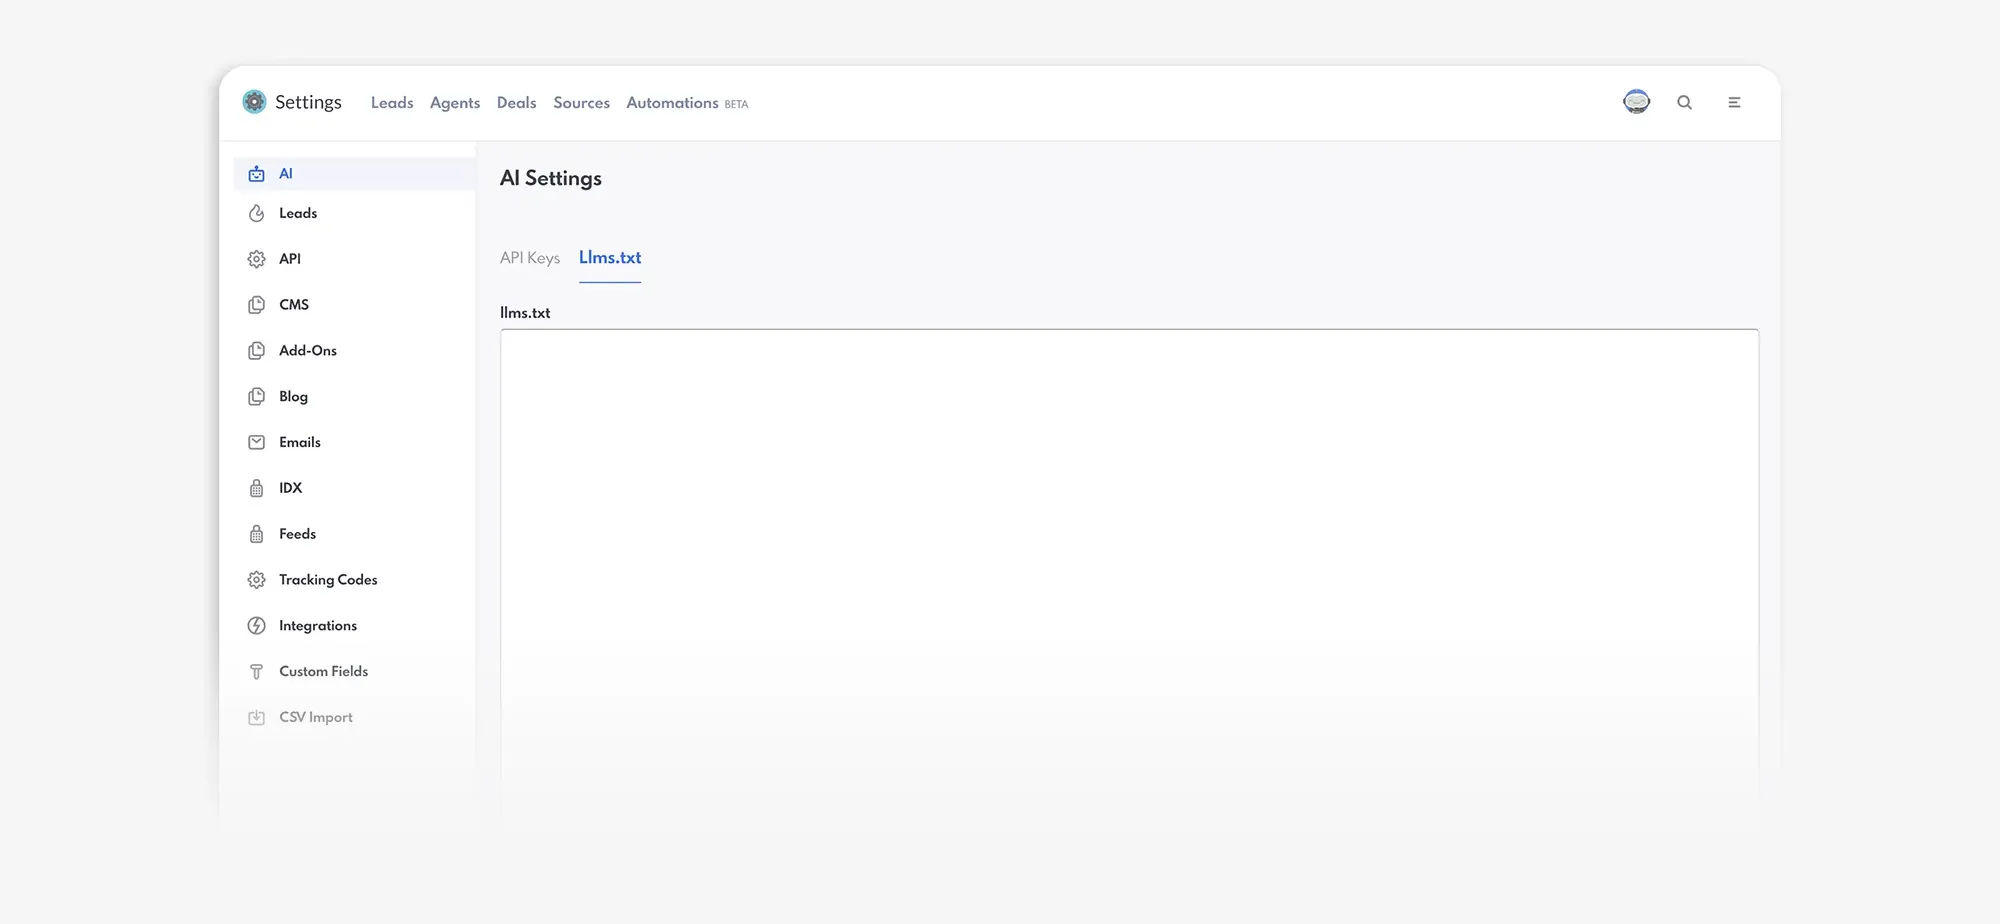
To add a llms.txt file to your site, you will need to access the AI settings:
- Navigate to the Settings section of the backend.
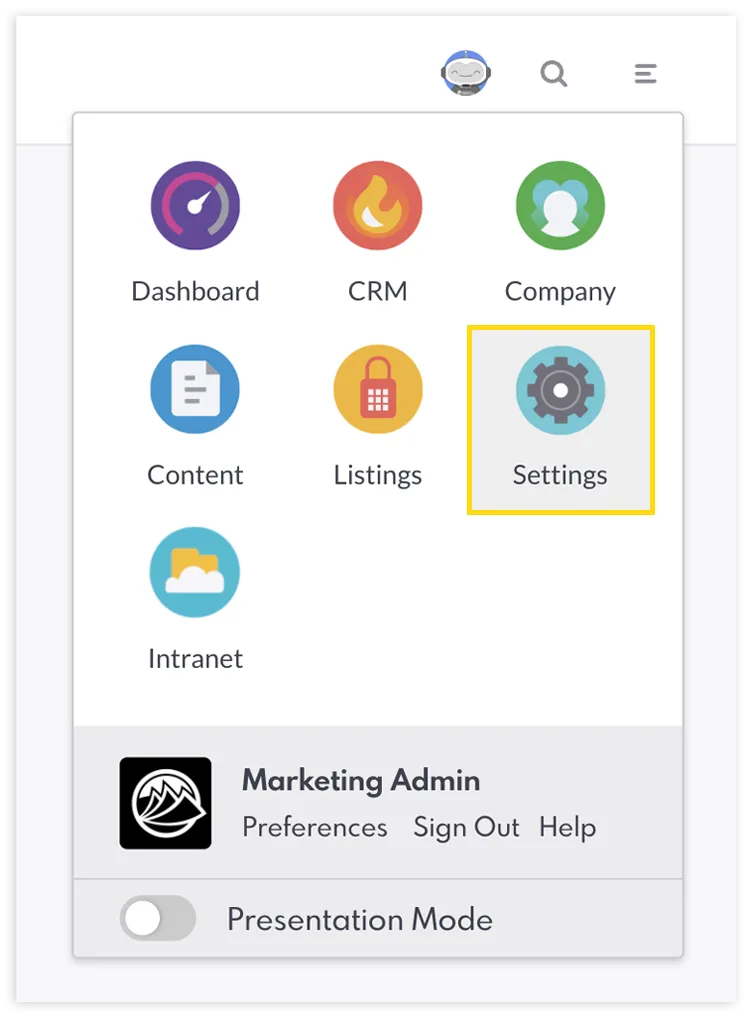
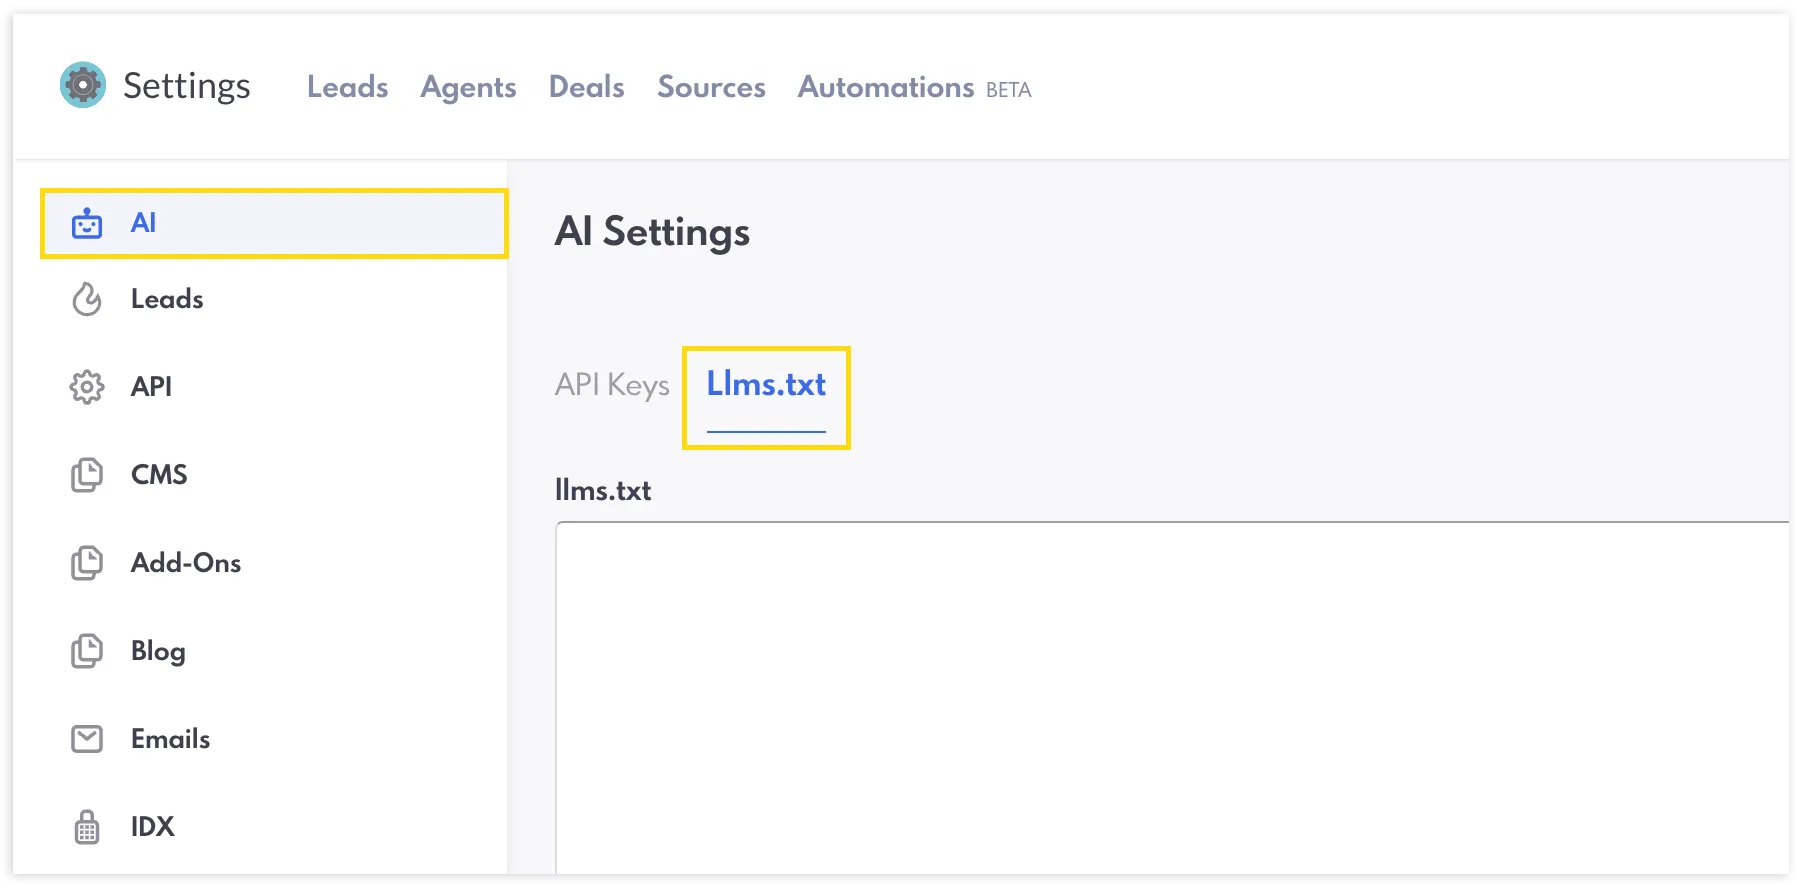
- Select “AI” on the left-hand menu. Then click on the “Llms.txt” tab.
- Paste your markdown text into the box.
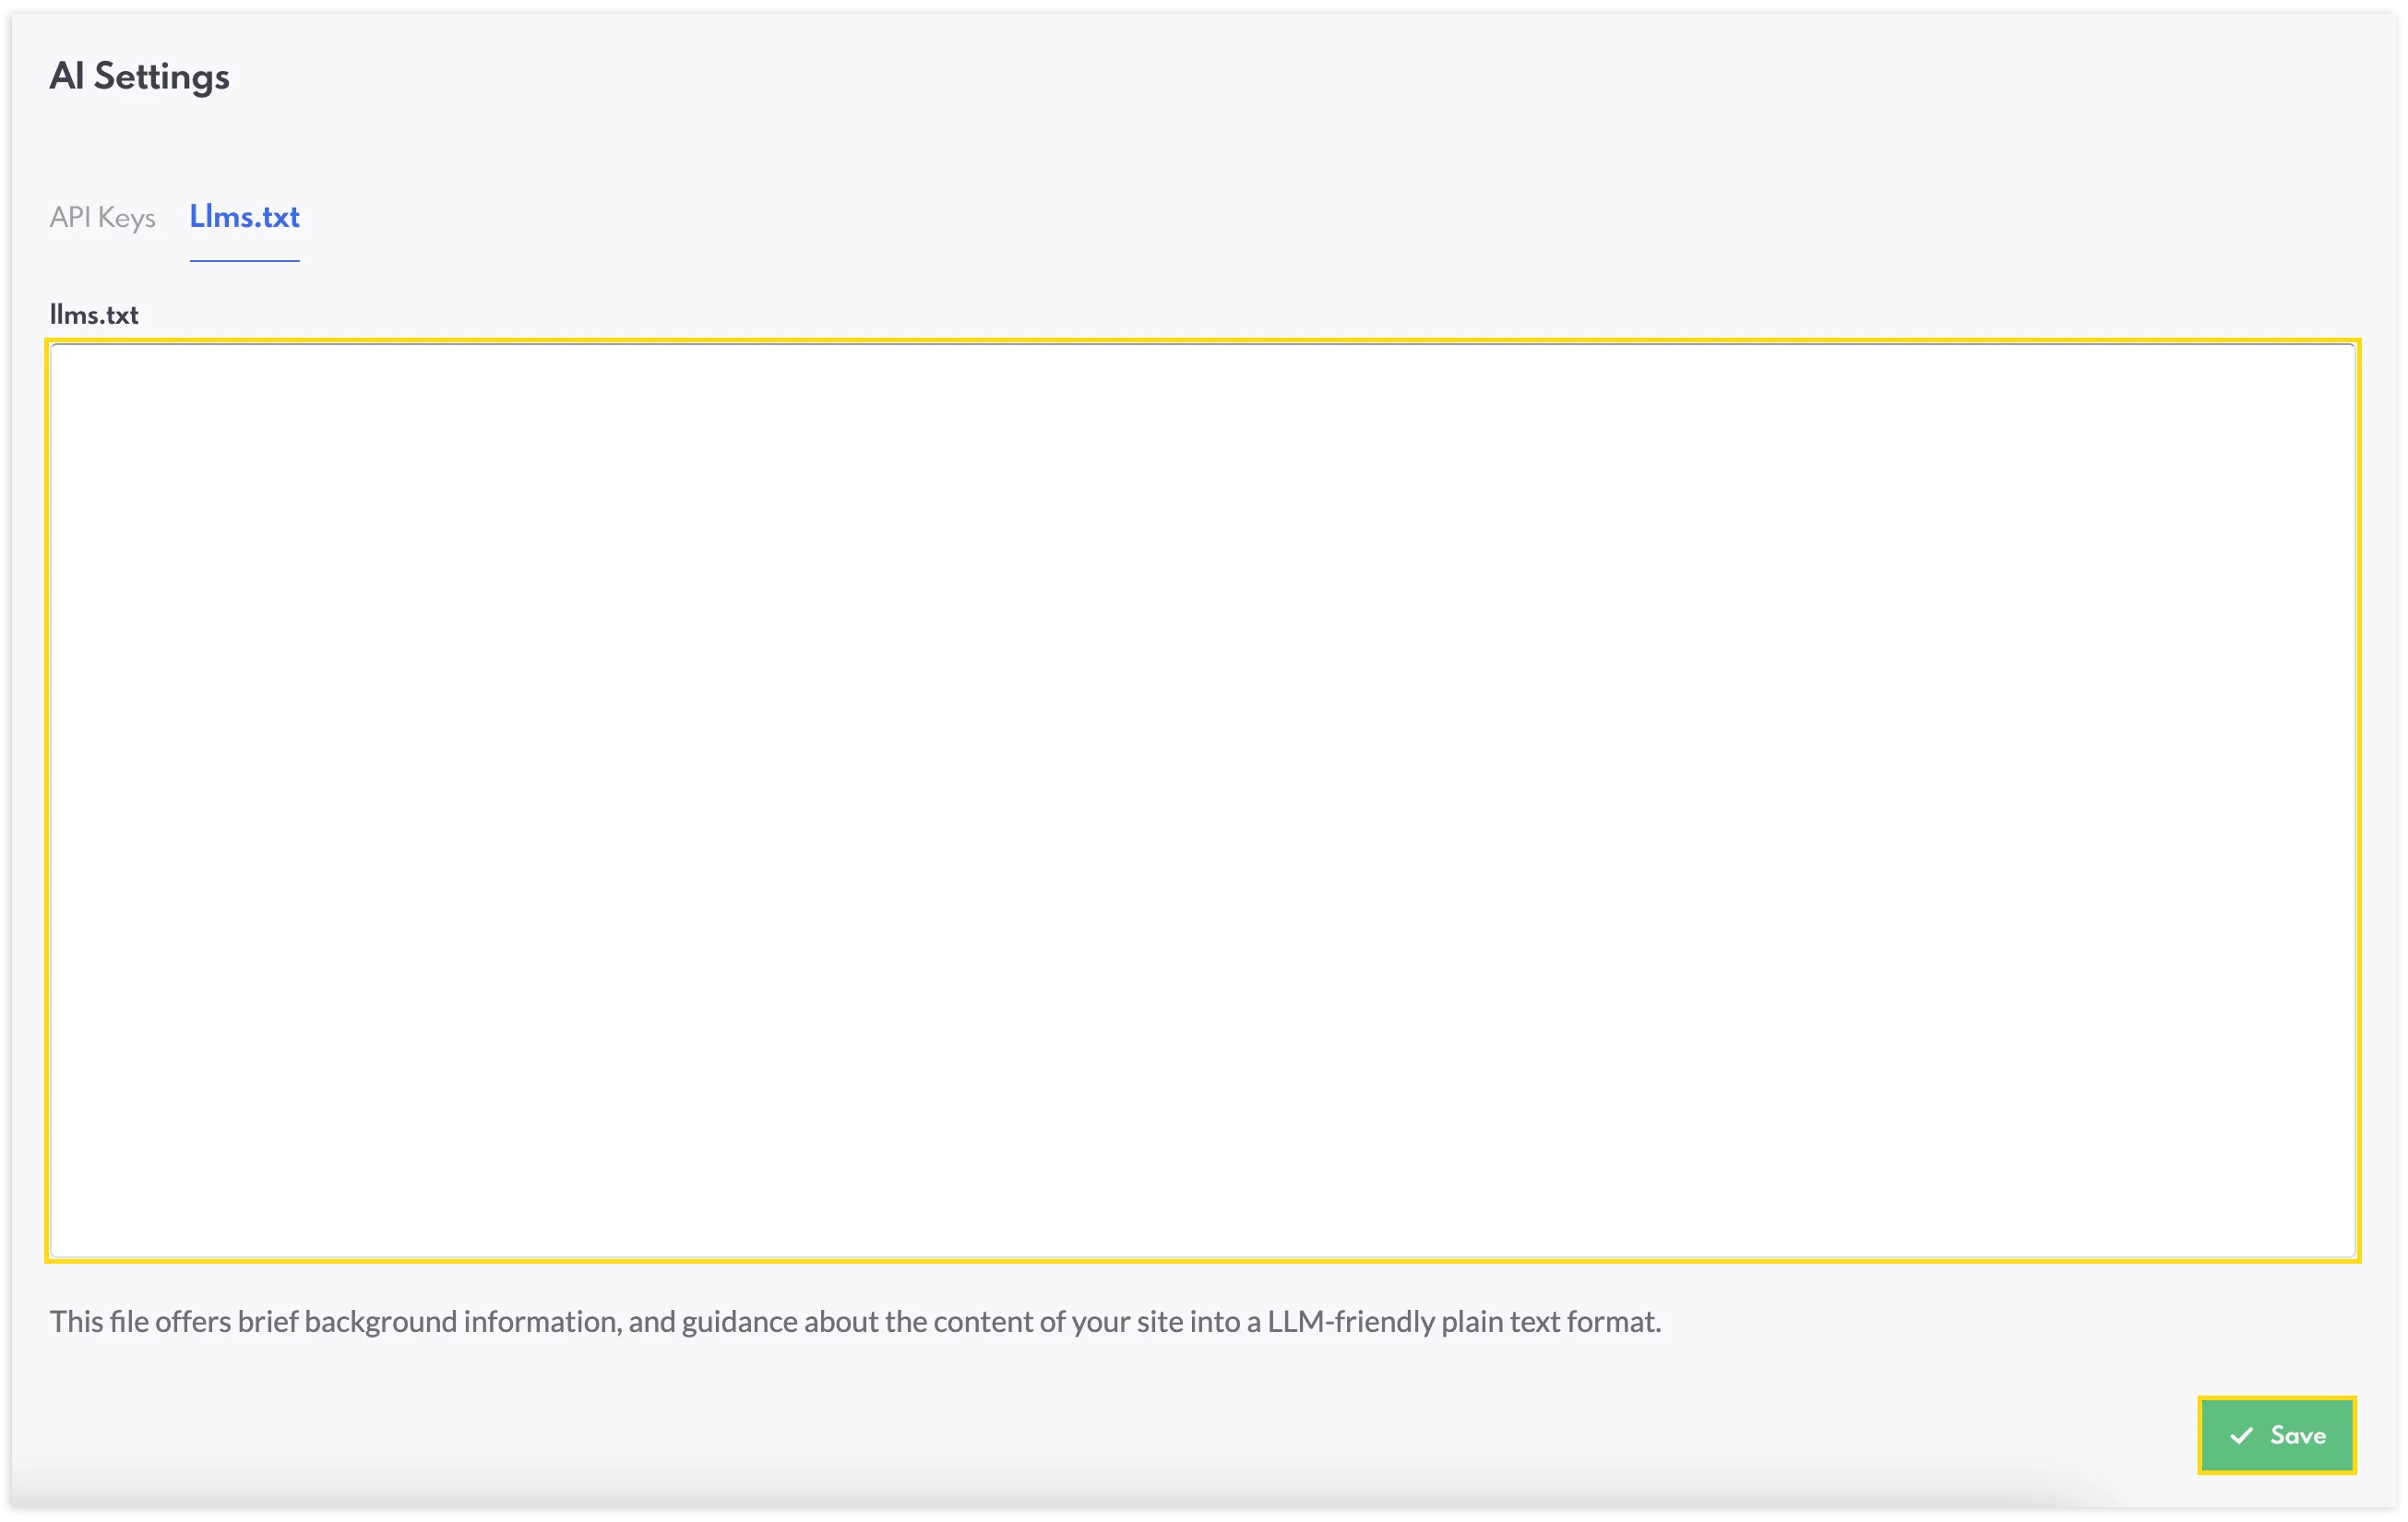
- Click the Save button.
In order for this file to be as effective as possible, it is recommended that you keep your description accurate and concise, targeting the most important pages on your site. This will help search engines effectively prioritize the most relevant information—with the goal of helping you stay visible in the AI era.
NORÉ: The Content Multiplier
Our next new feature is NORÉ, a tool that removes the time-consuming nature of creating consistent, original content. This new feature does a lot—but most significantly, it can be used for SEO (“Search Everywhere Optimization”).
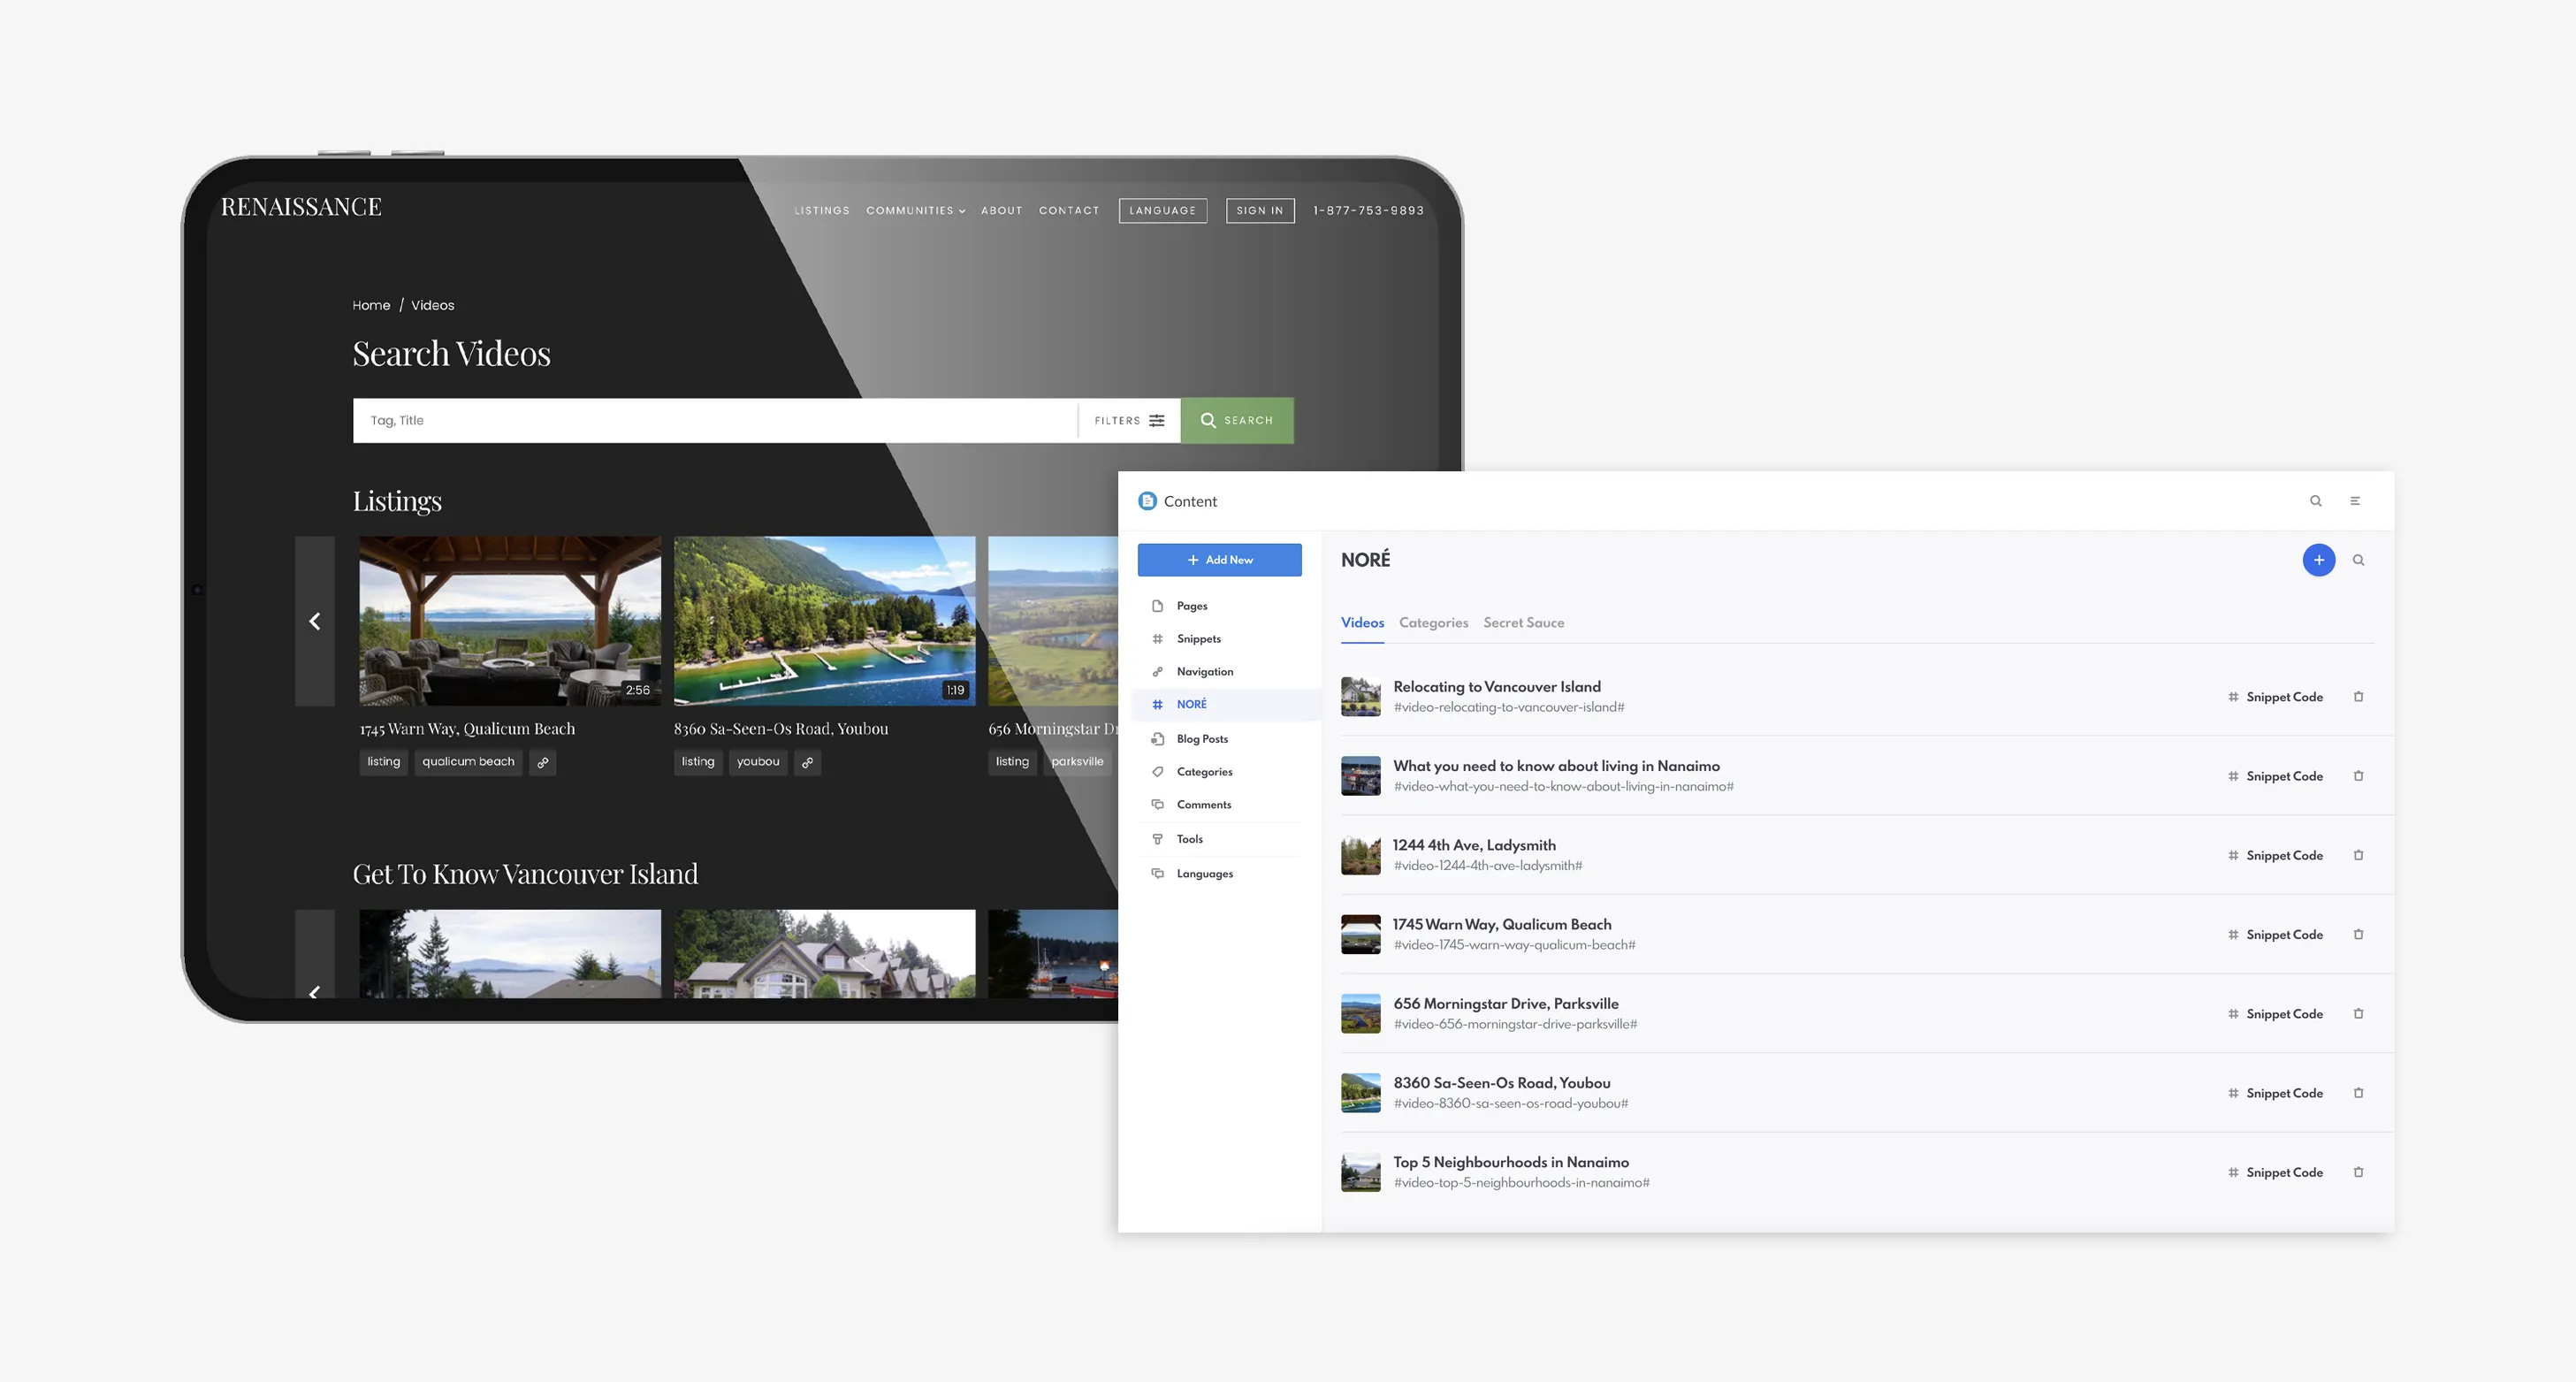
When you upload a video (either from YouTube or Wistia), NORÉ creates video snippets and watch pages. As well, uploading your video transcripts allows you to generate different types of content, such as a blog post, CMS page, or Facebook post.
- Access the Content section of the CRM.
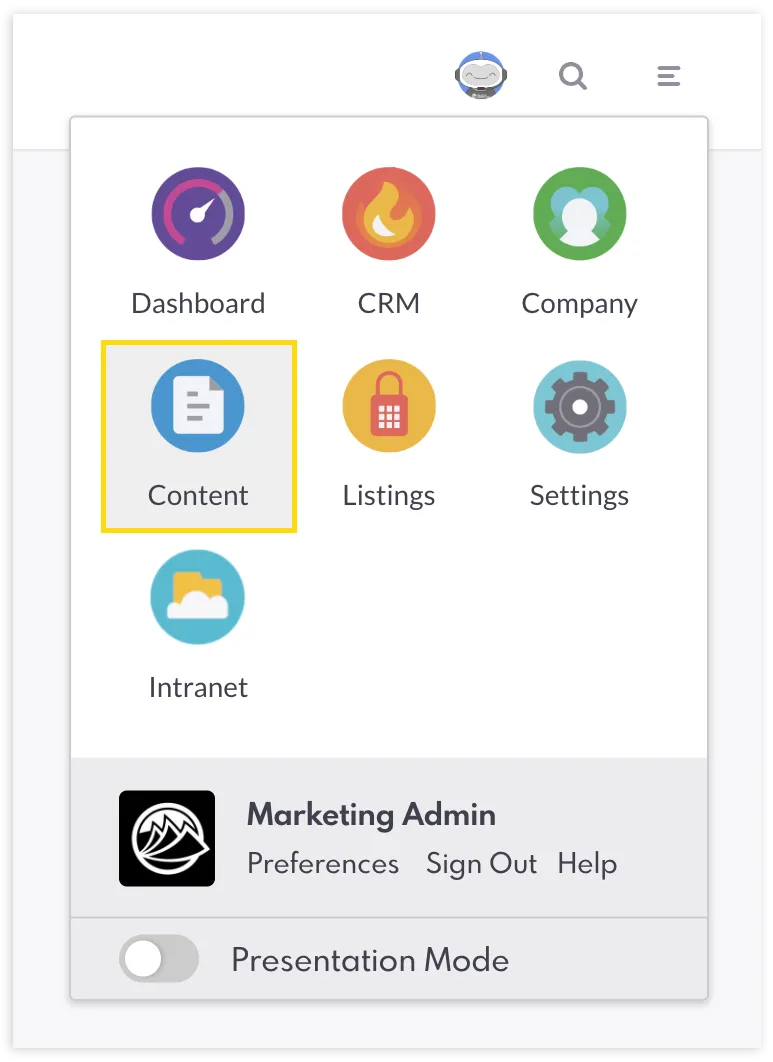
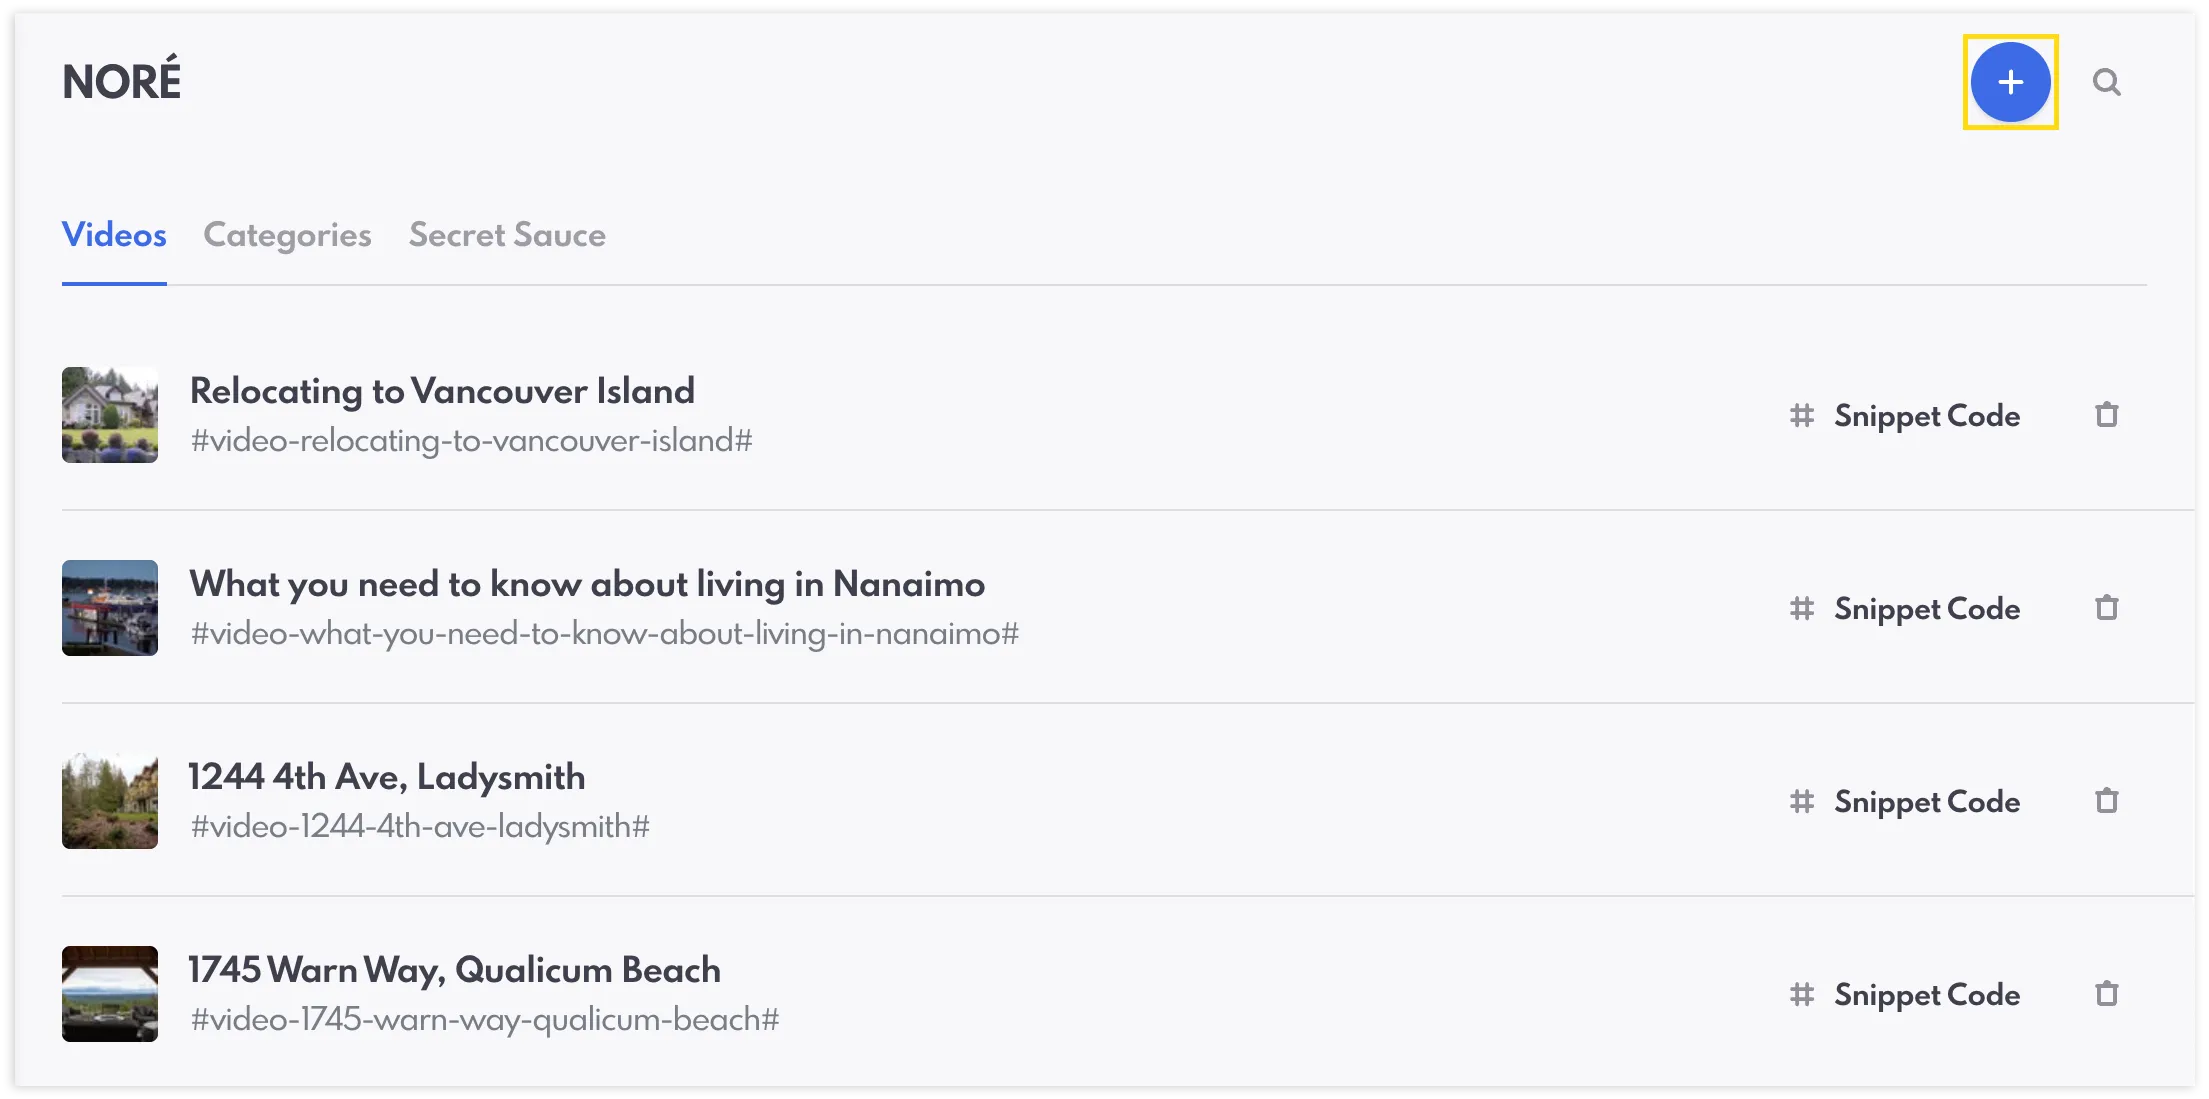
- On the left-hand menu, click on the NORÉ tab (found between Navigation and Blog Posts).
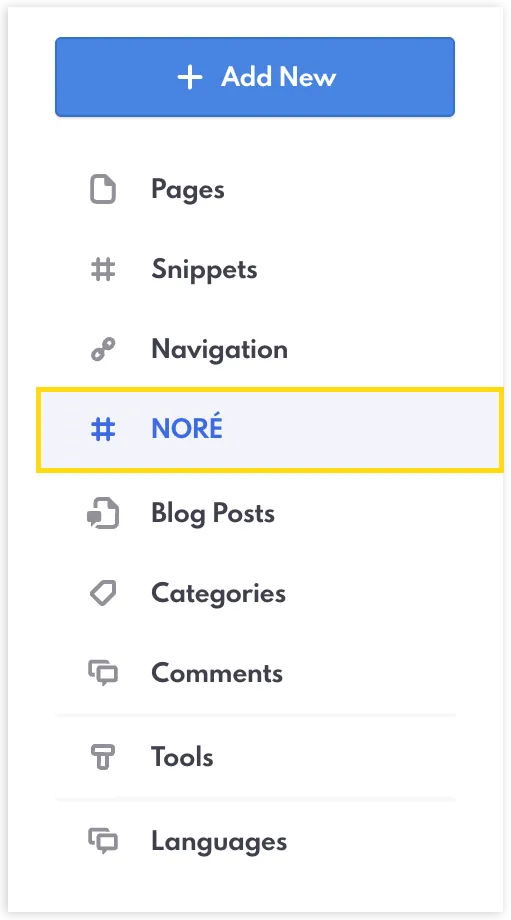
- Upload your video by clicking on the blue check button in the top right-hand corner. Or, edit one of your existing videos/video snippets by clicking on it in the Videos tab.
- Fill out the following information (or as much as you can) about the video:
Title, Video Platform, Video ID (the string of numbers after https://www.youtube.com/watch?v=), Button URL (if you want to link to another page), Button Text, Chapters (time and title), Description (of video), Image (for thumbnail), Length, Link (which will be the URL for your video page), Overlay Text, Tags, Transcript (can be taken right from YouTube), Location (of where the video was shot).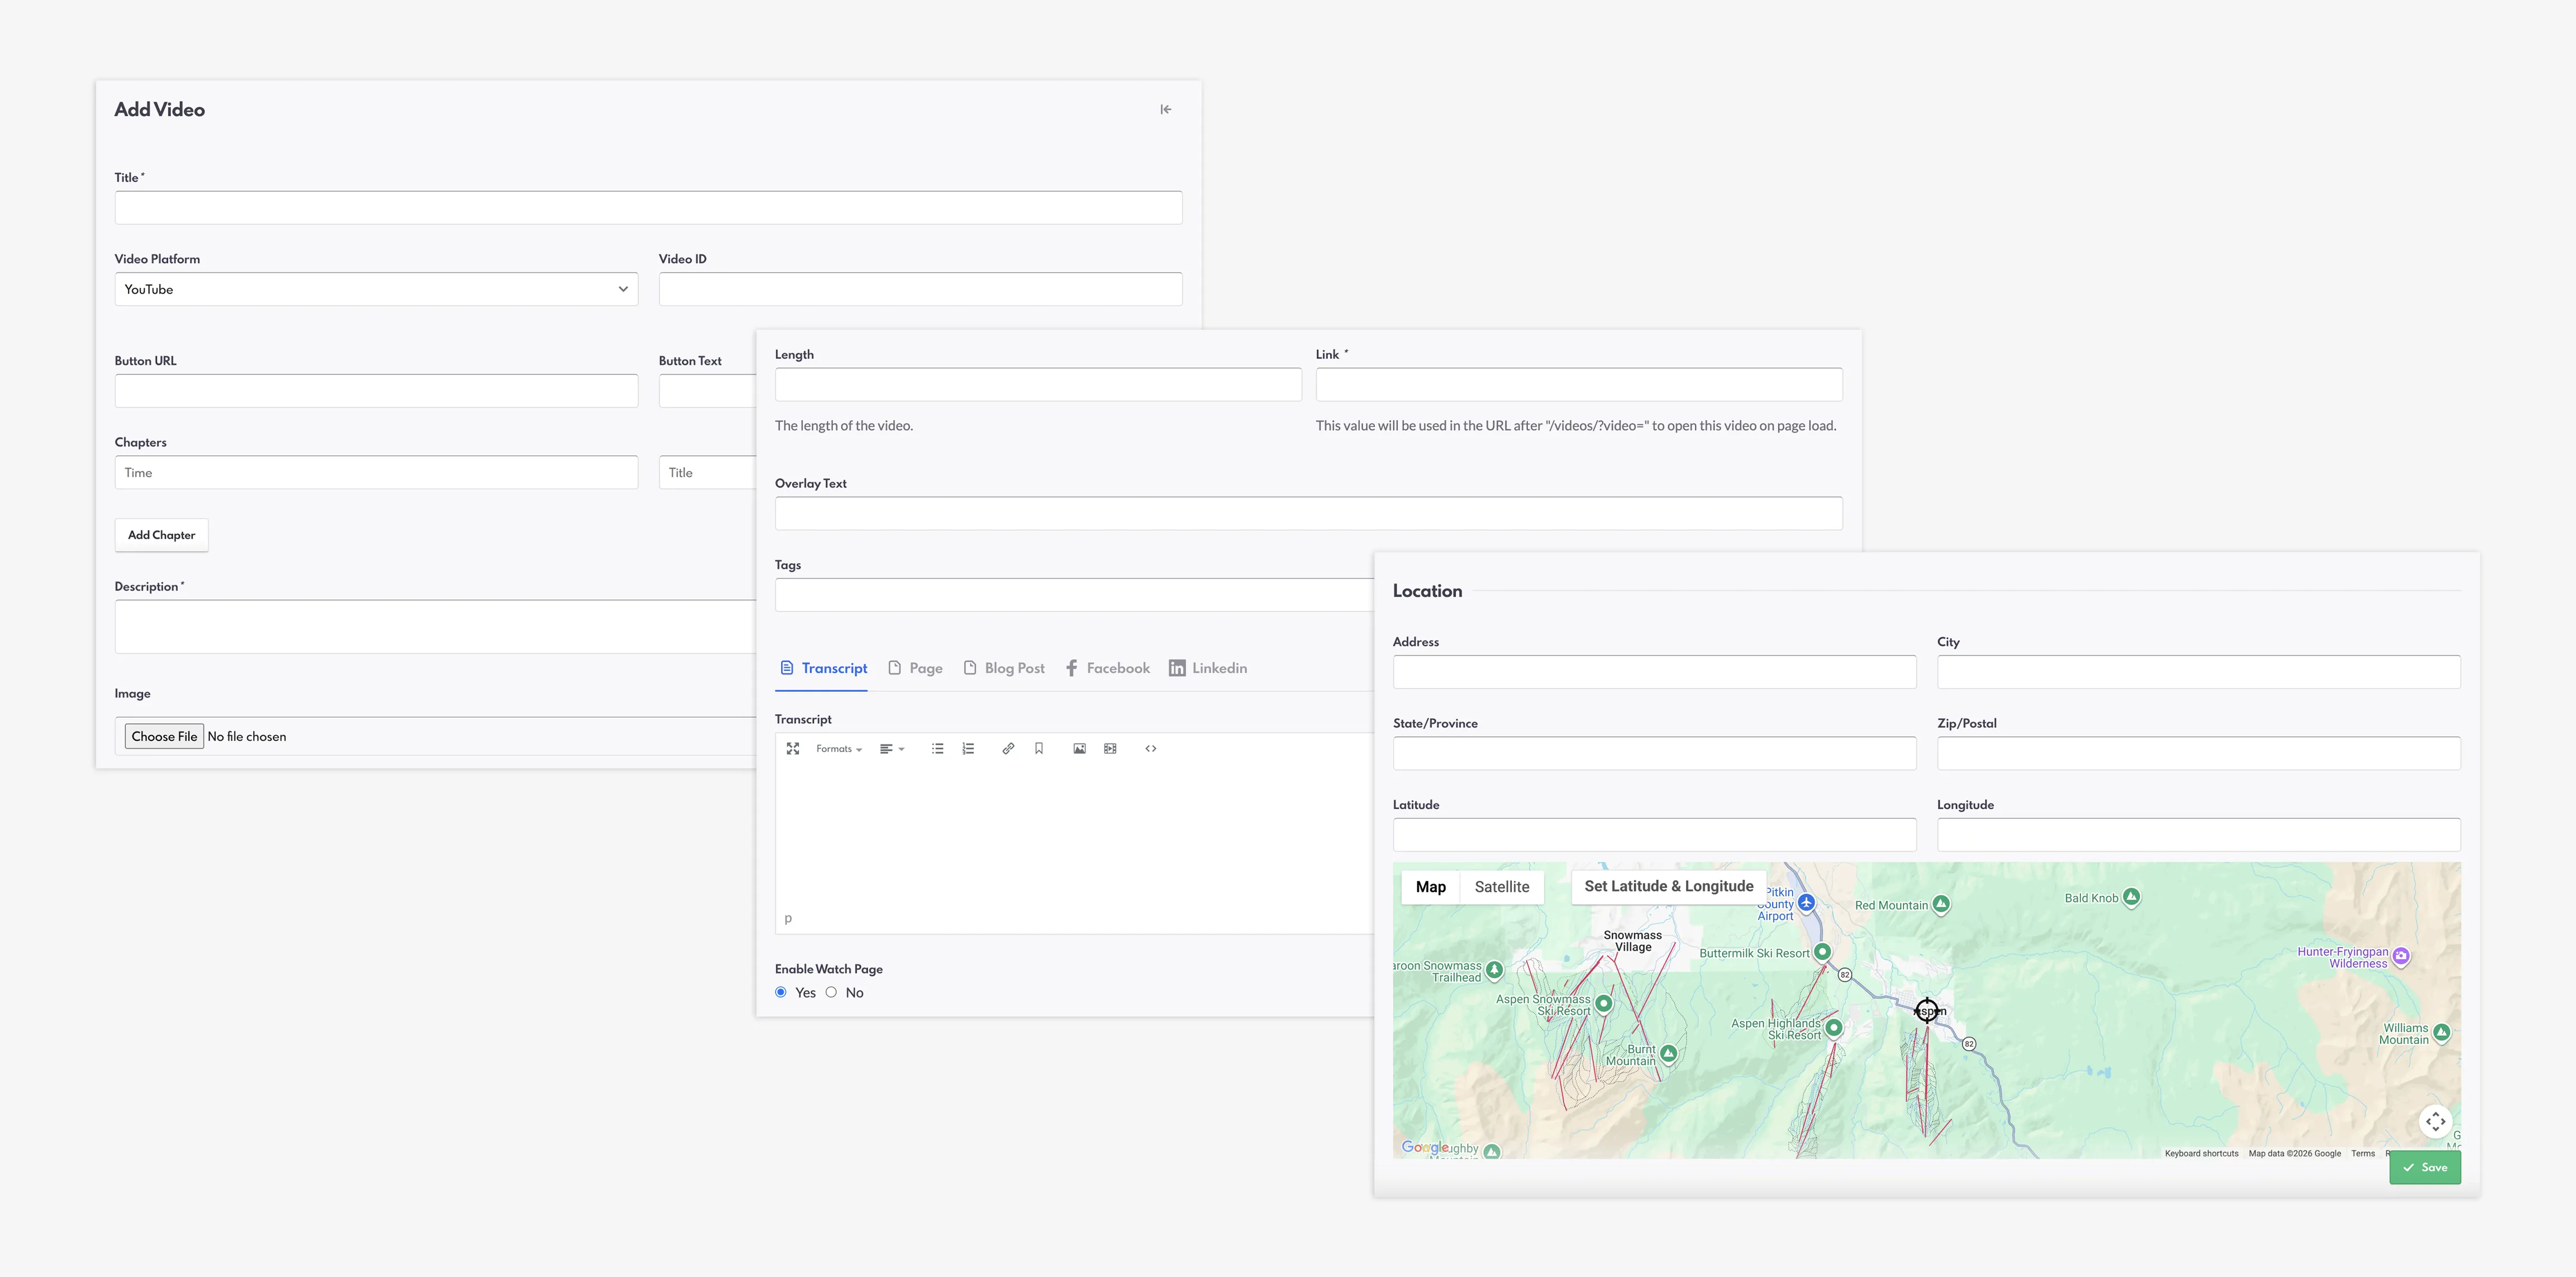
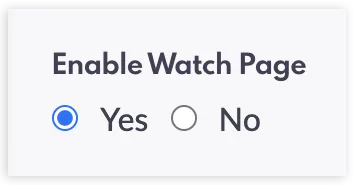
- Select “Enable Watch Page” if you would like for your unique video page to be live on your website.
- Click “Save” to save all information.
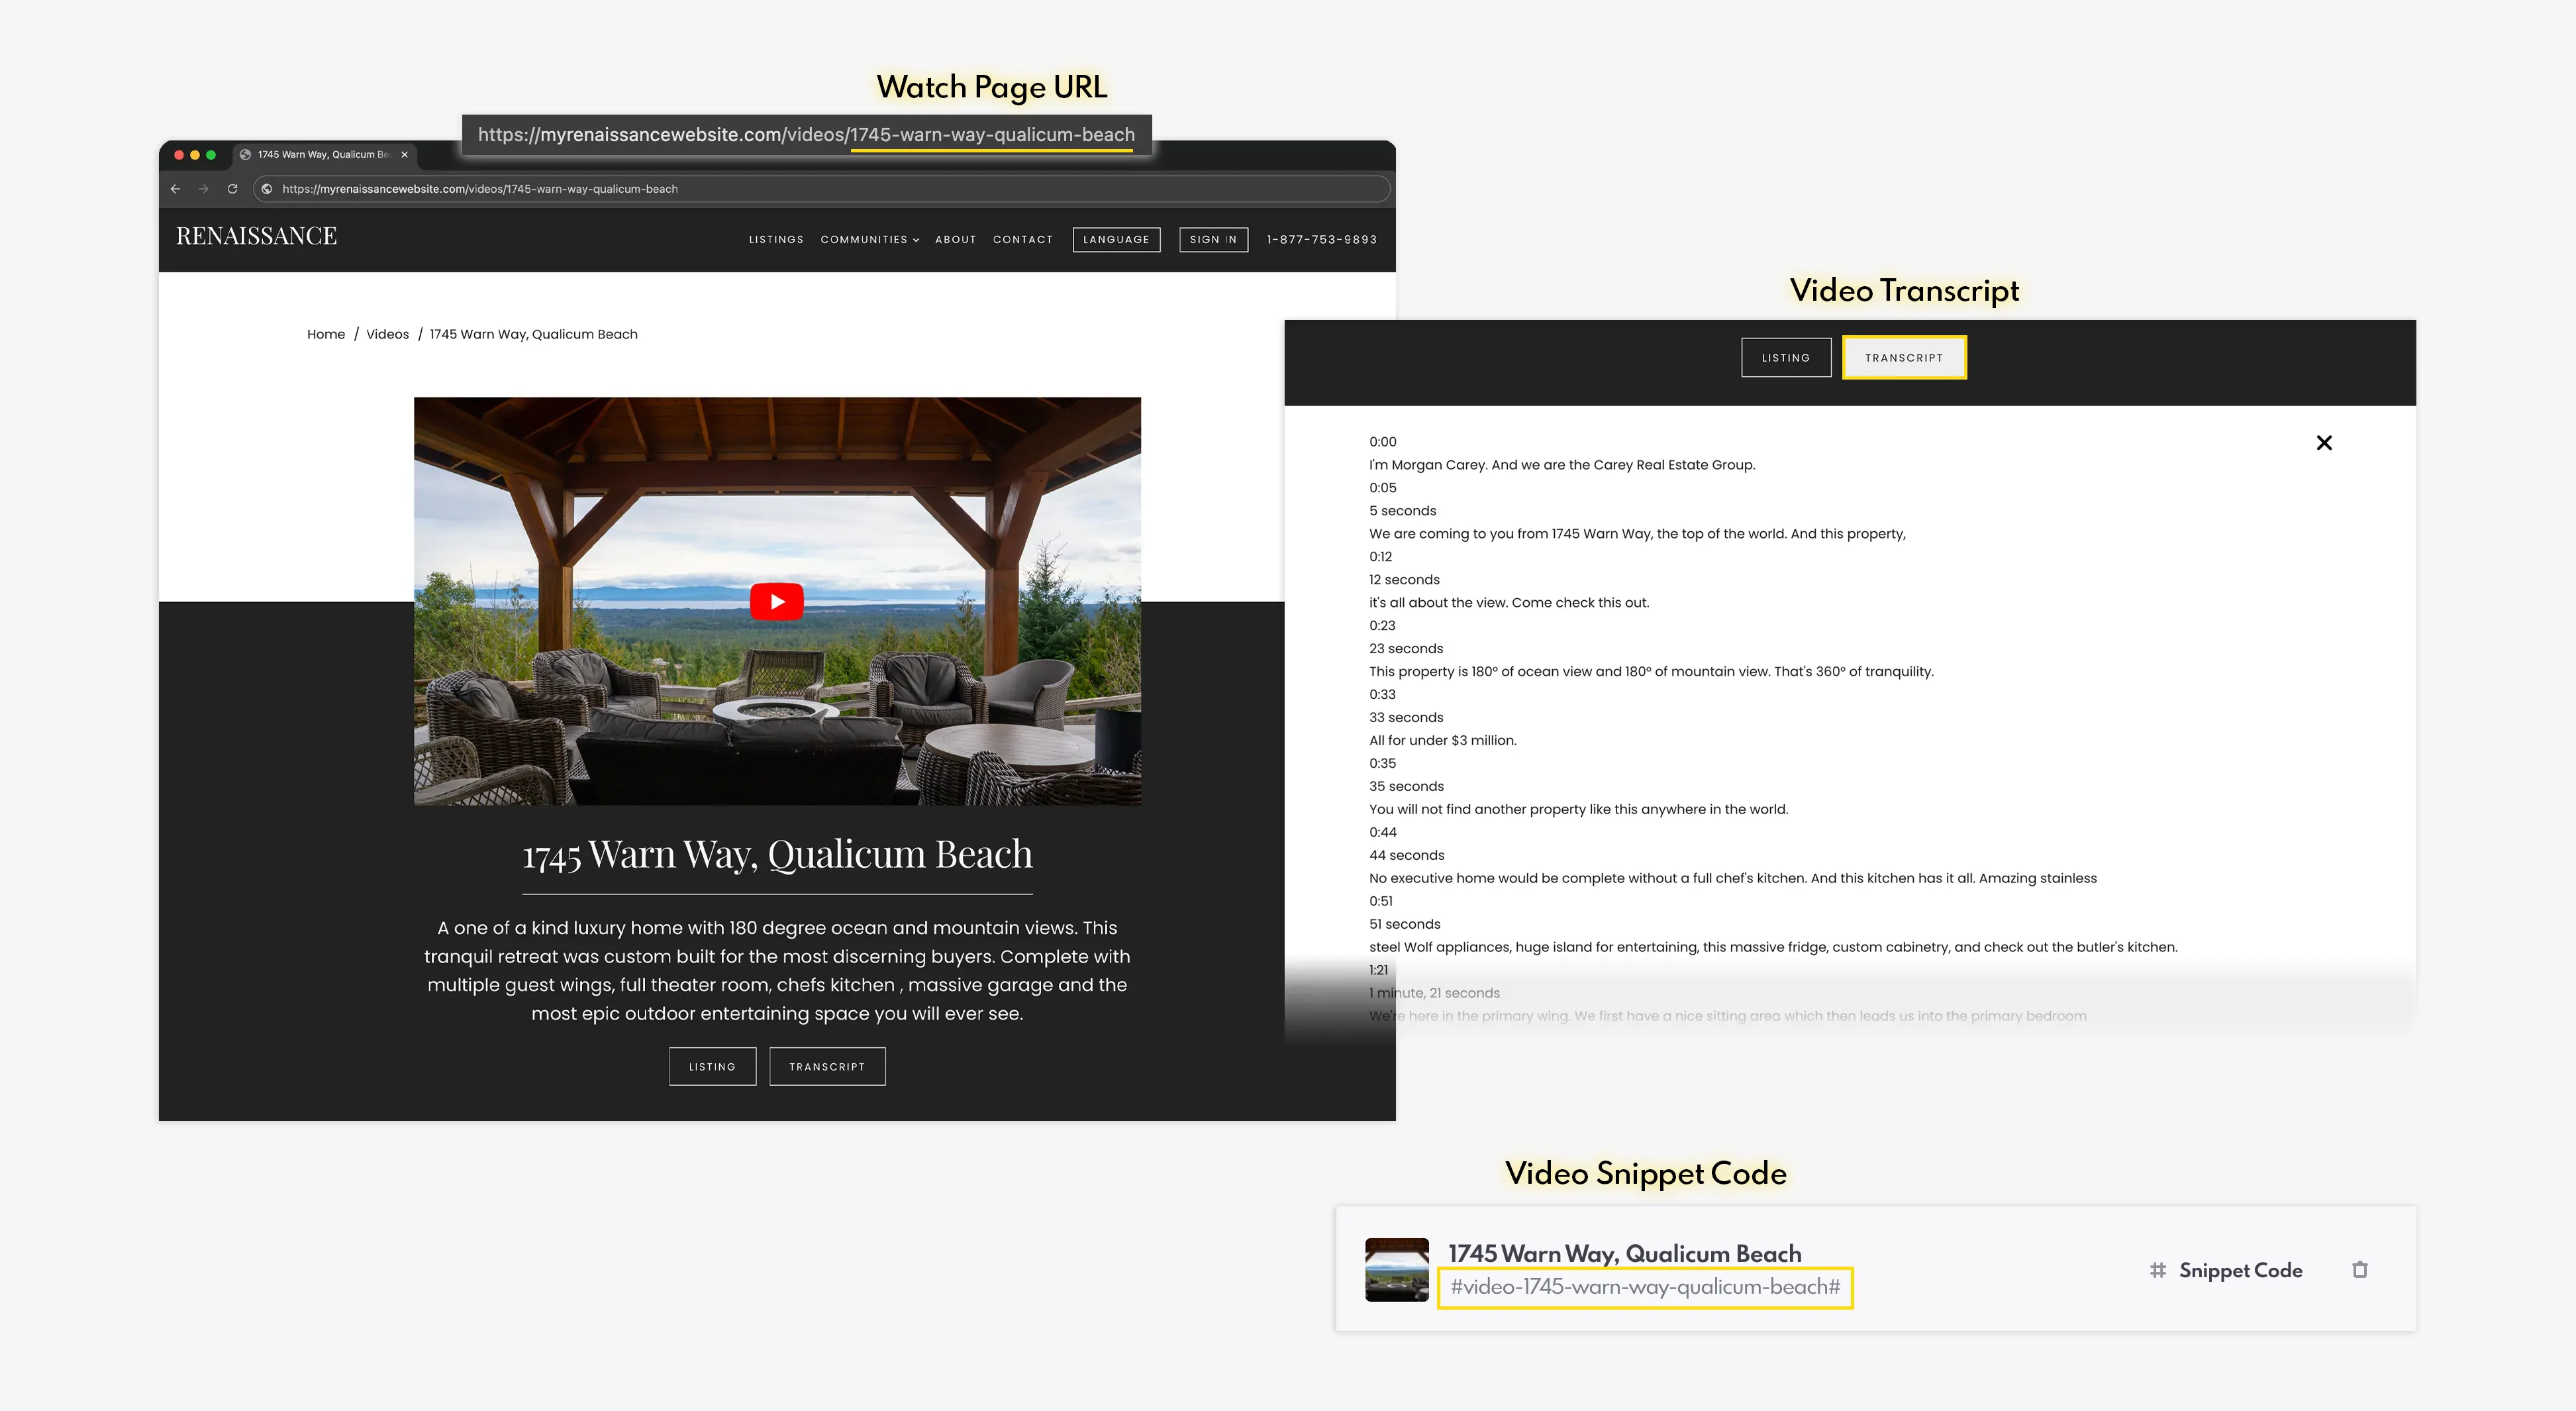
Doing this will create a Watch Page on your site which can have SEO benefits. Each uploaded video has a custom URL and schema markup—an entirely new, unique page that’s already optimized for SEO. A video snippet is also created that can be added to a CMS page, seamlessly embedding your video (and its transcript) within the existing content on your website.
Additionally, with NORÉ, you also get a new Video page (www.yoururlhere.com/videos/). Here, you can add/remove videos, showcased within carousels. Carousels can be edited within the Categories section.
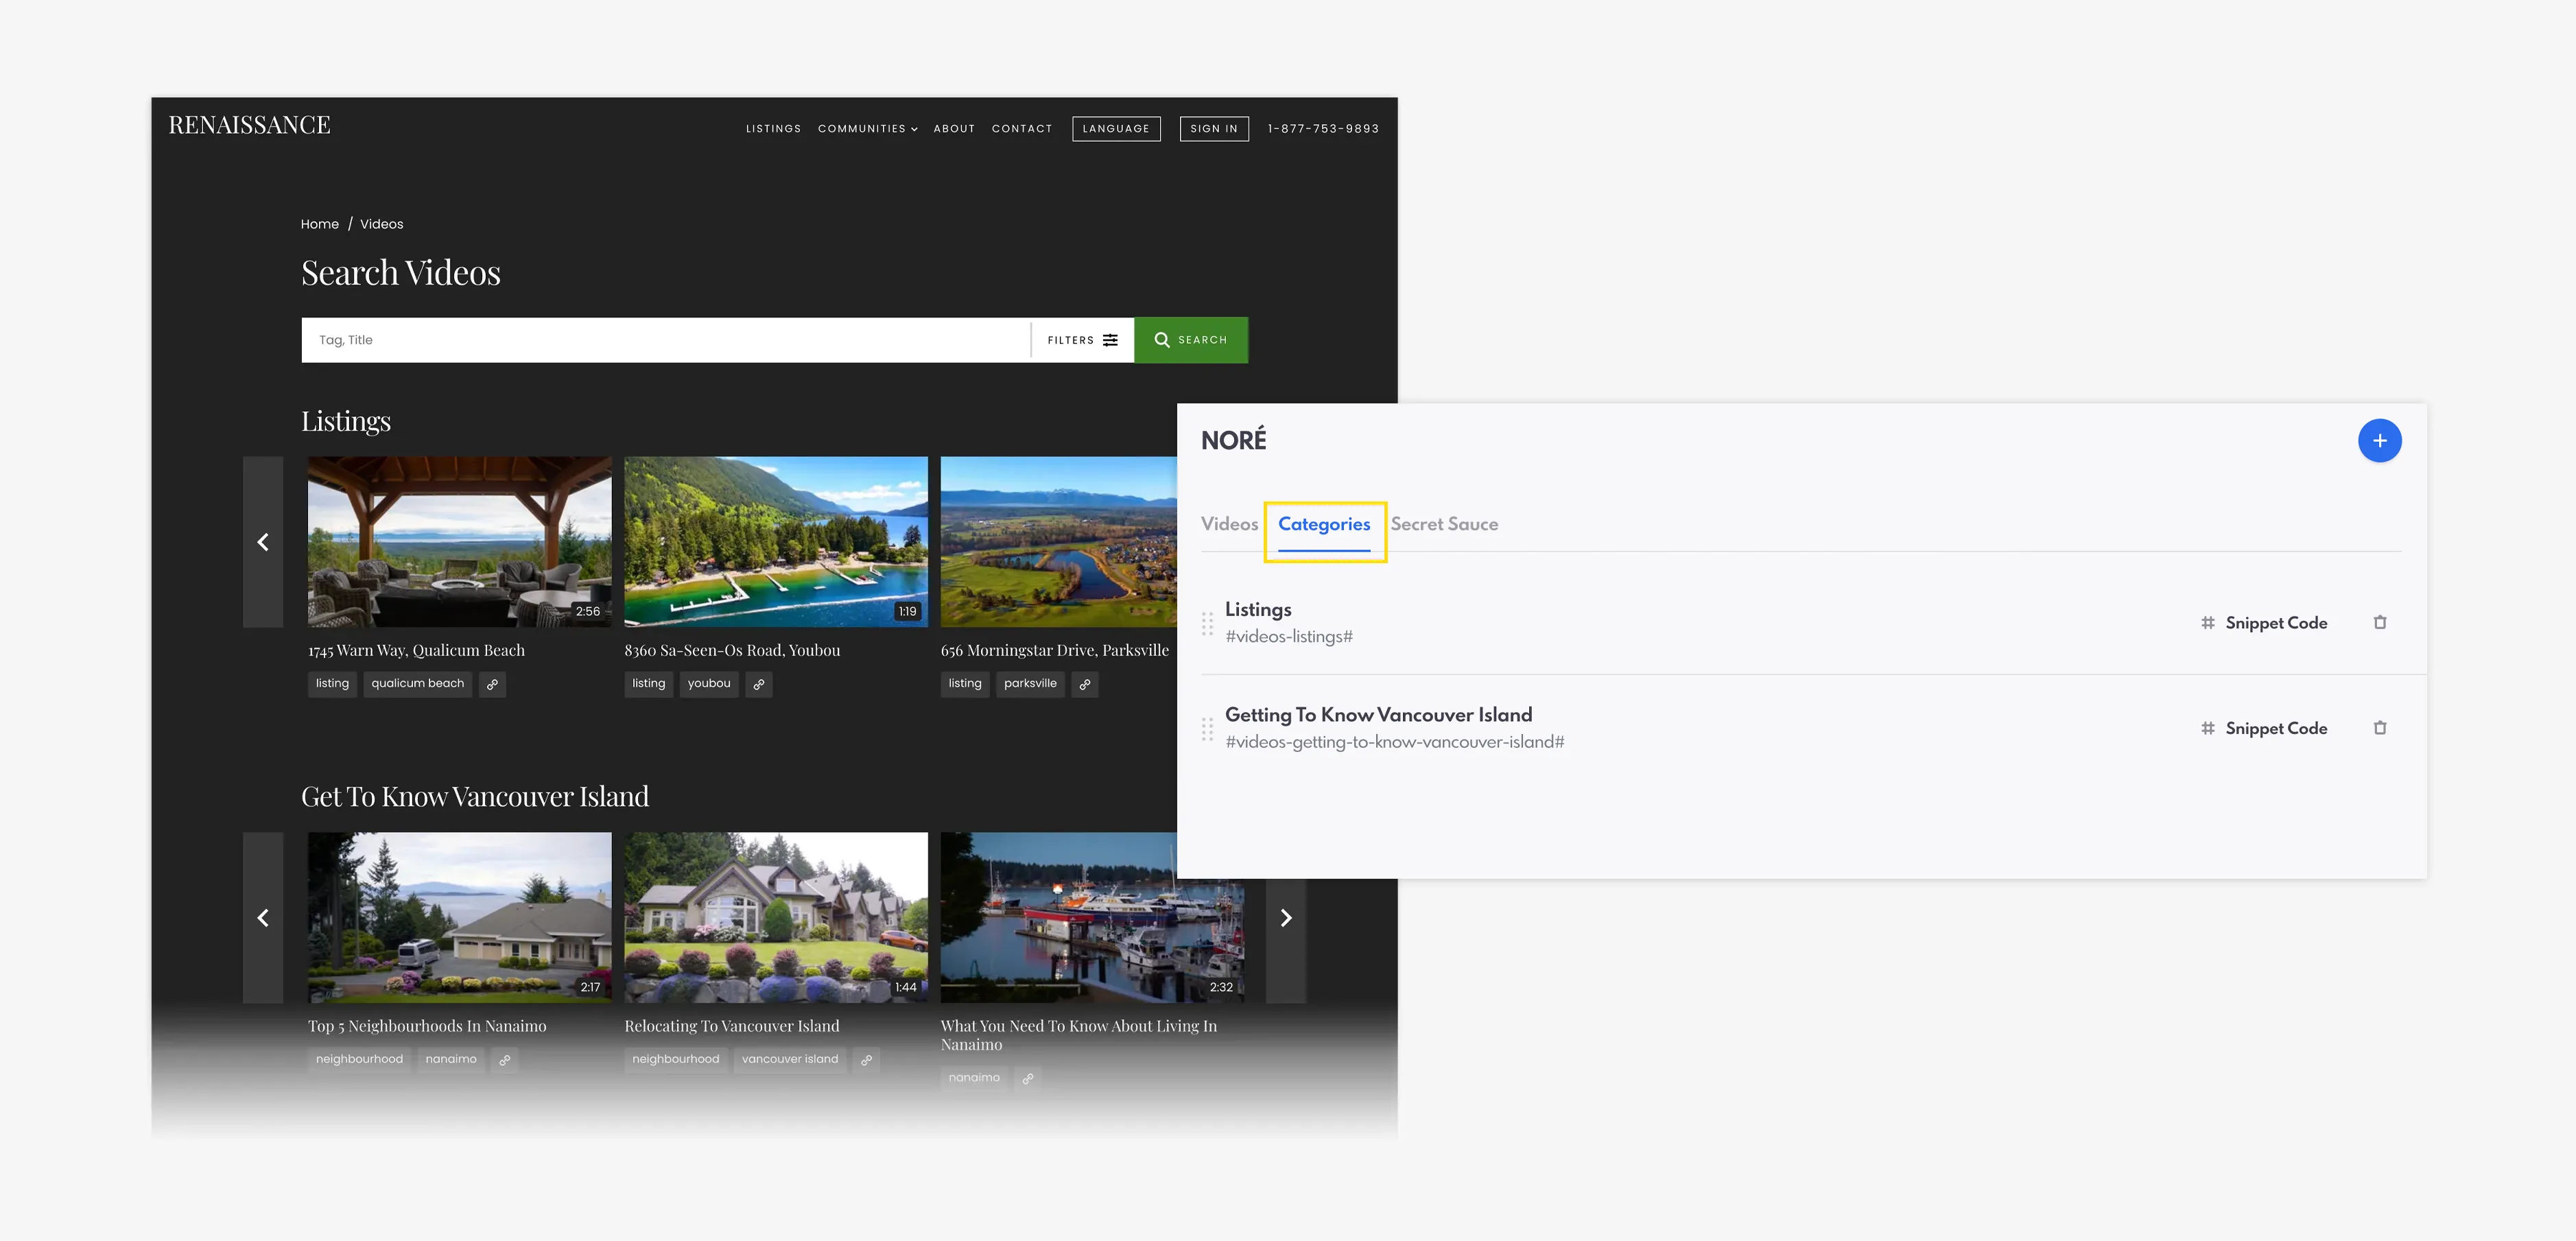
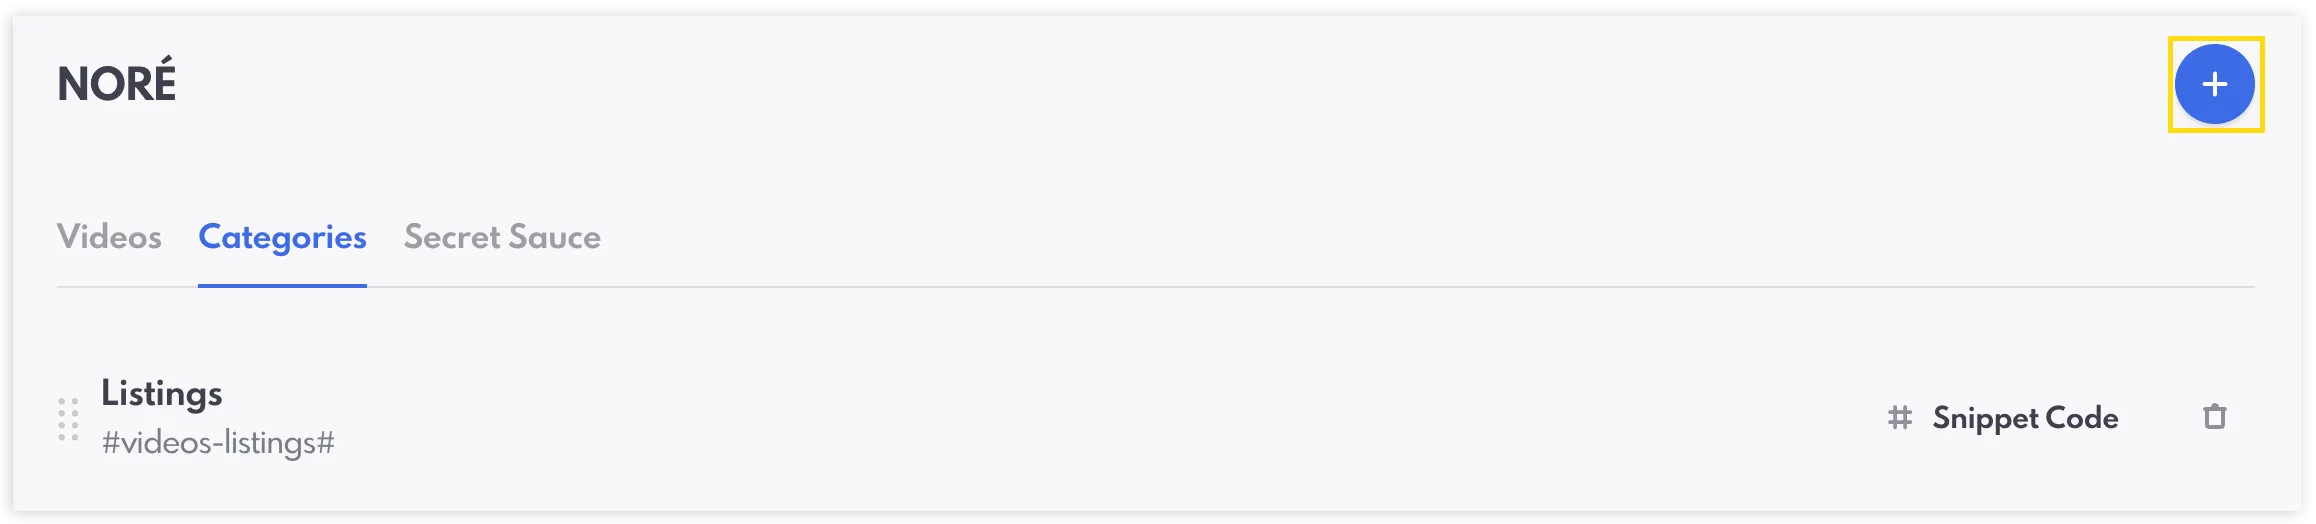
Along the top of the NORÉ section in the backend, you will also find the tab for Categories. This is where you can add new carousels on your Videos page.
- Select the blue"+" button within the Categories tab.
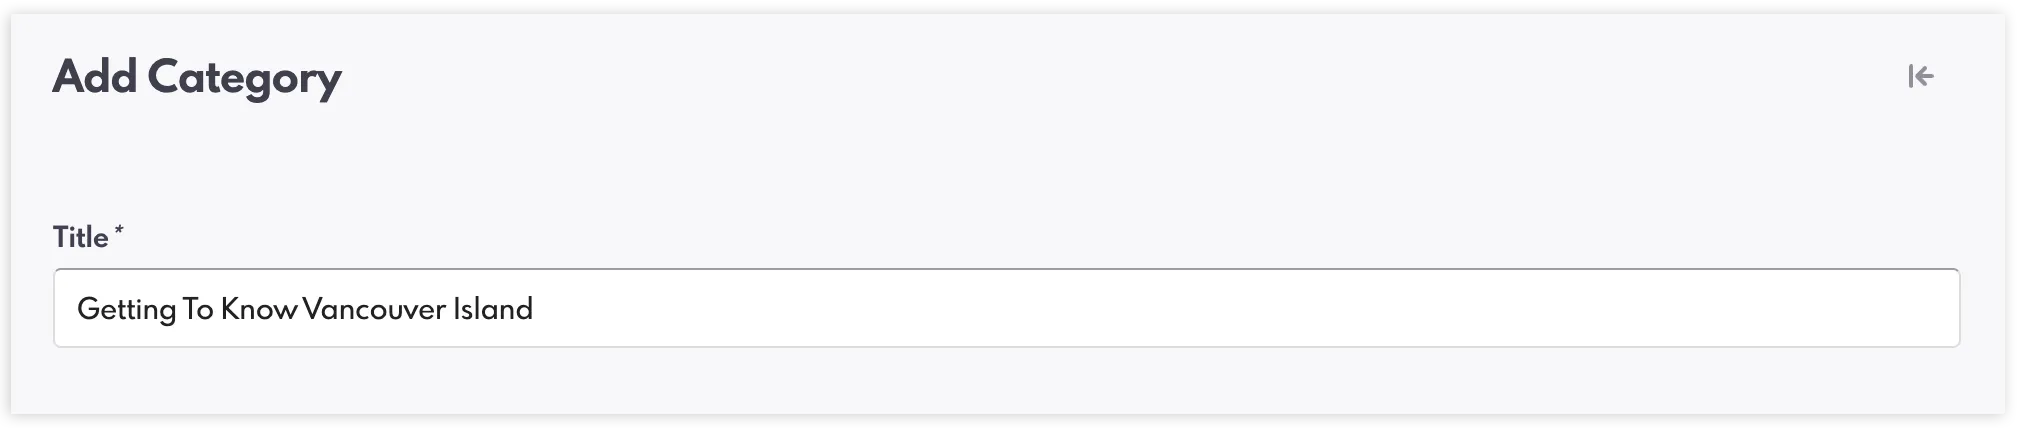
- Add a Title of your new Category.
- Click “Save” to edit your new Category.
- Select whether to show on your Videos page.
- Choose which uploaded videos you would like to add to this Category within the dropdown.
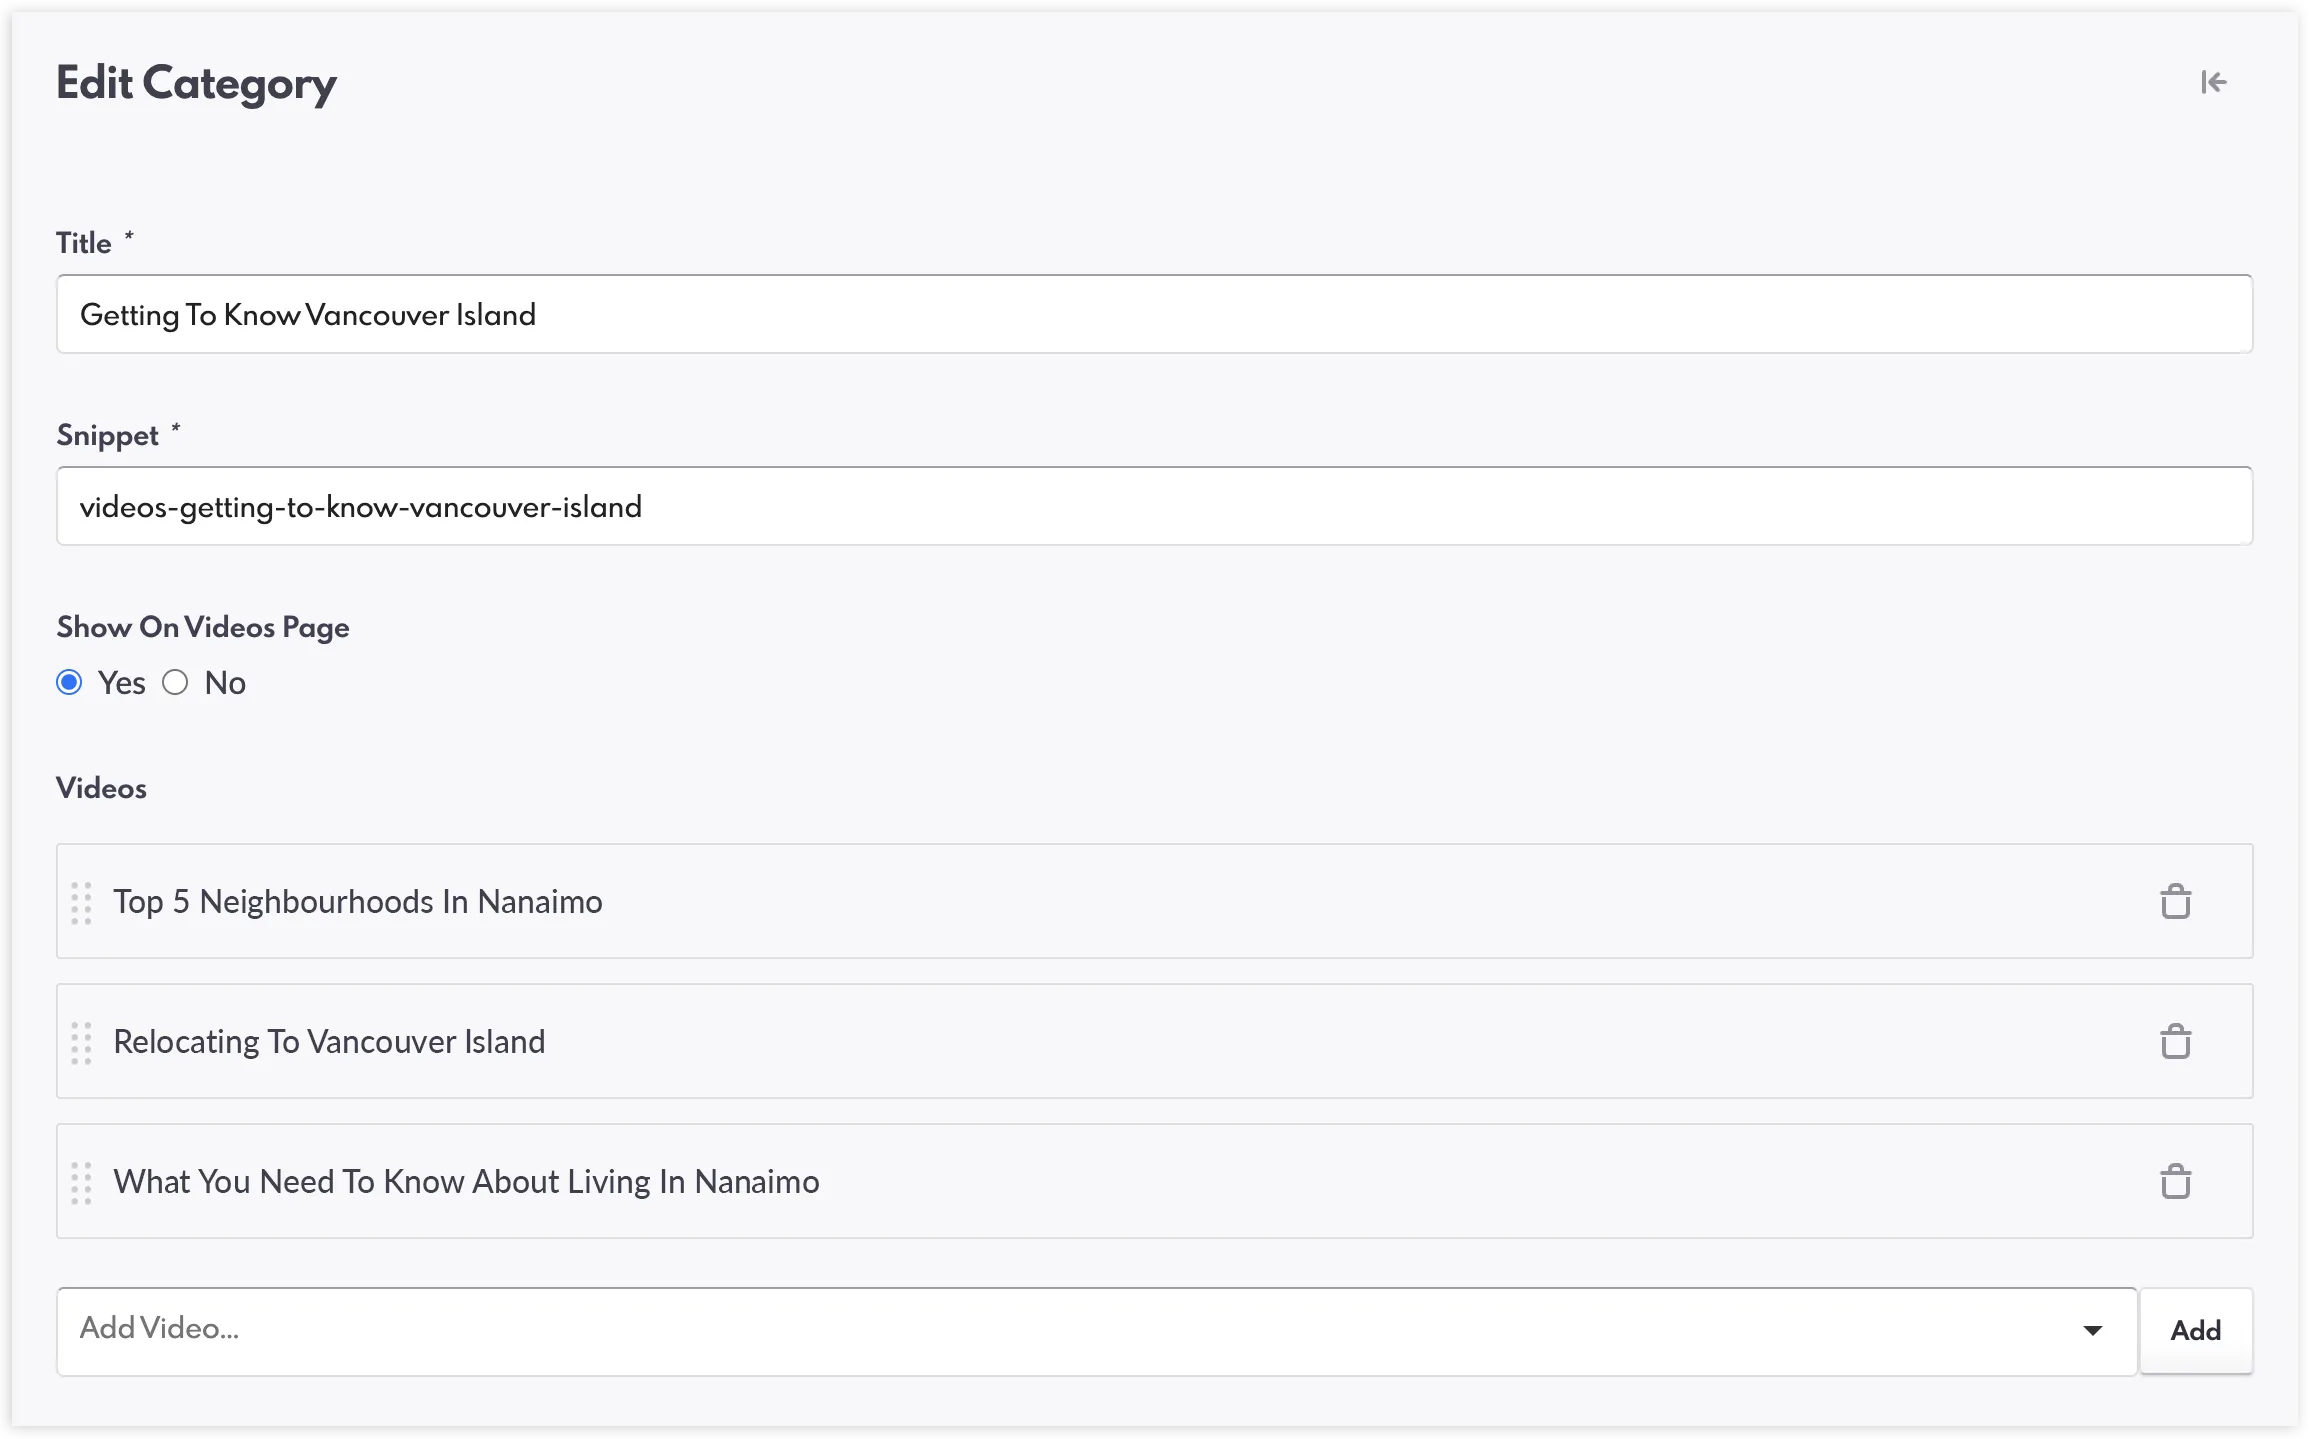
- Click “Save” when finished.
- View your carousels and videos by visiting "www.yoururlhere.com/videos/".
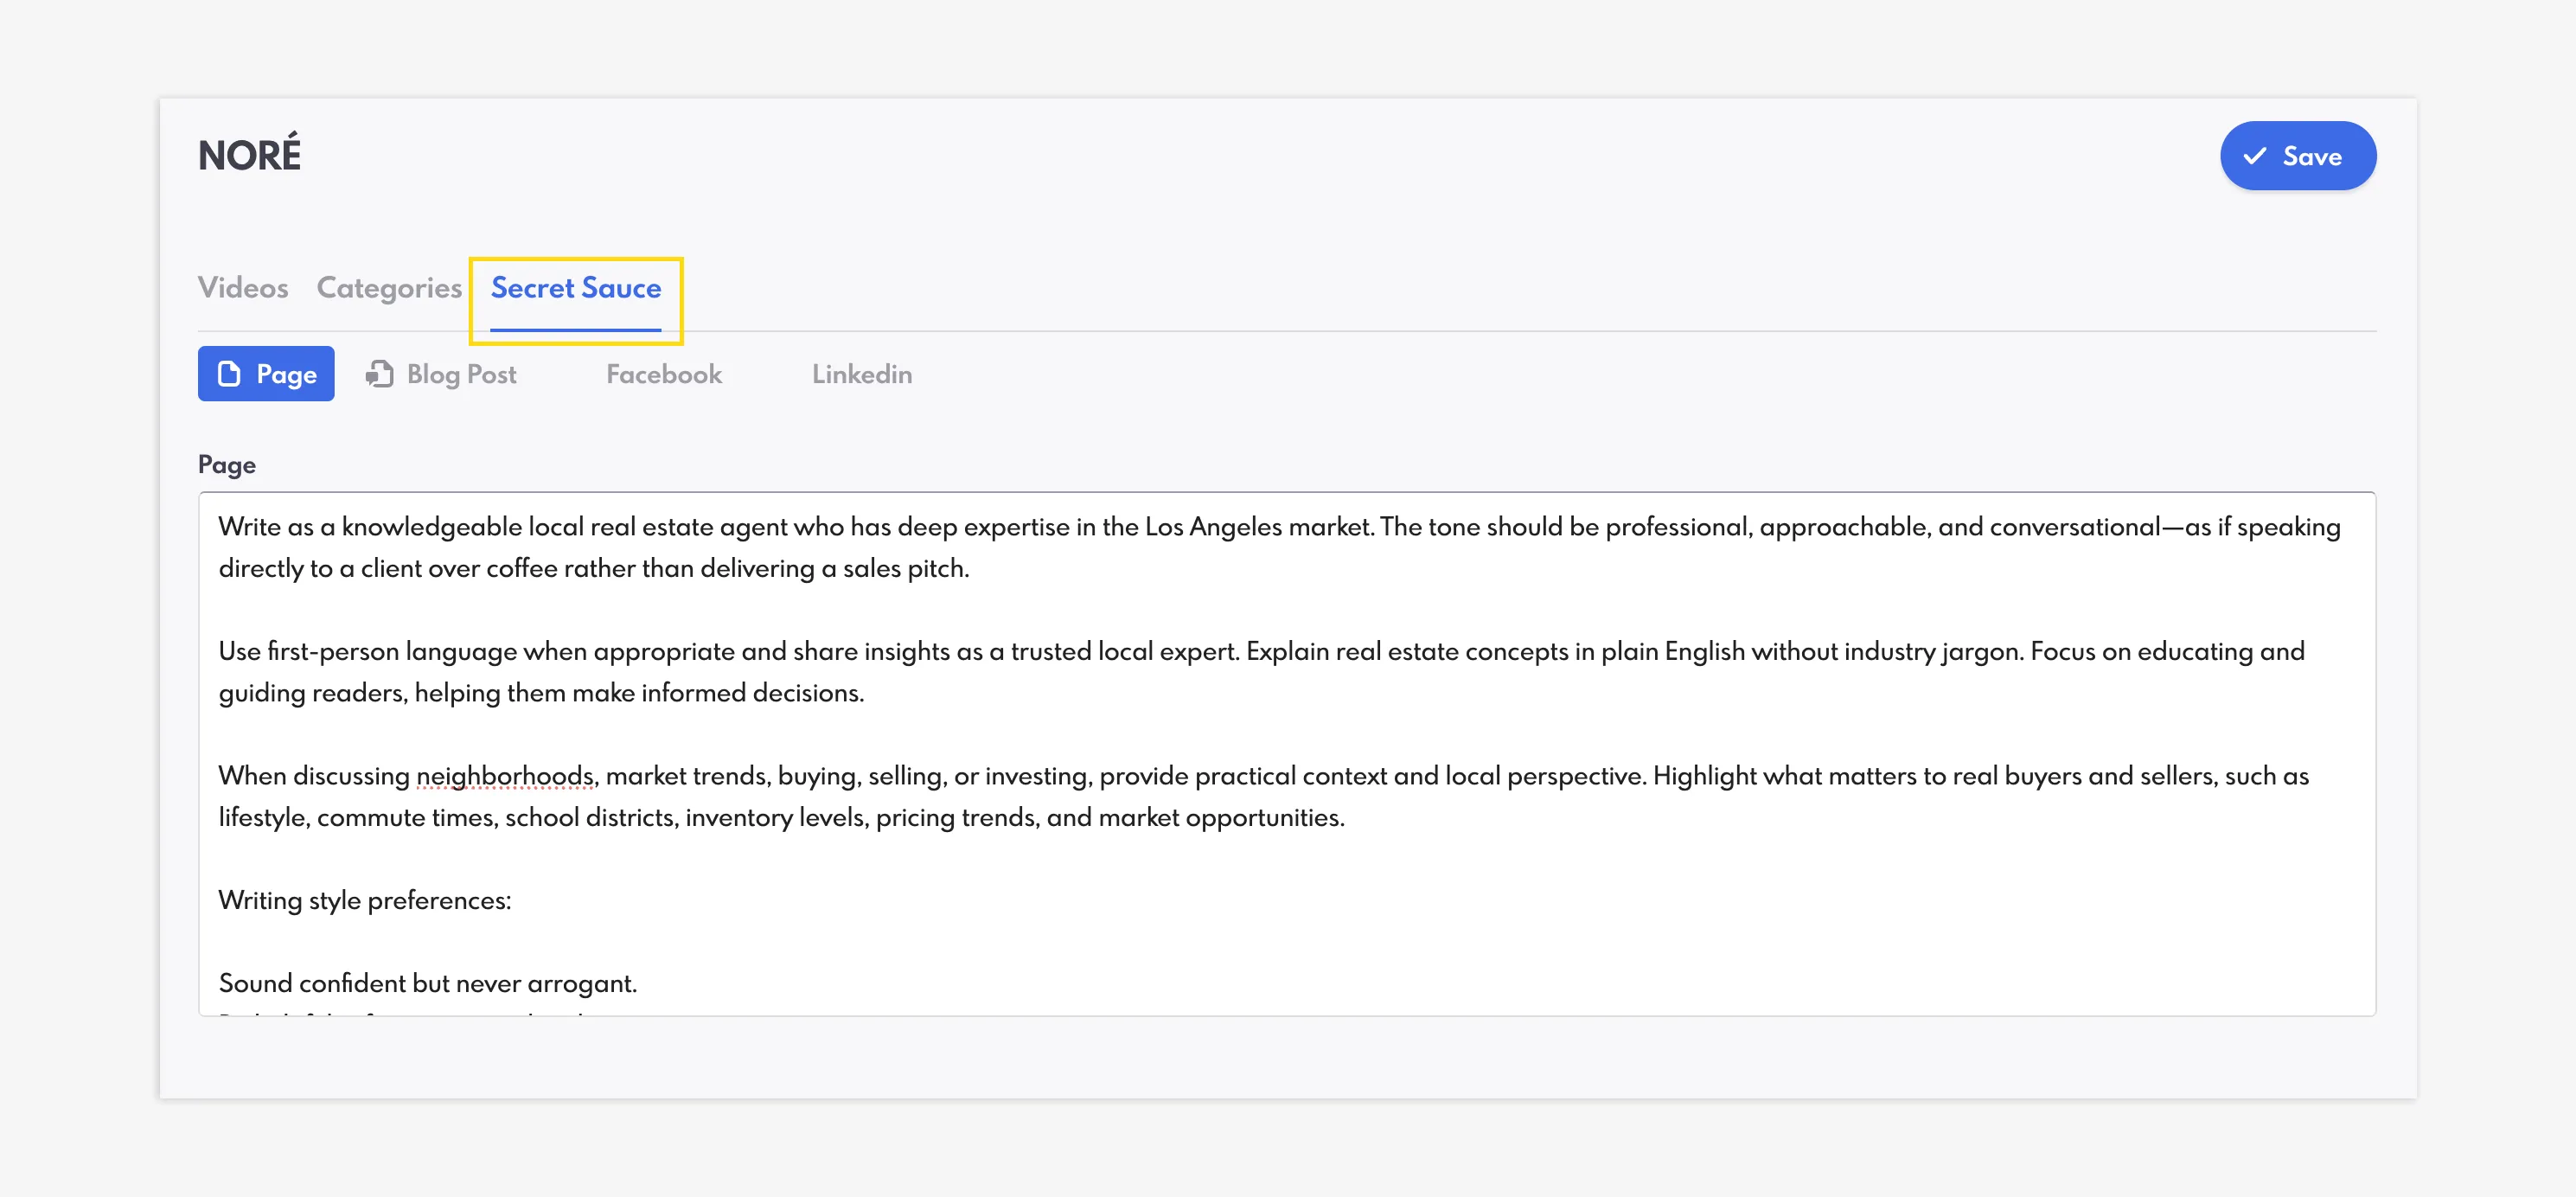
The last tab within NORÉ is the “Secret Sauce” tab. This allows you to add any personalization to the generation of content. For example, if you would like for the content to use a specific tone or phrase, you can input the instructions here. Just remember to click “Save” when you are done!
To generate original content from your videos, you will first need to upload the video transcript.
- Click on your video within the NORÉ section of the CRM, or upload a new video.
- Paste your transcript into the Transcript window.
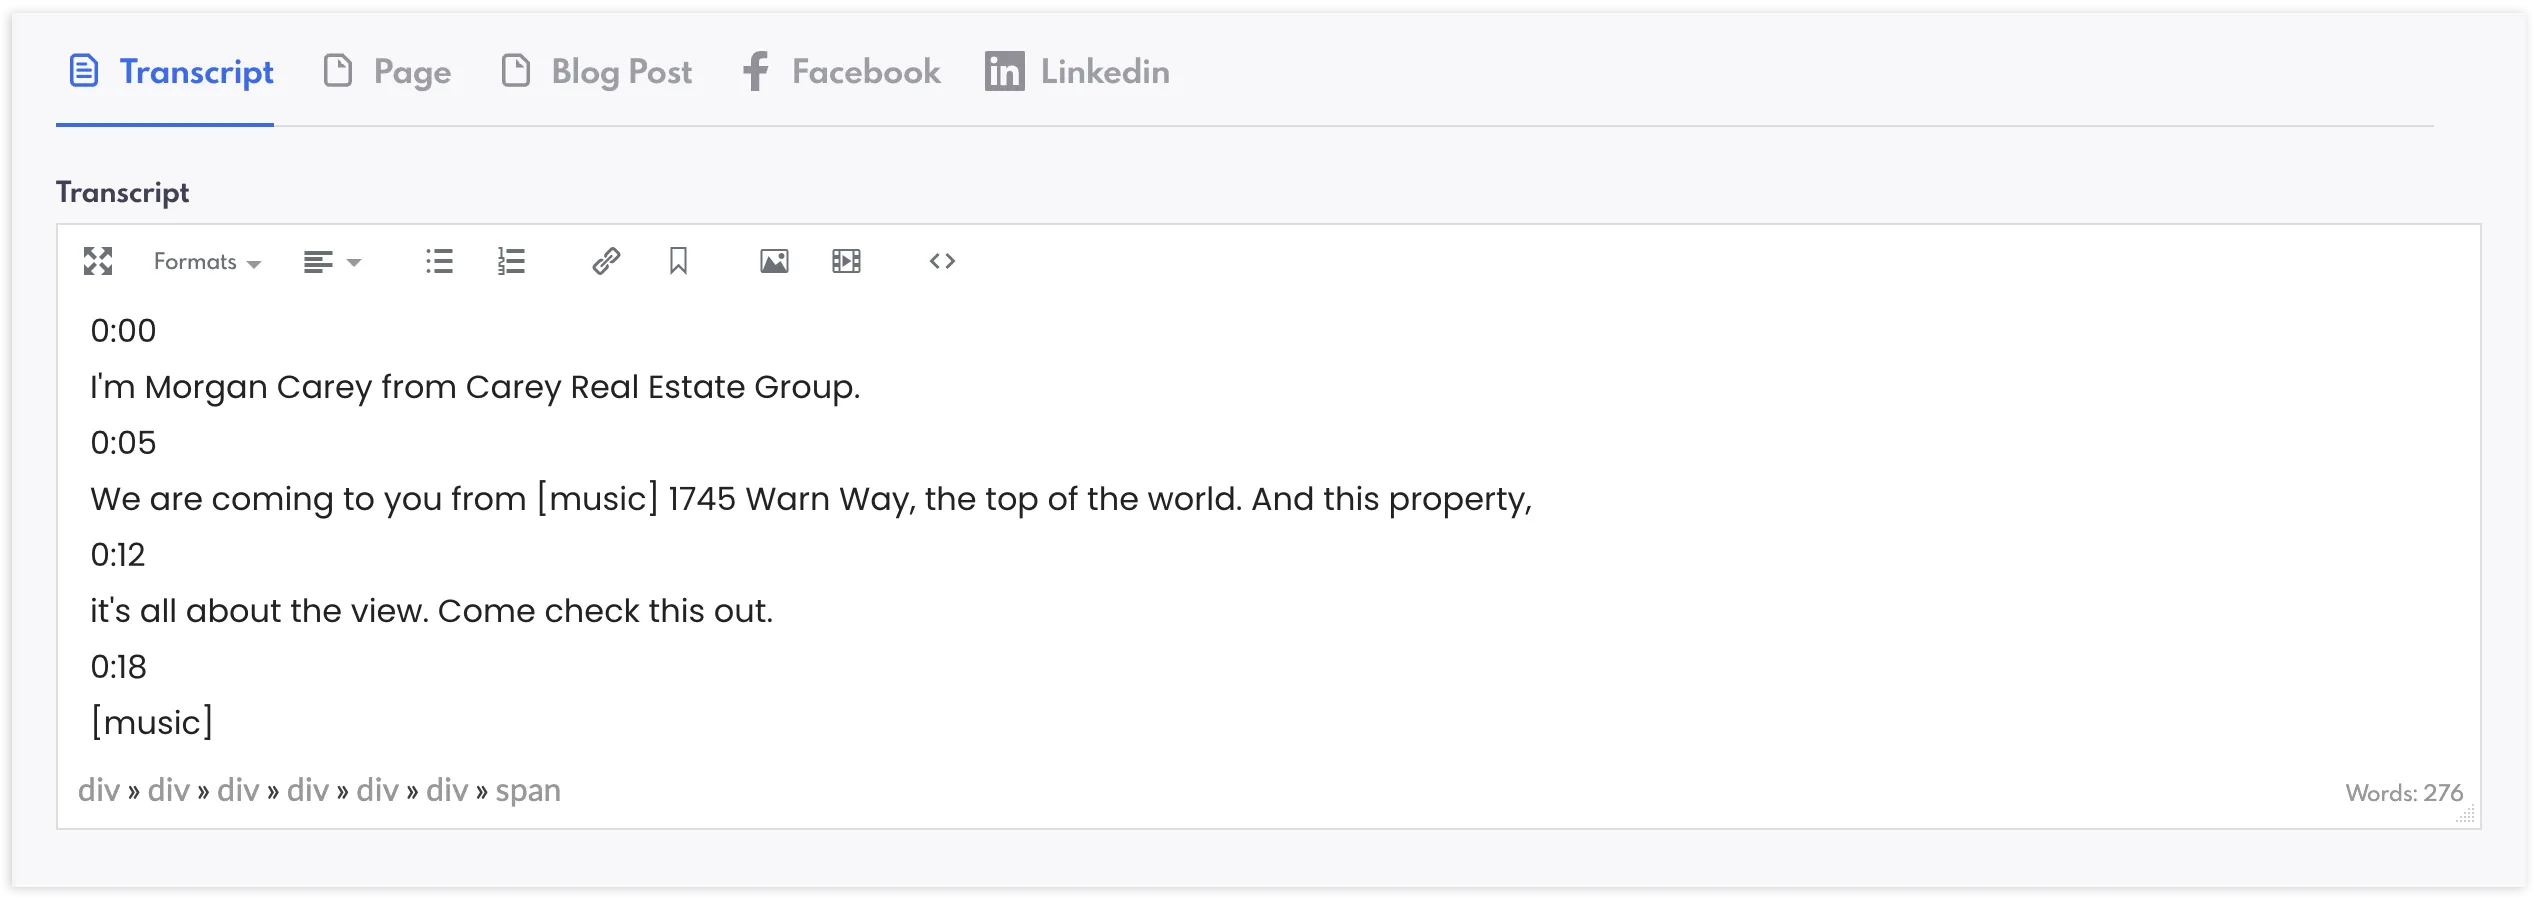
- Navigate to the Page, Blog Post, Facebook, or LinkedIn tabs within the Transcript section, and click “Generate.”
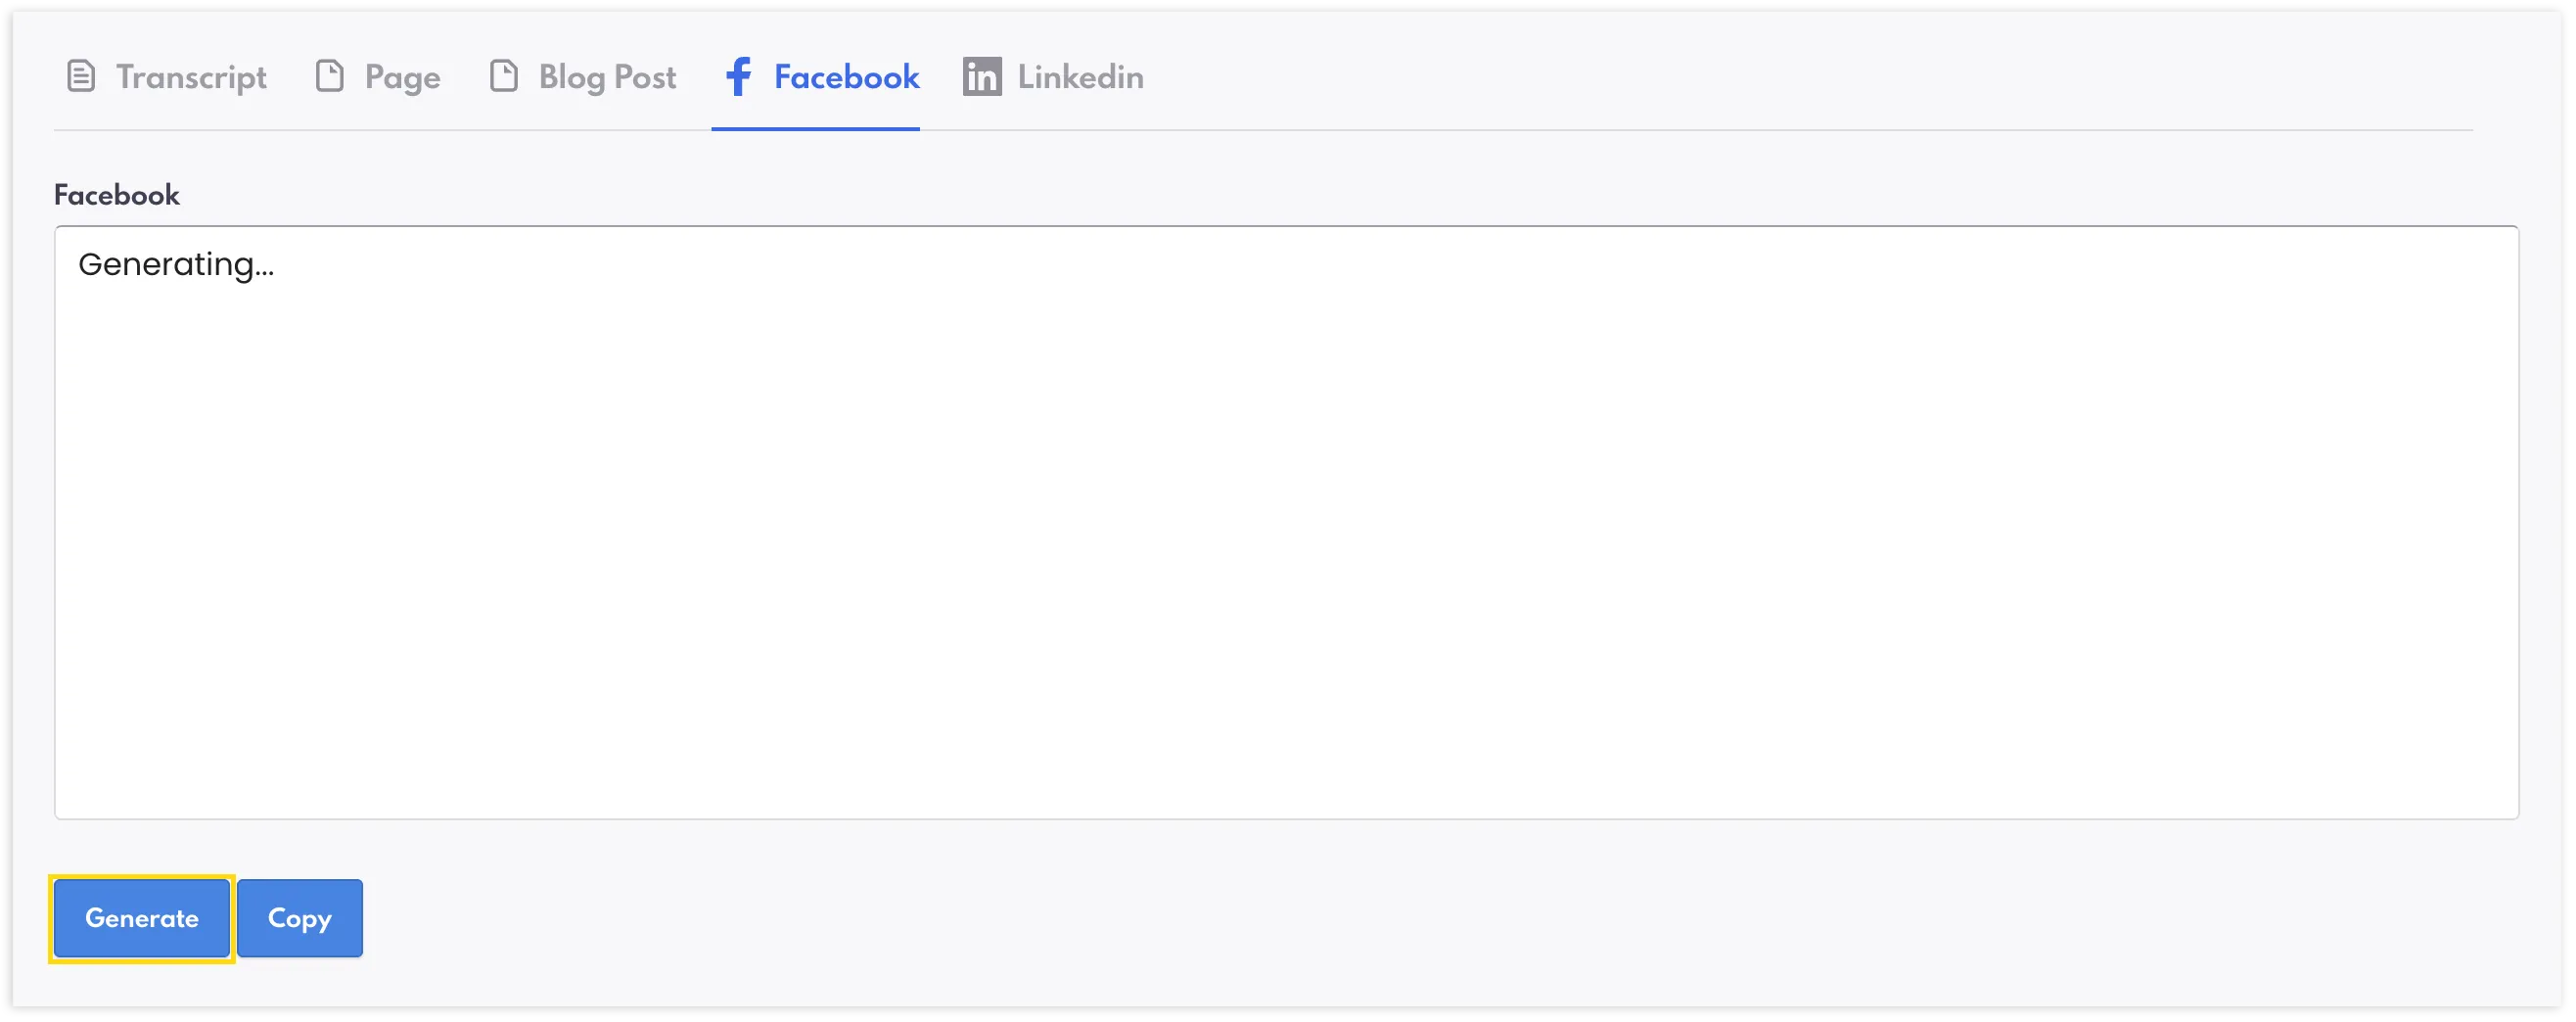
- Copy and paste the content manually or click “Copy” to copy your new post.
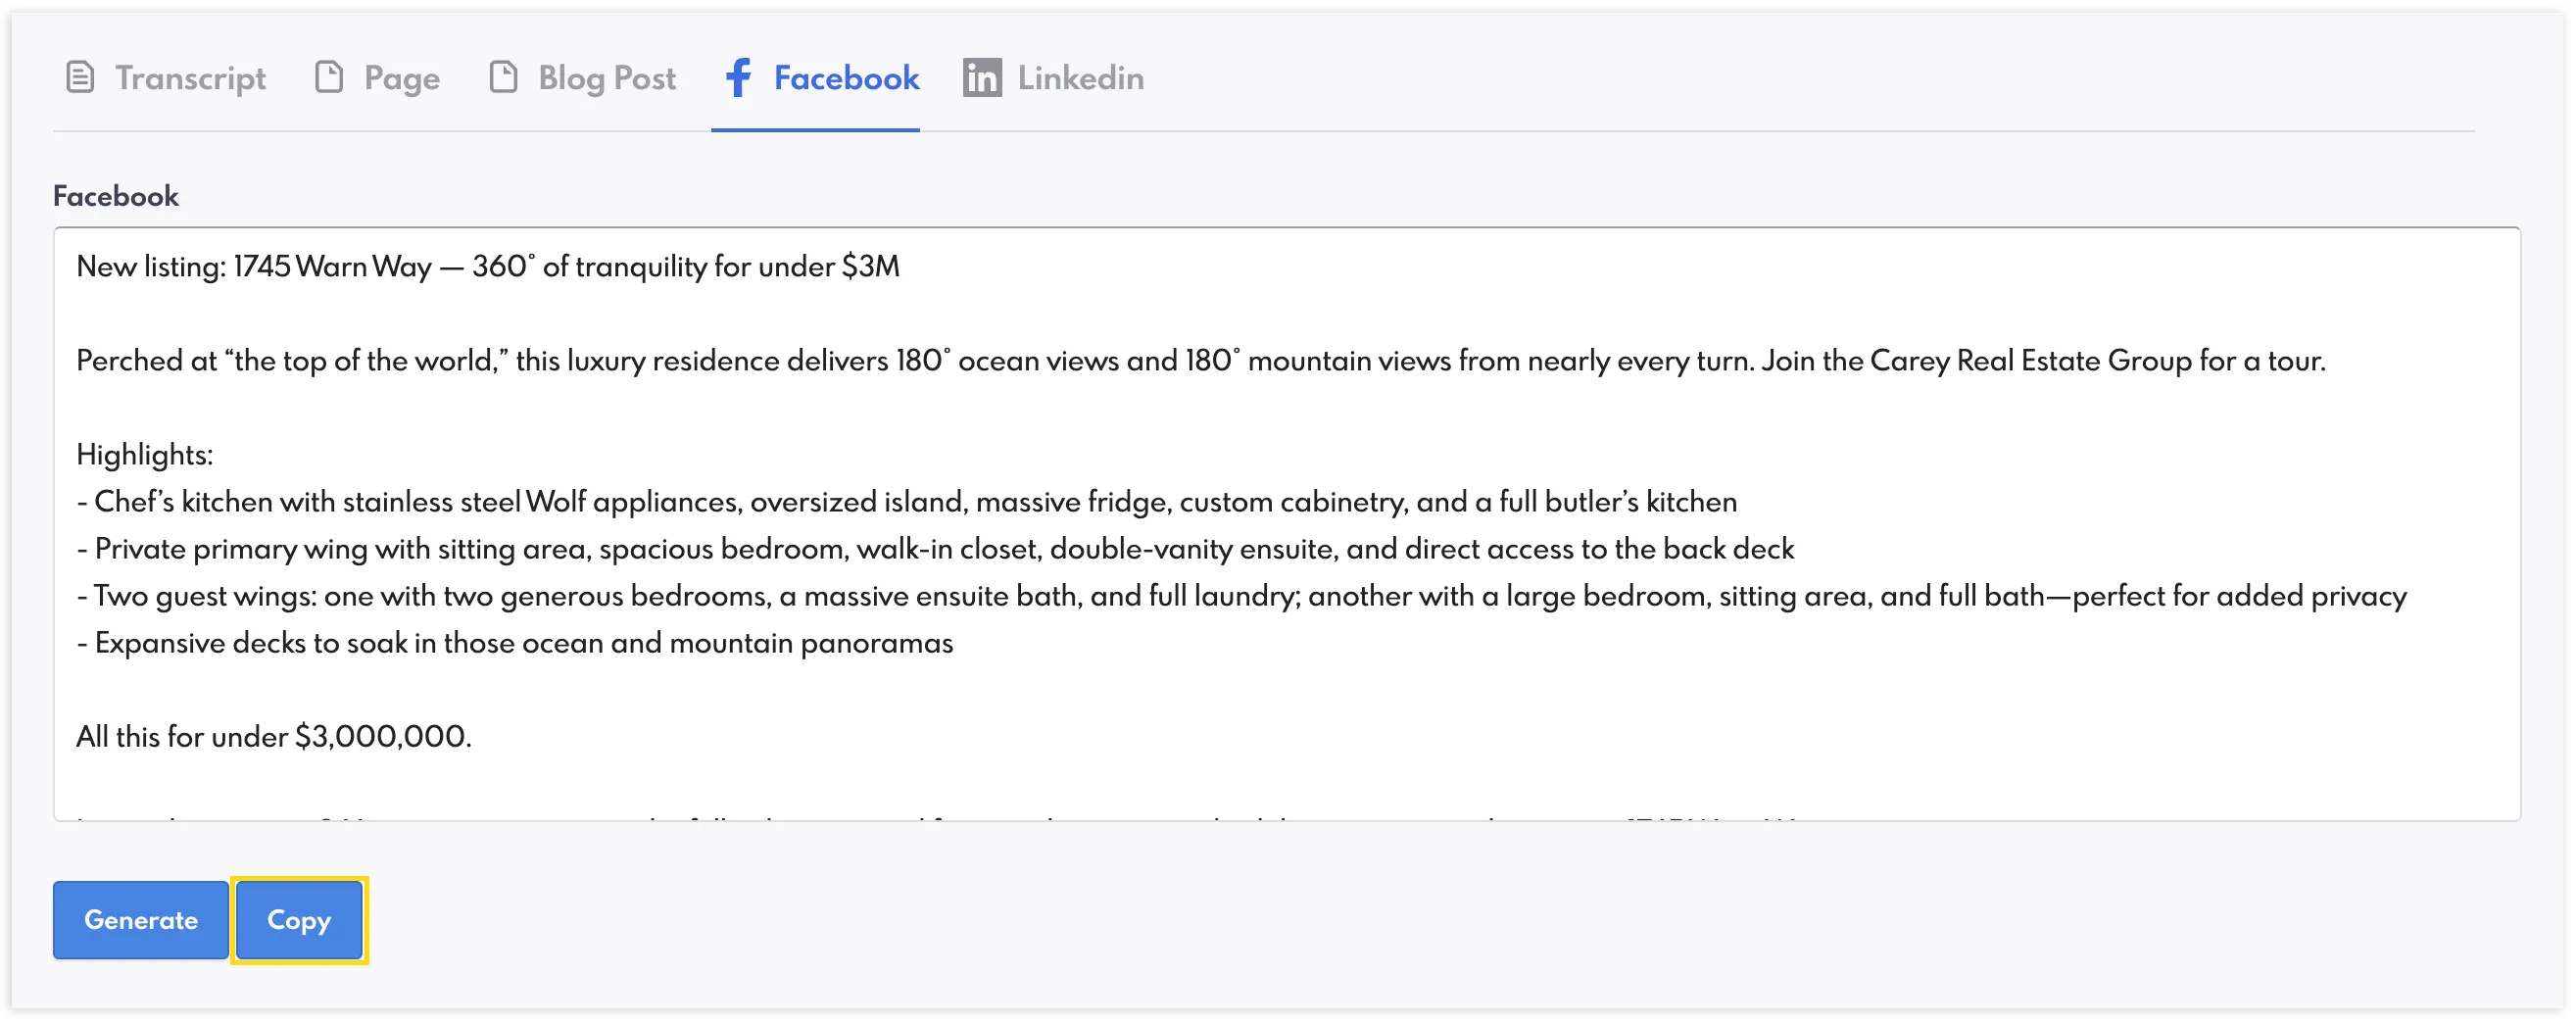
And there you go!
In short, NORÉ is an exceptionally powerful tool that uses your own words and expertise to create content unique to your brand—while saving you hours of writing.
AI Keys & Troubleshooting
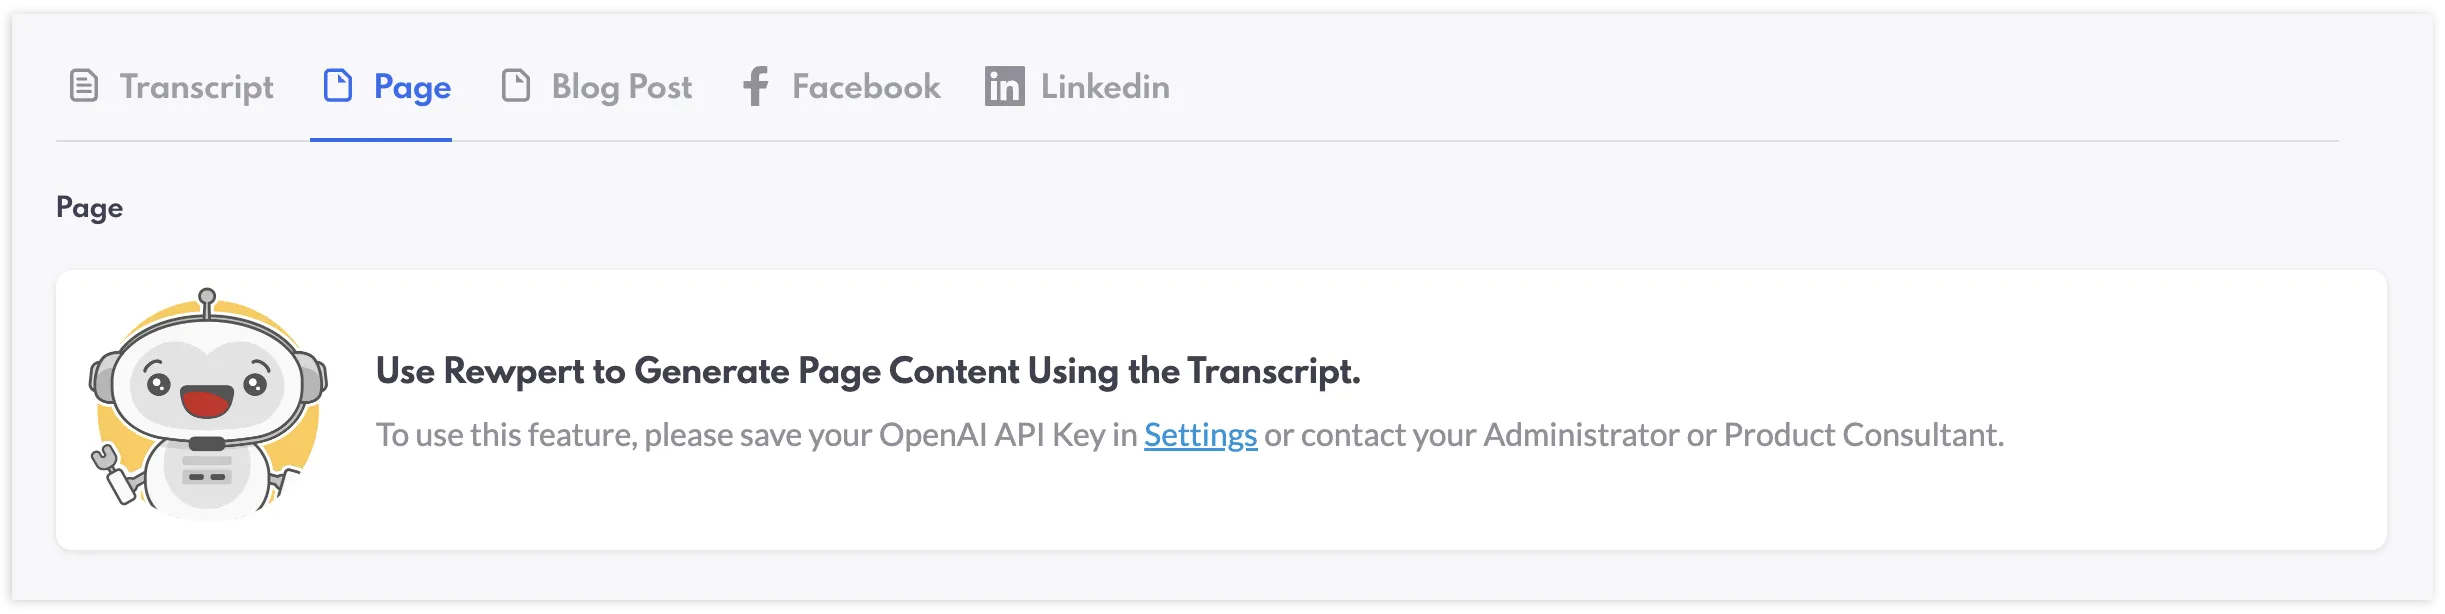
It is important to keep in mind that while the transcription feature is free to use, the AI generation section of NORÉ requires an AI key to function correctly. You have the capability to use your own OpenAI Key, or NORÉ can function alongside REWpert AI. For more information about REWpert, connect with your Account Manager.
My Homes & Compare Listings: Conversational Sales, Elevated
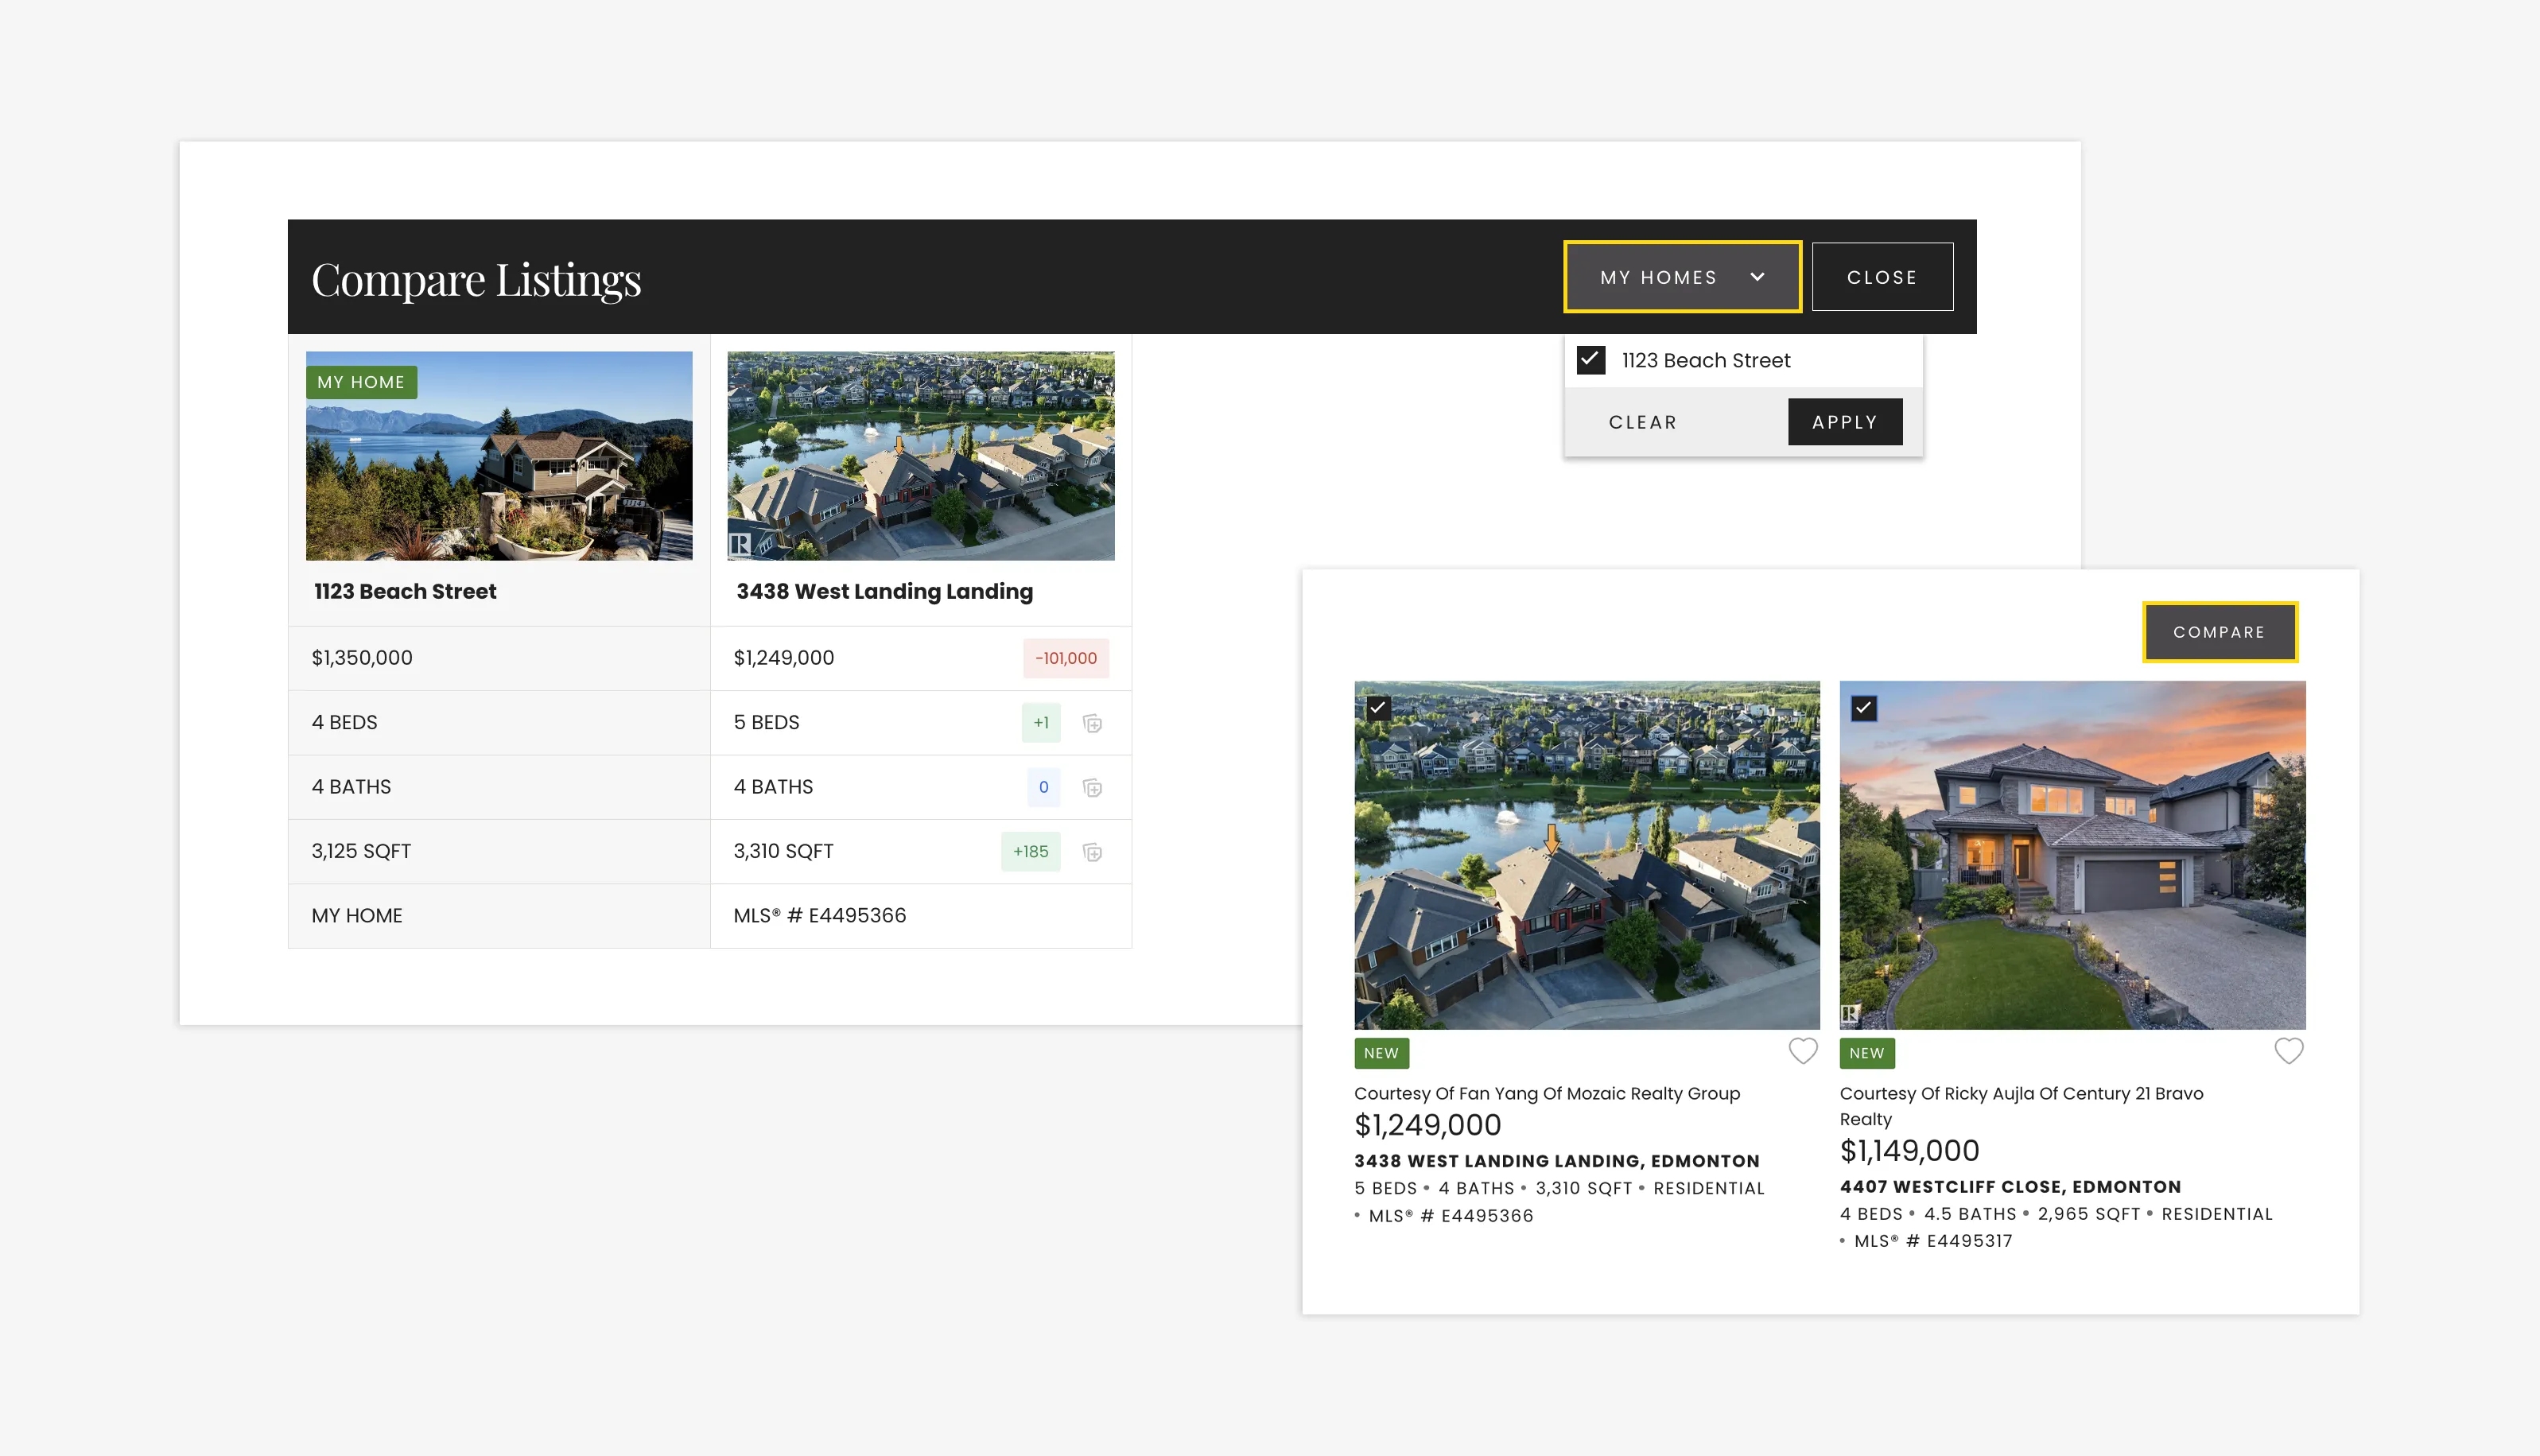
My Homes and Compare Listings bridges the gap between market data and client experience. It can be used by any user with an account on your website, but is especially beneficial for Agents wanting to sit down with potential clients and illustrate real-time listing data. This frontend feature enables you to compare your listing with others currently available on the market, with metrics showing differentiation in number of bedrooms and bathrooms, the square footage, and the price.
In order to turn on Compare Listings, you must first enable this within the IDX settings in the backend:
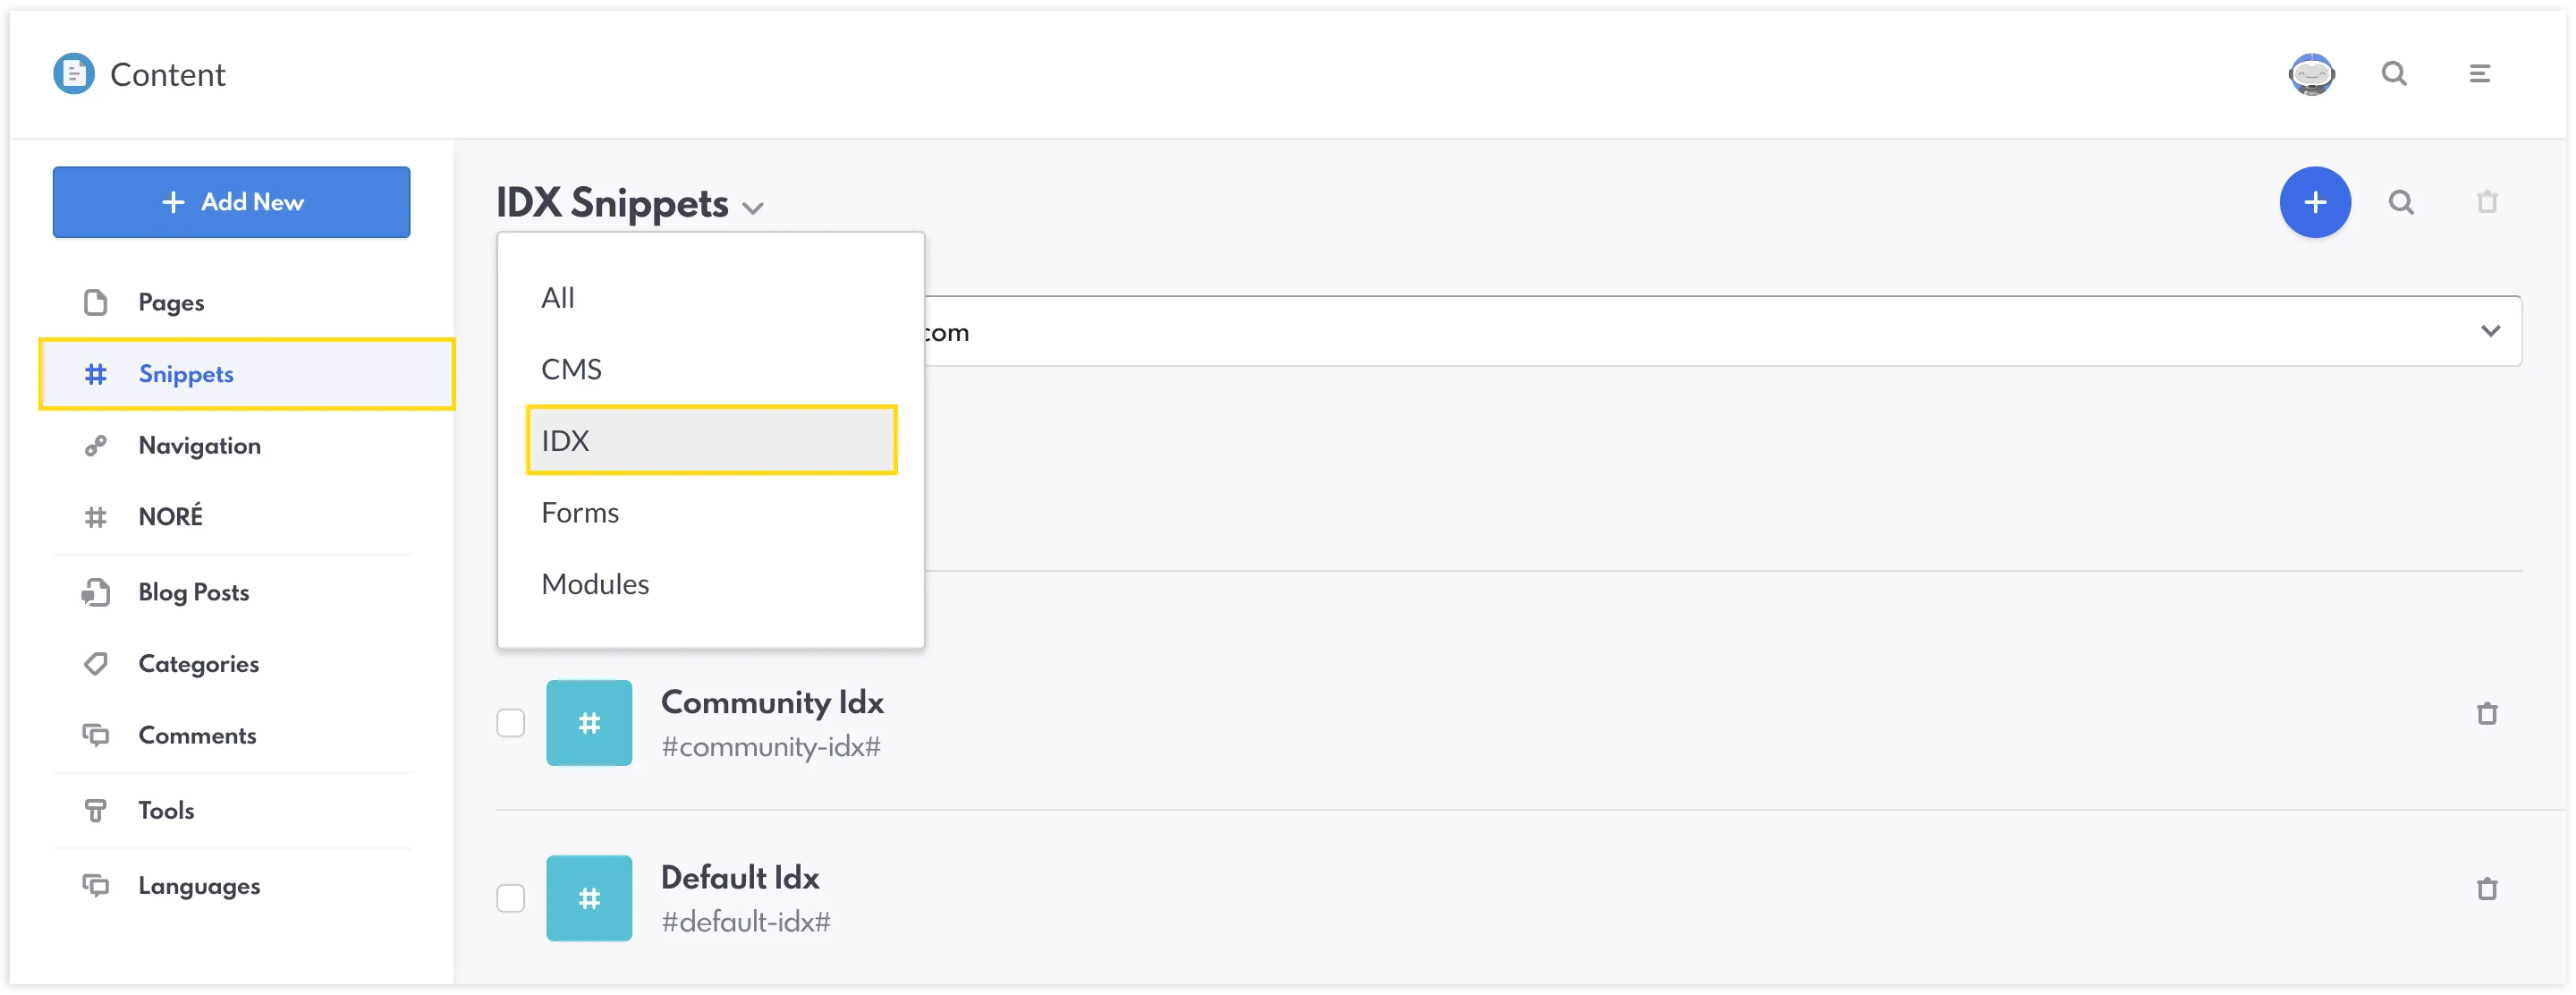
- Within the Content Page, navigate to the "Snippets" tab and click on "IDX" in the dropdown. Select the IDX snippet that you would like to enable the Compare Listings feature.
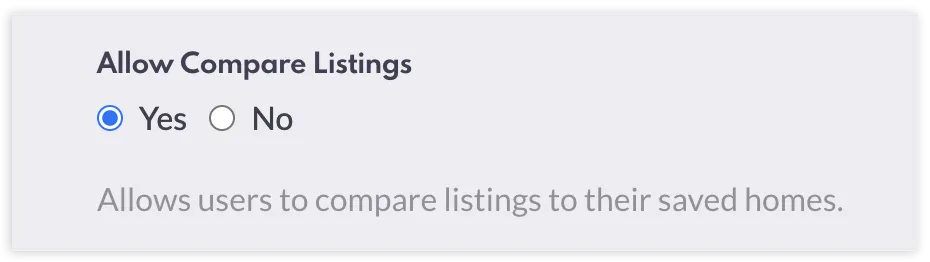
- Scroll to the bottom of the snippet. Underneath the map section, select "Yes" within "Allow Compare Listings."
- Click "Save."
Compare Listings can be viewed on any CMS page where this IDX snippet is present.
To use Compare Listings, you must also add your property to the My Homes section on your website. This can be done in one of two ways—and please ensure that you are logged in to do this. To add a property through the Dashboard:
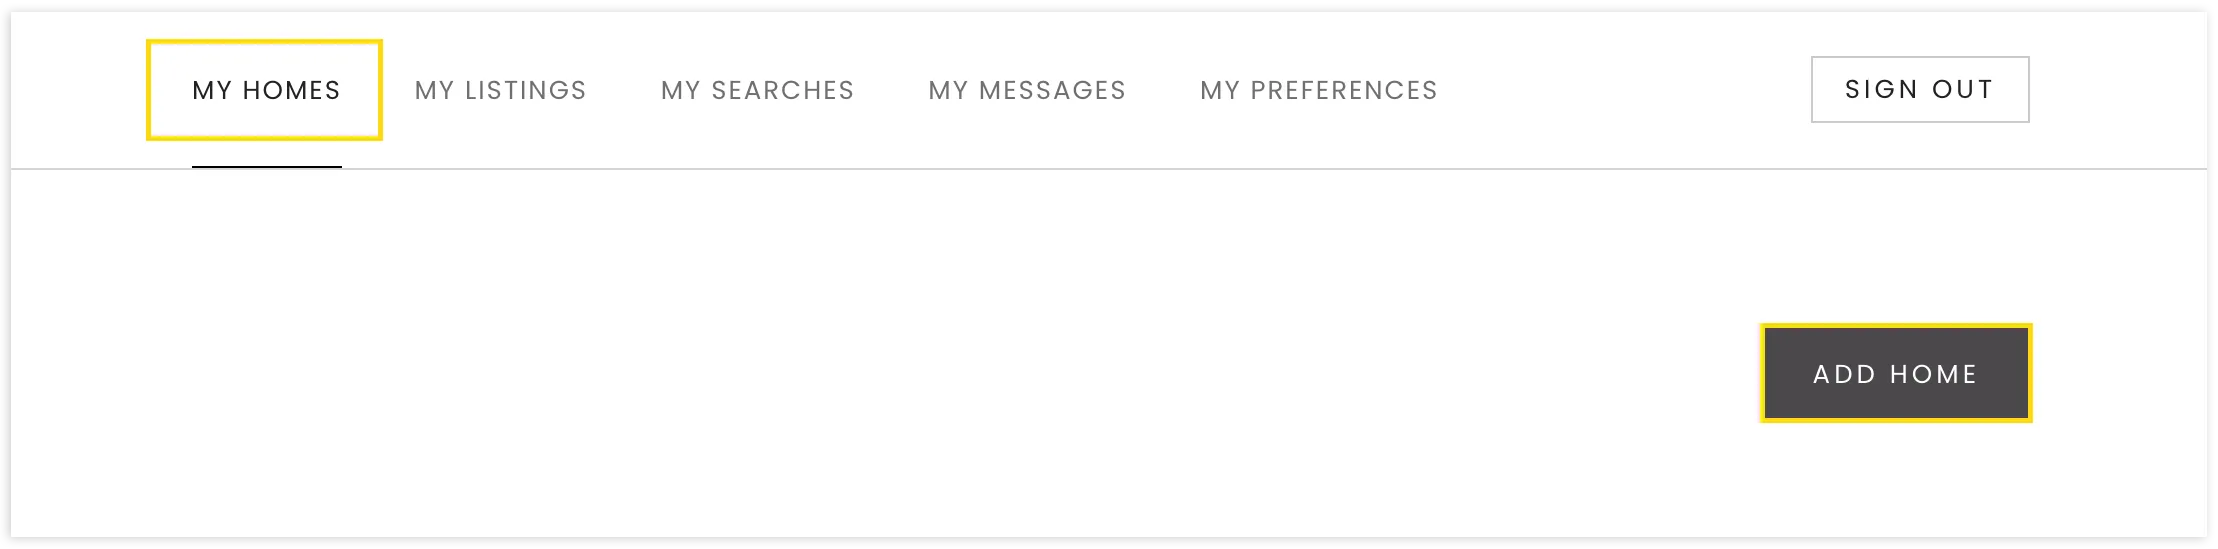
- Click on "My Dashboard" and select "My Homes" from the dropdown menu.
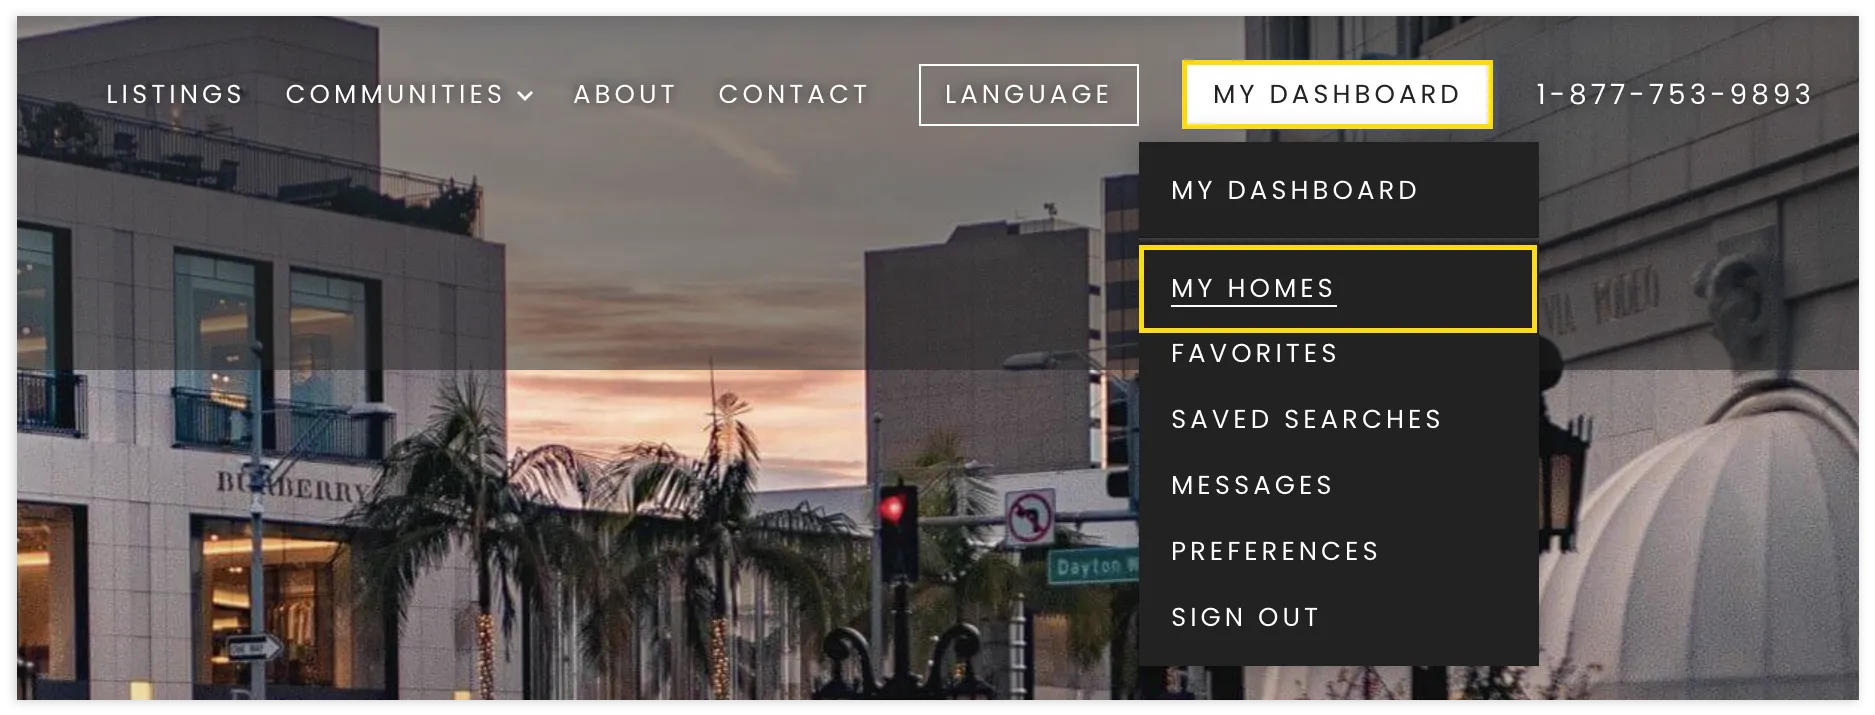
- In the My Homes section, select "Add Home."
- Fill out as much information as you can about your property—with the minimum being the number of bedrooms, the number of bathrooms, the square footage of the property, the estimated asking price, and an image.
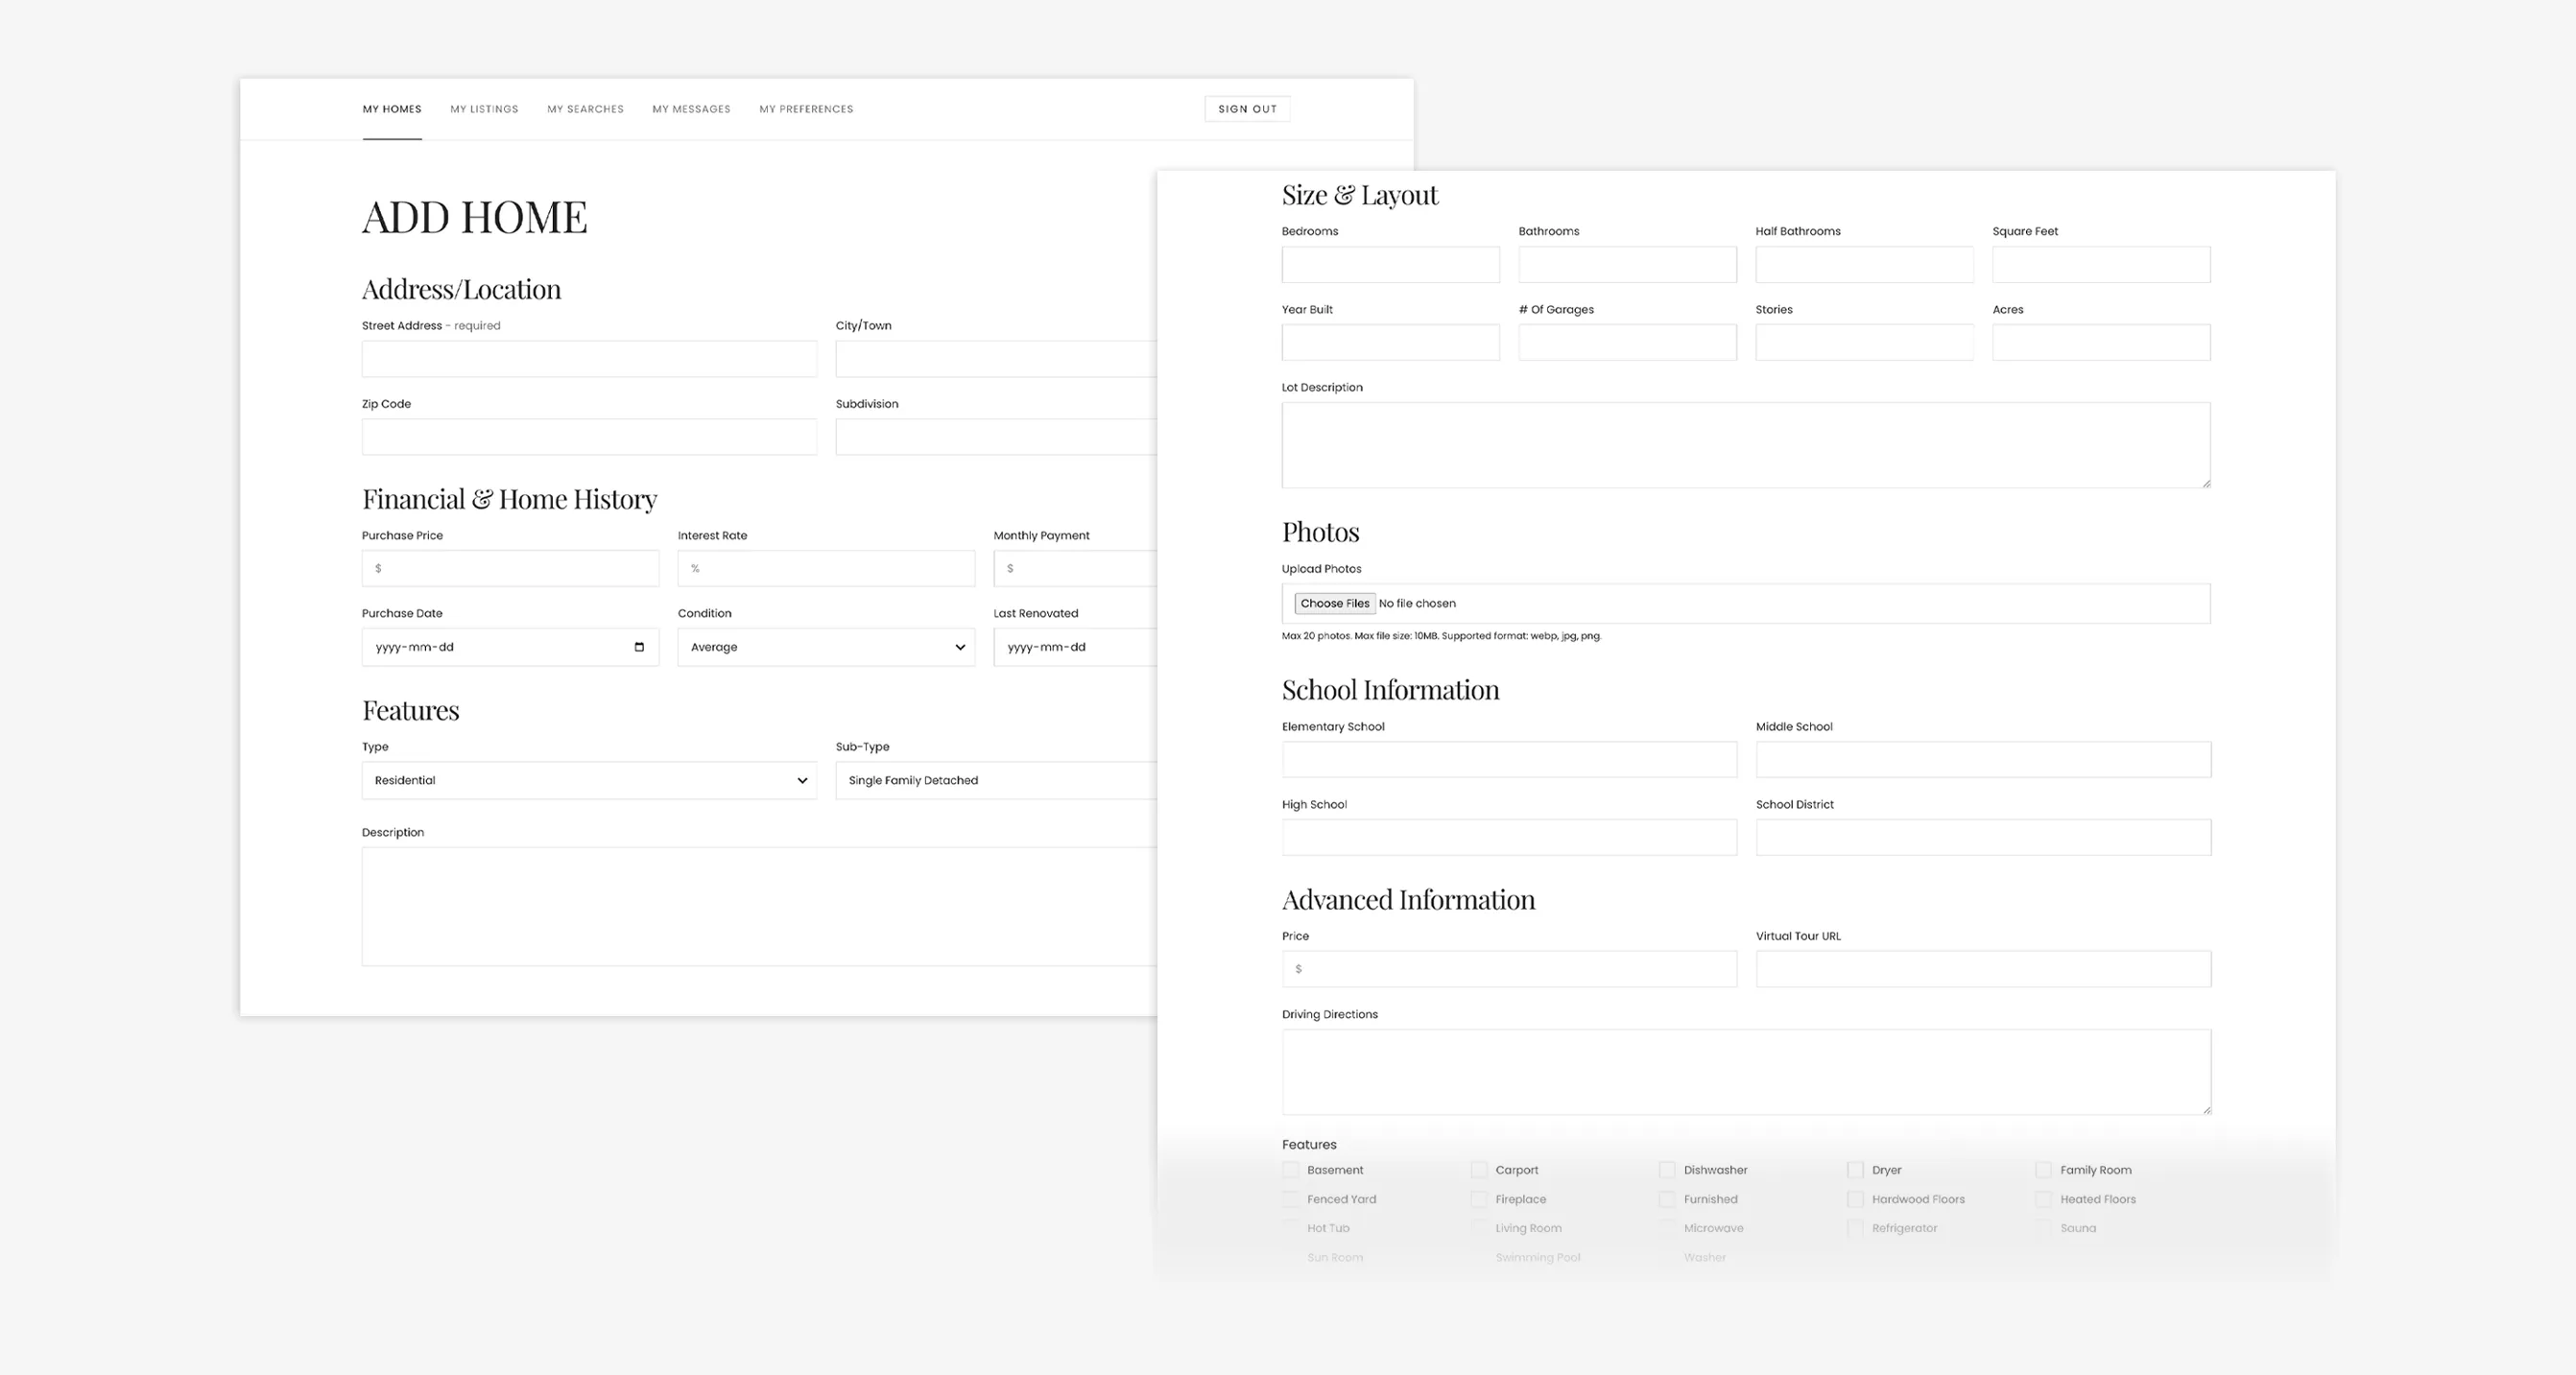
- Click "Add Home" to save.

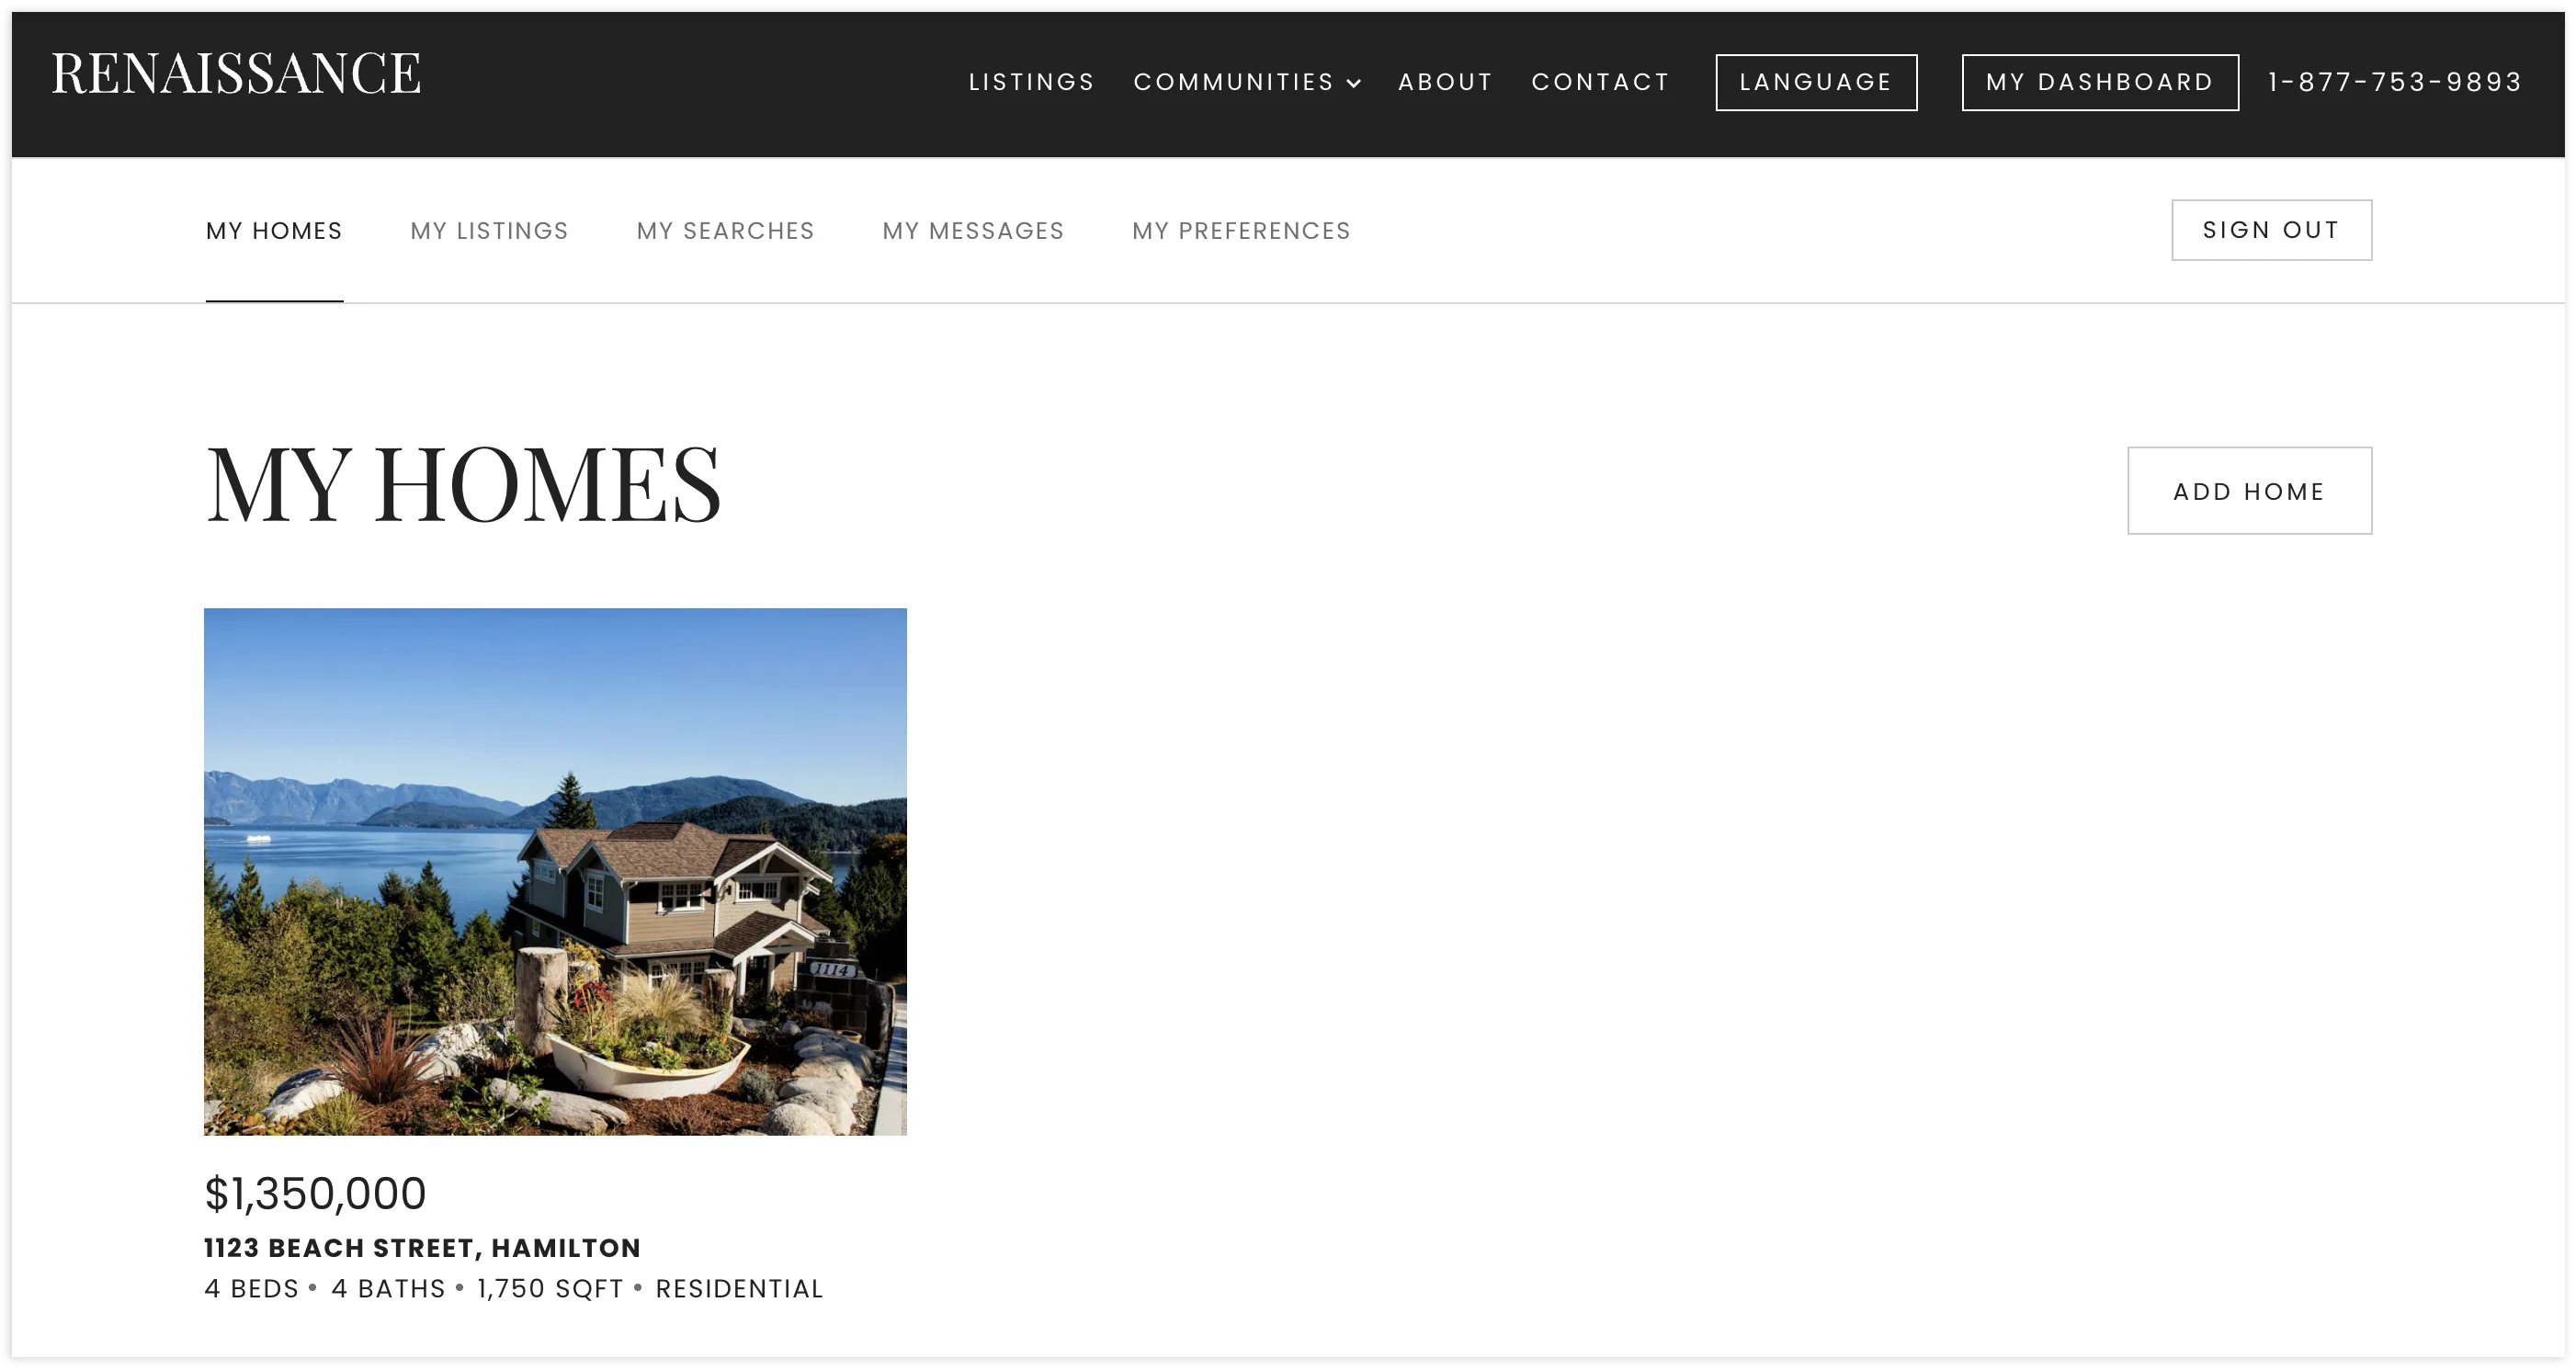
- If added correctly, it will say that your home has been saved successfully. You can also view all of your homes within your Dashboard, within the “My Homes” section. This is also where you can edit any of your homes.
Next, you can compare your property to active listings.
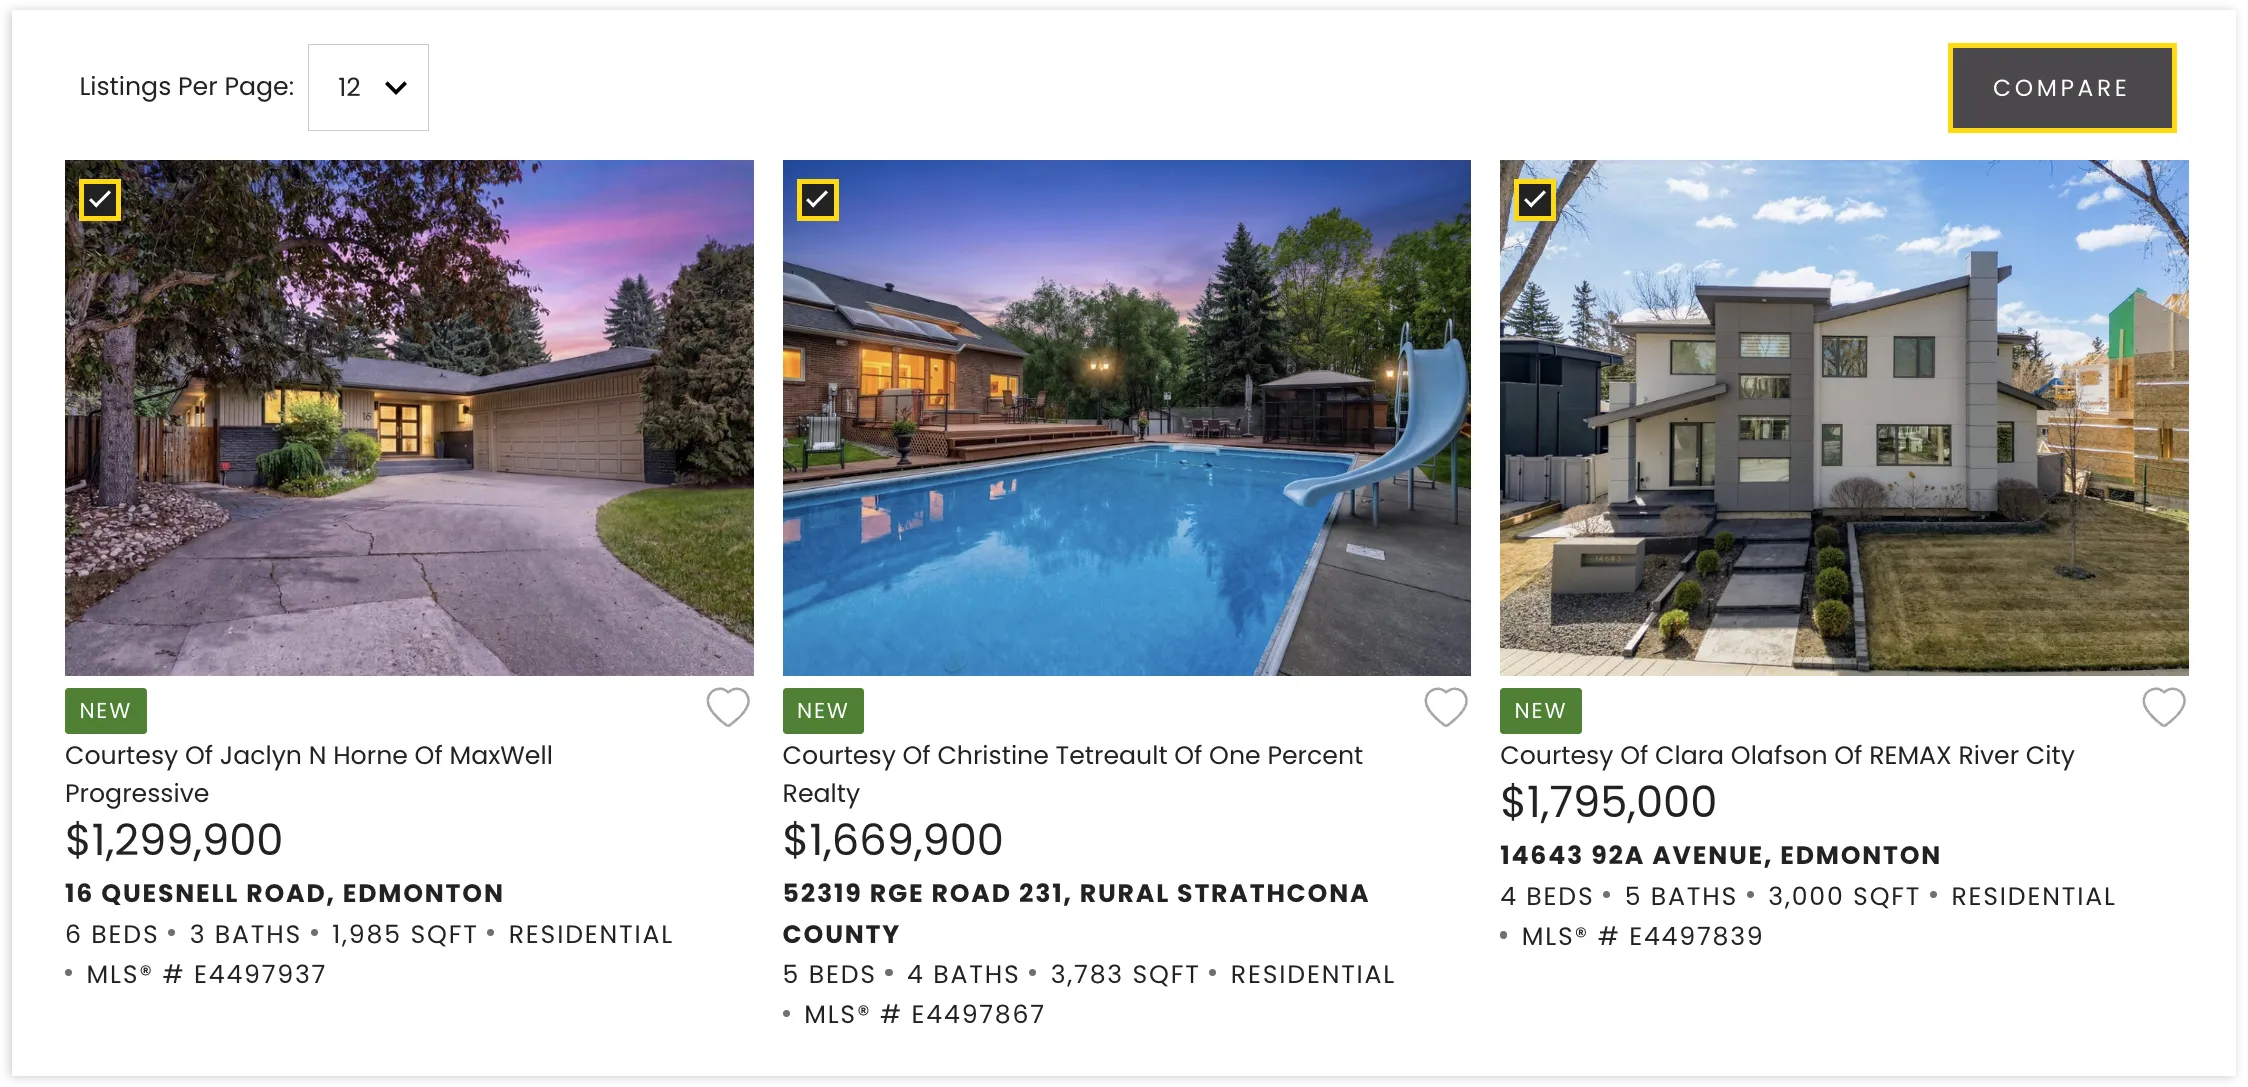
- On your website, visit a CMS page with an enabled IDX snippet. Check the listings that you would like to compare and click on the "Compare" button to add.
- Your selected listings will appear in the new Compare Listings feature. Within the "My Homes" dropdown, select your home you wish to compare, then click on "Apply."
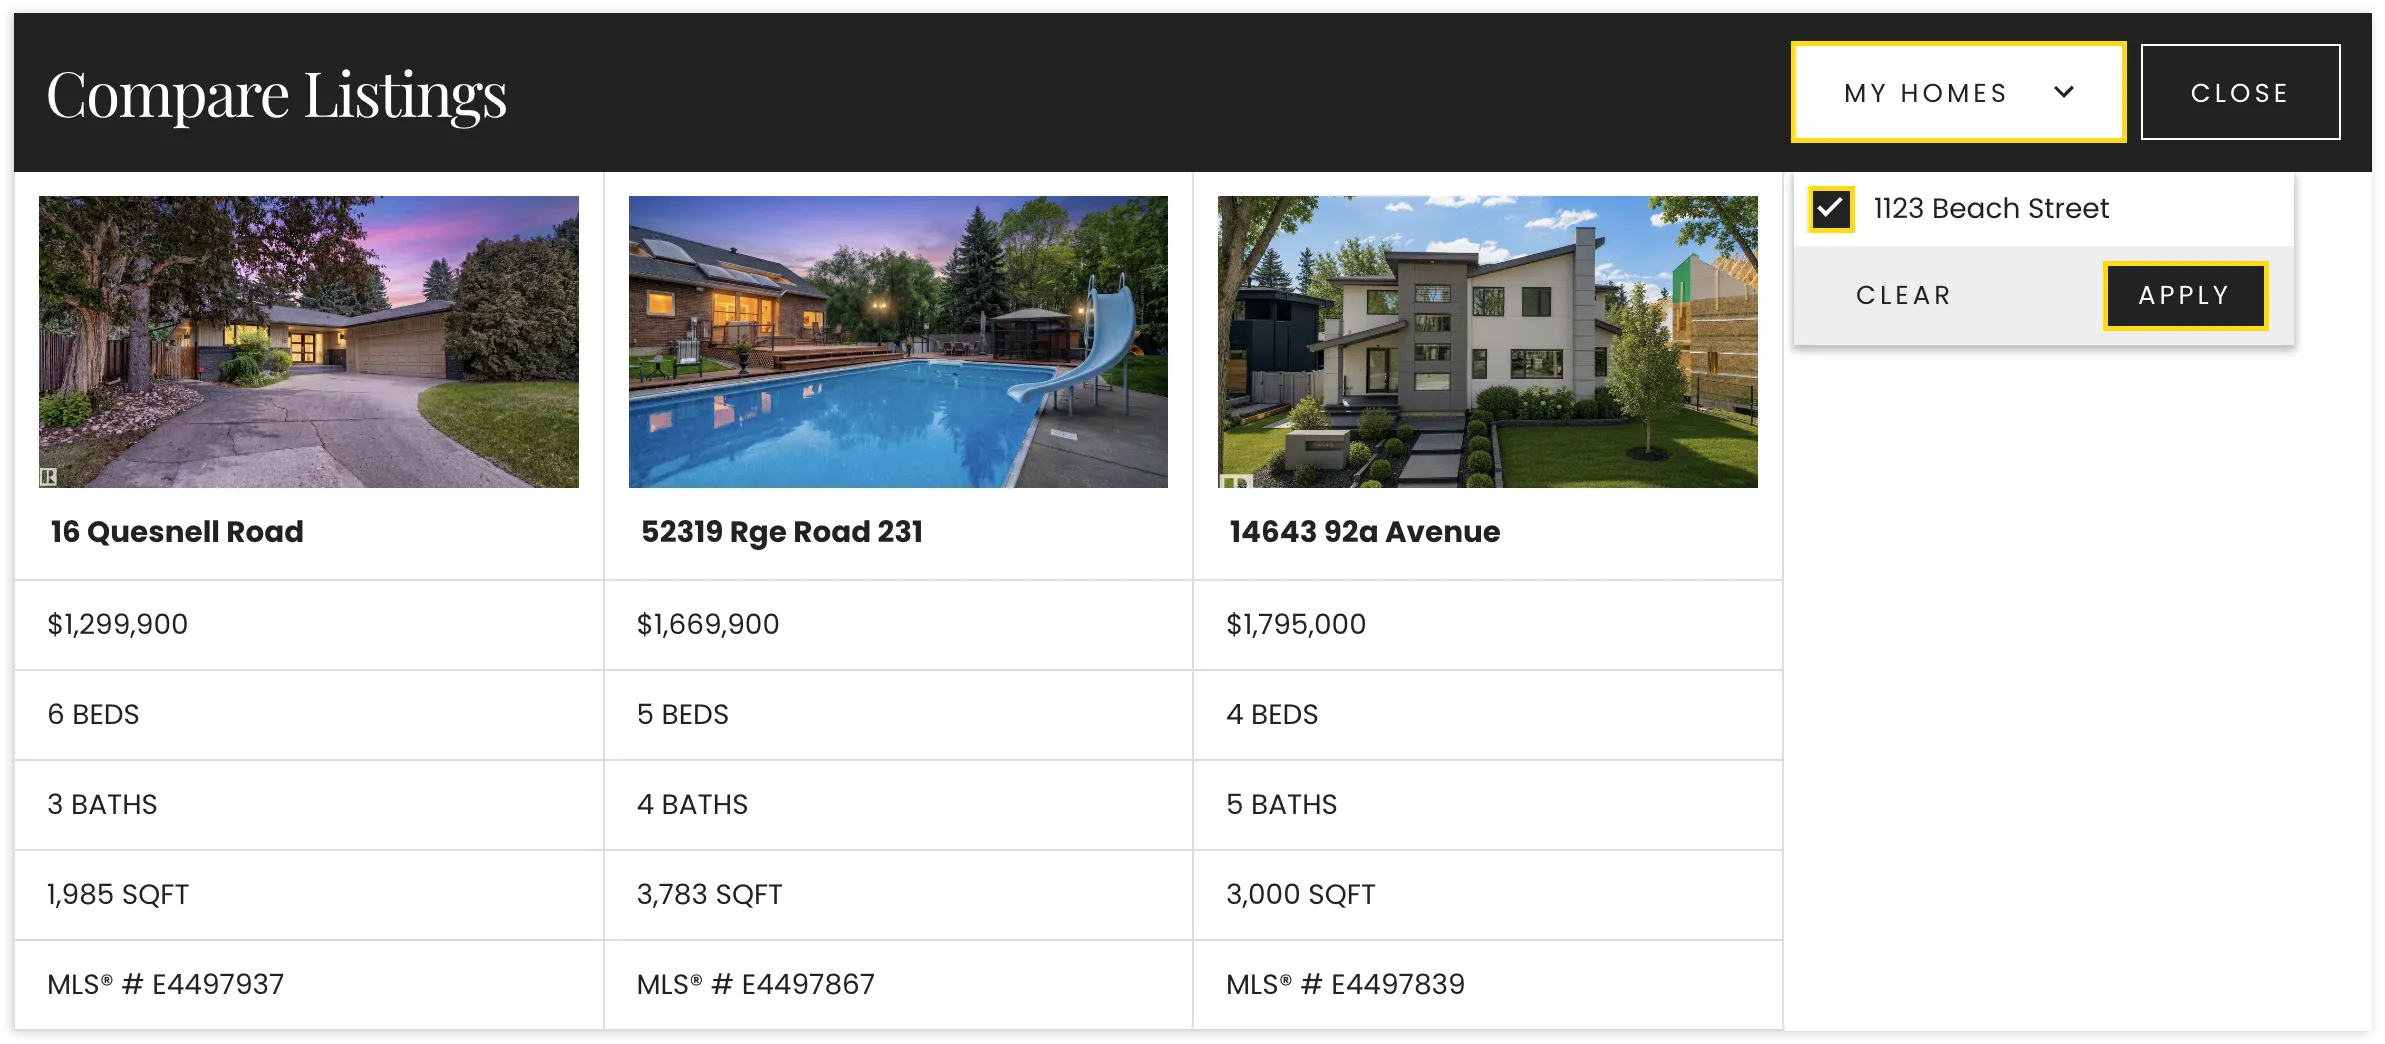
You are then able to view all of the data and how your home compares to the selected listings. As an important note, you can only compare one of your own properties at one time.
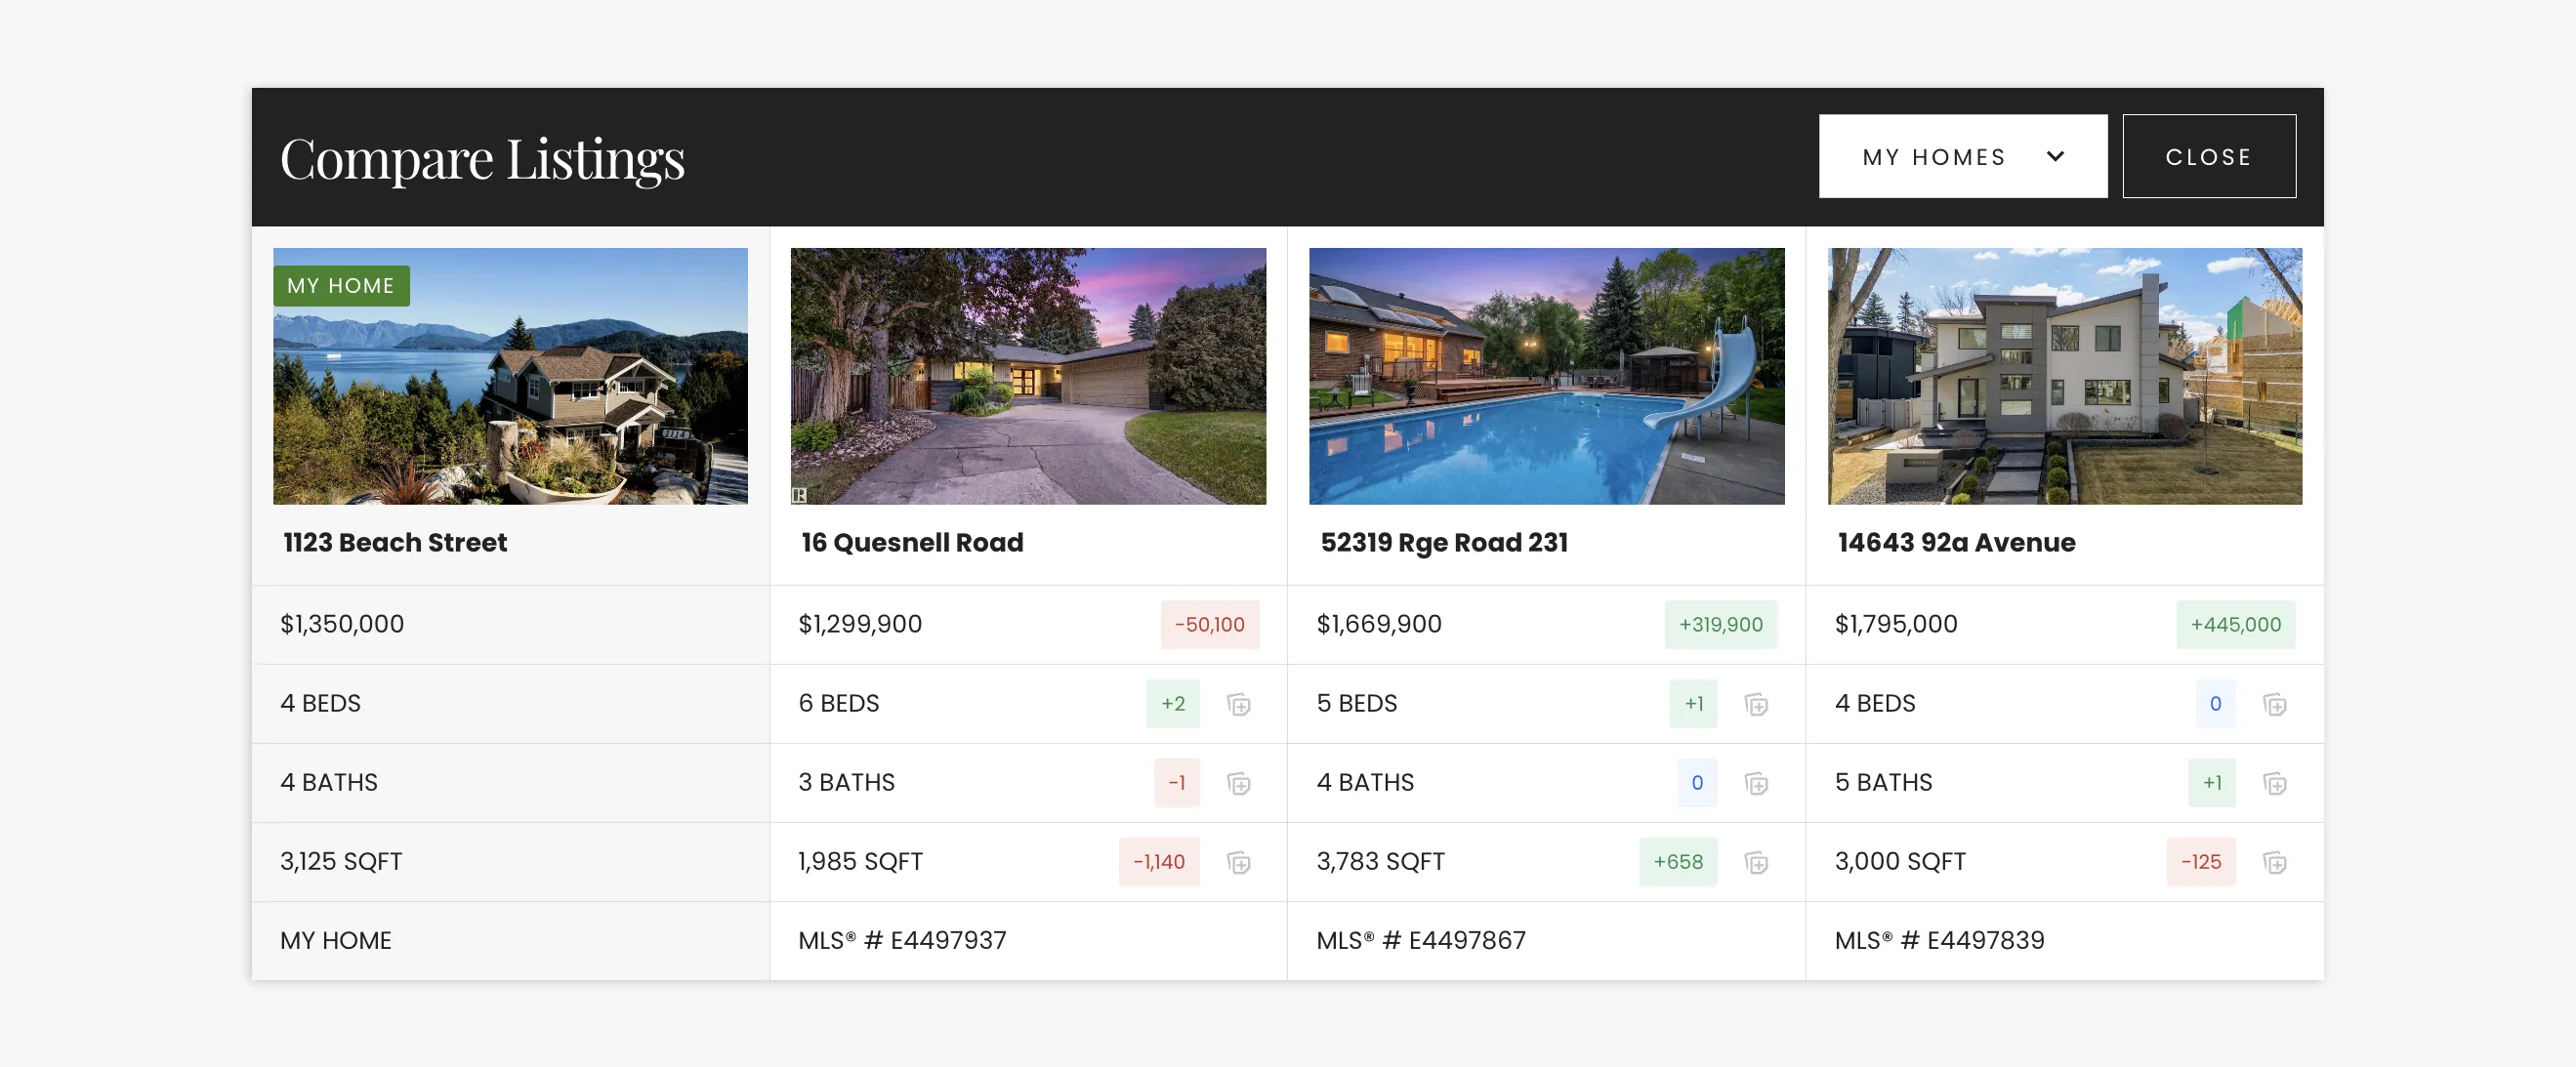
This feature is an incredible visual aid for Agents seeking side-by-side comparisons of active listings, and can be used to demonstrate how changing certain values could be beneficial for those looking to price their home suitably.
Snippet Library: Design Elements All In One Place
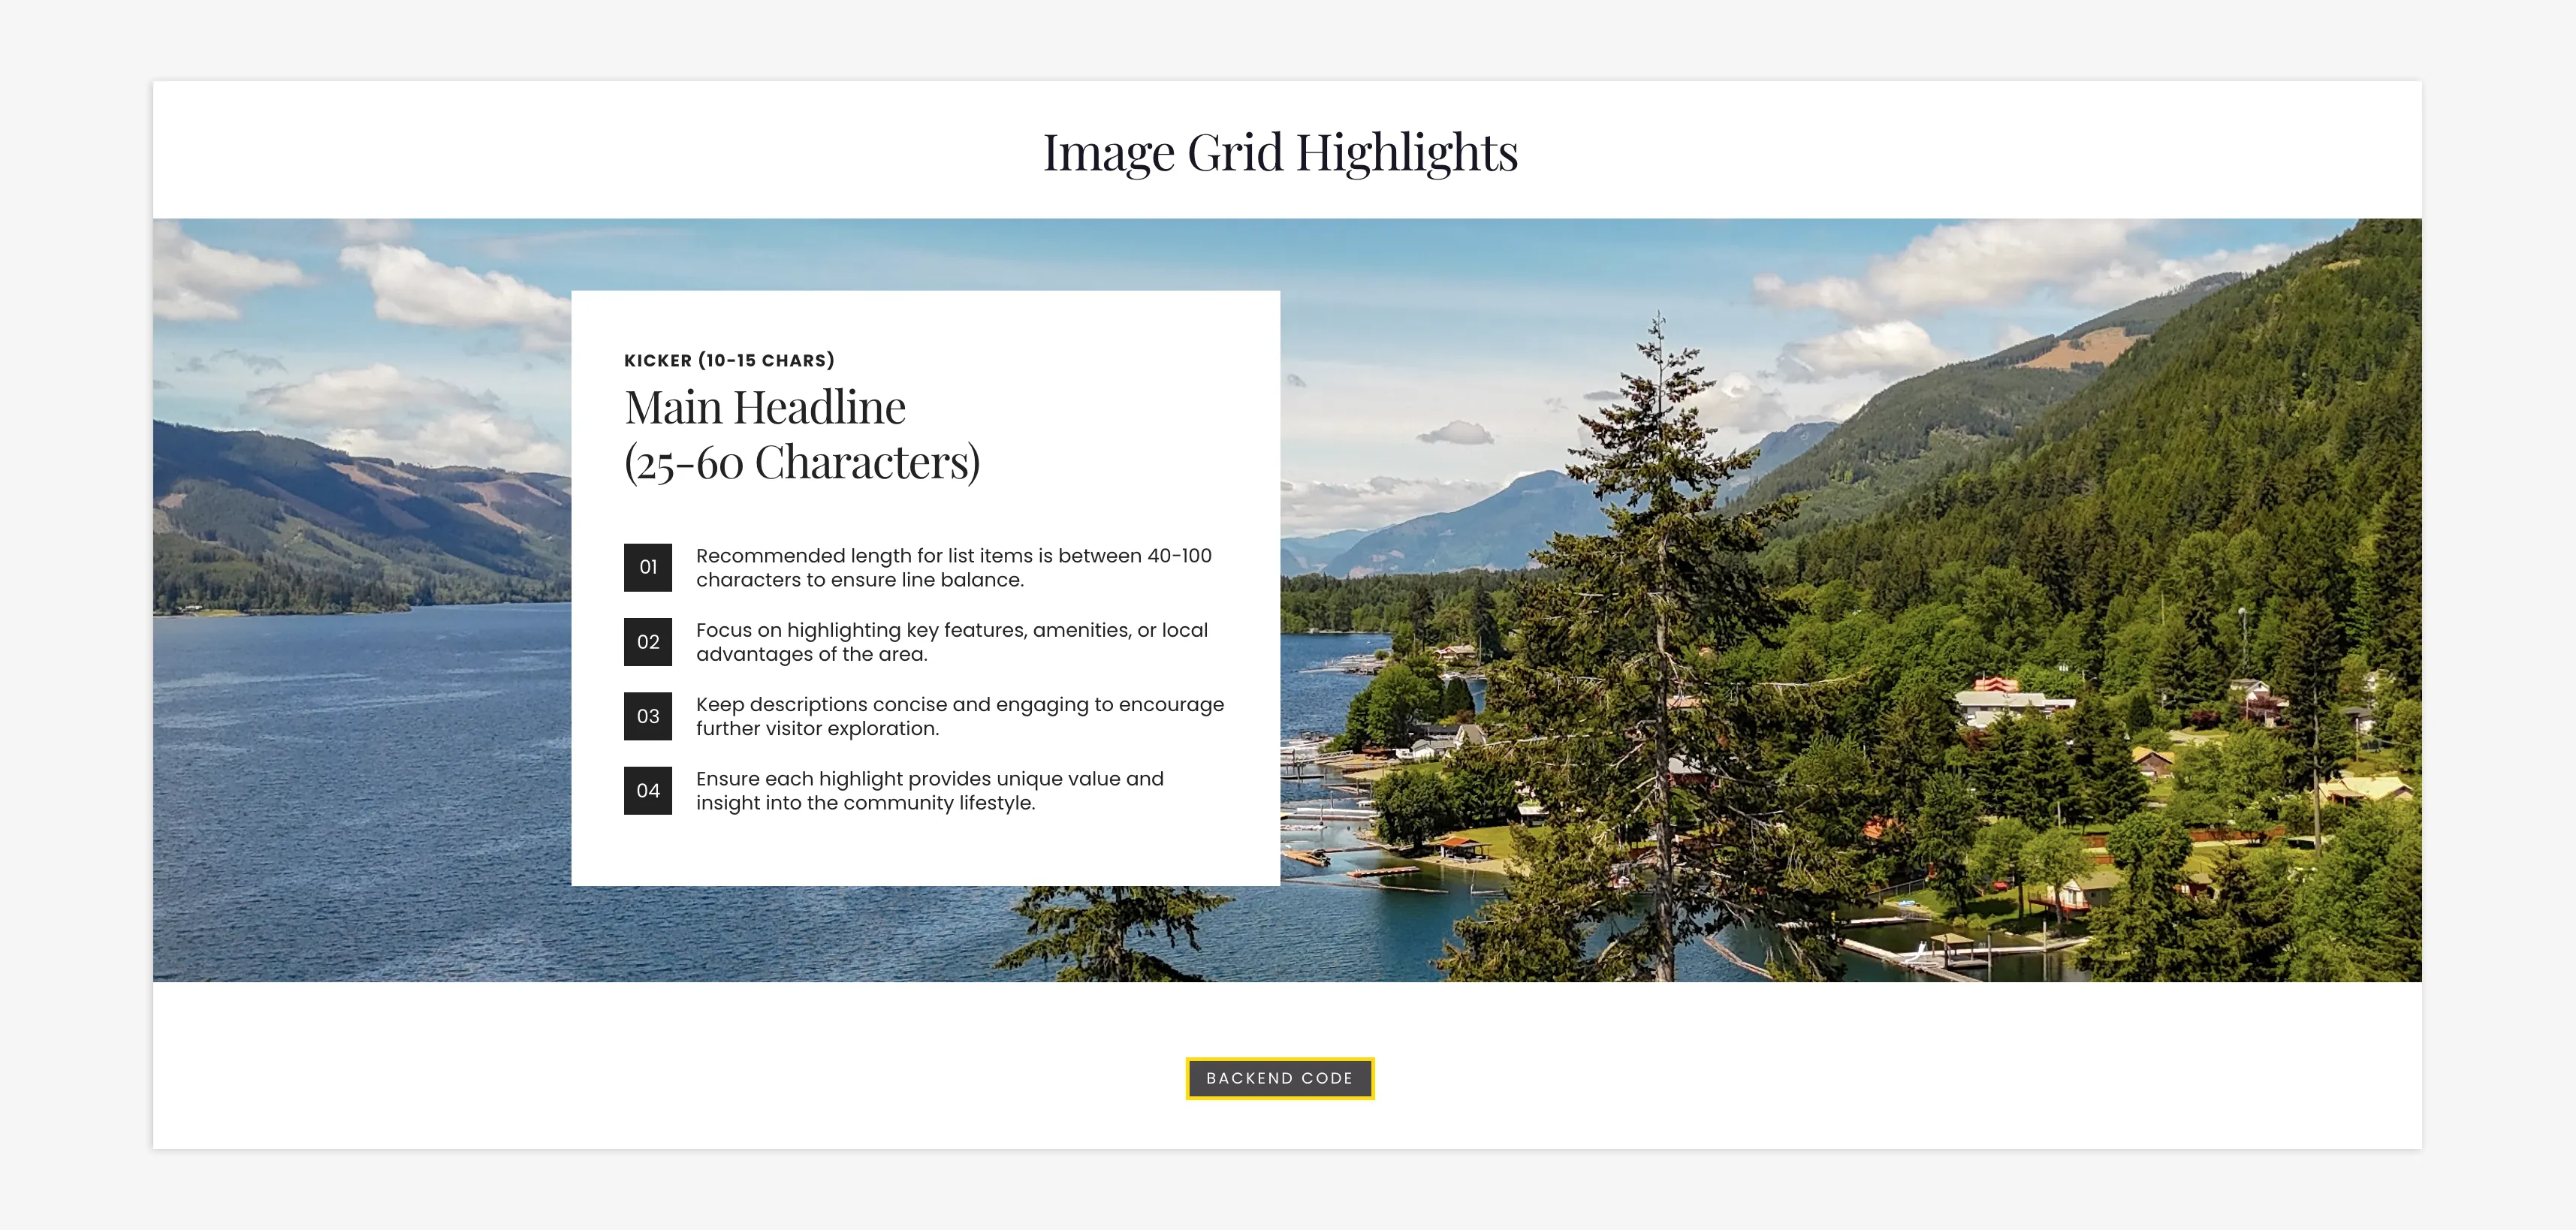
Another exciting feature is the Snippet Library. Developed as a resource, you can view all of the existing design snippets all in one place—showing you exactly how they will look on a page.
Snippets available in the new Snippets Library
Simply visit your new Snippet Library page (www.yoururlhere.com/snippets-library/) to edit or find the page within the Content section of the backend.
Each snippet is equipped with the correct character count instructions and a button that directly links you to the backend code from the frontend. All of the snippets have helpful directions in the code for what to replace and where to do so. You can also test your snippets on this page—so you can preview how they’ll look before they actually go live.
As well, REWpert can be used to assist you. Try pasting a snippet code into REWPert with a prompt that indicates what type of content you want to generate (for example, highlights for a certain community).
Canvas Page Templates: Personalization Through Your Own CSS
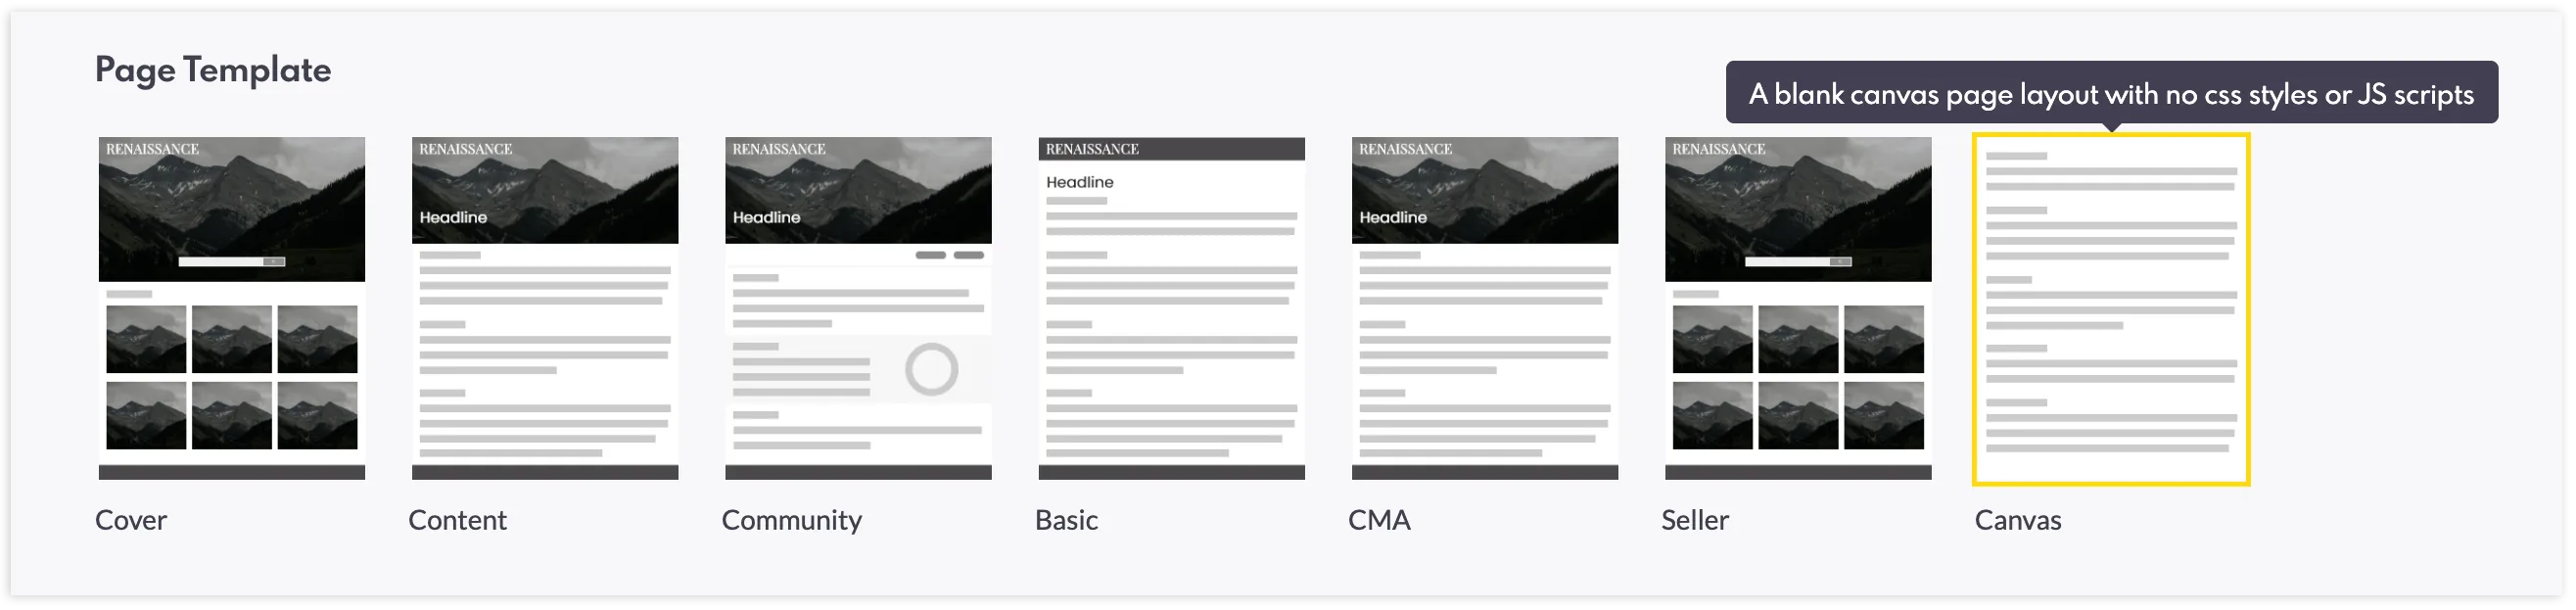
There is also a new page template for CMS pages: Canvas. This feature renders a page entirely “blank” so that you can add your own code.
- In the CRM, navigate to the Content page and within the "Pages" tab, create a new page by clicking on the blue "+" button.
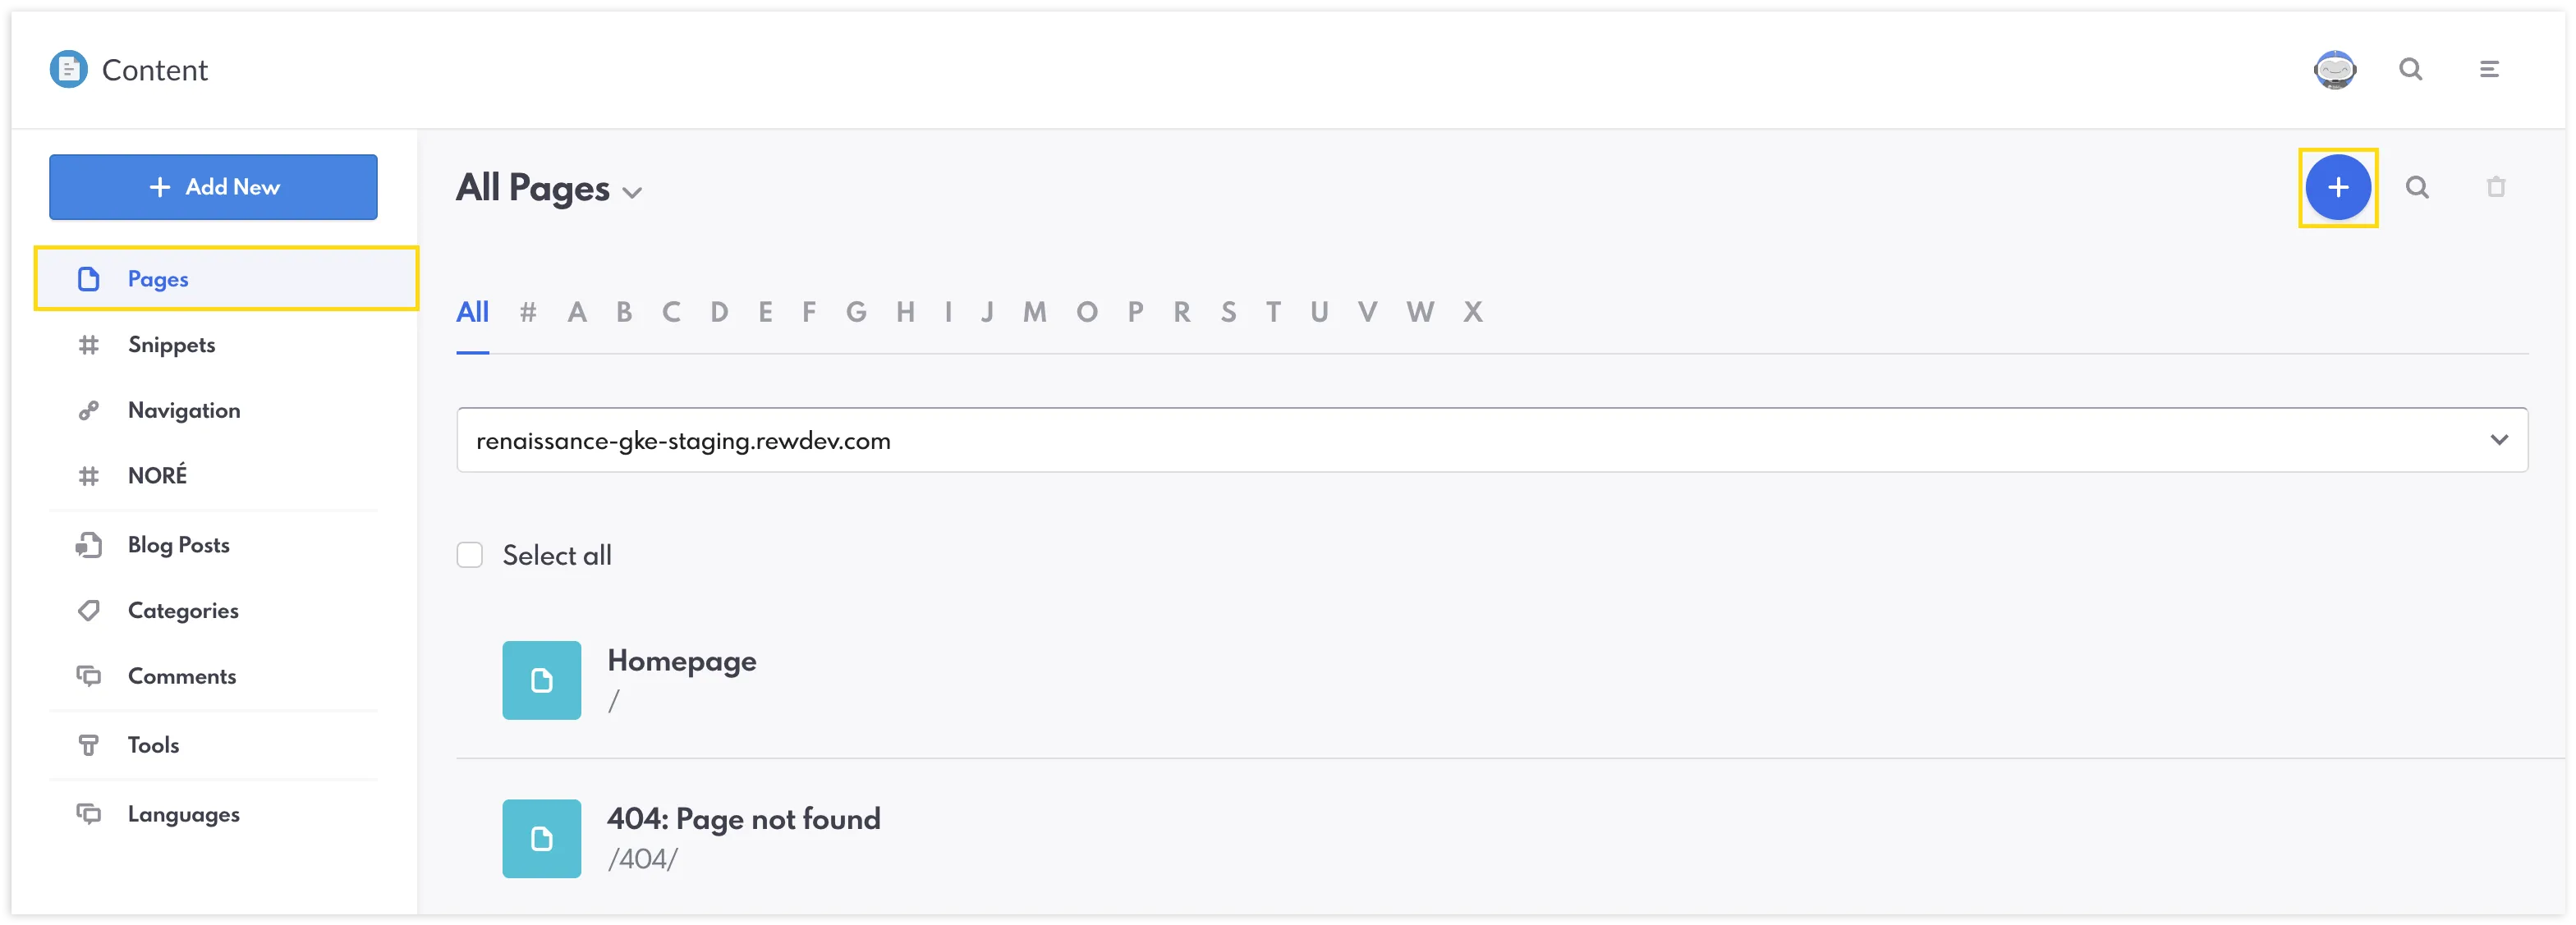
- Scroll to the Page Template section and select “Canvas.”
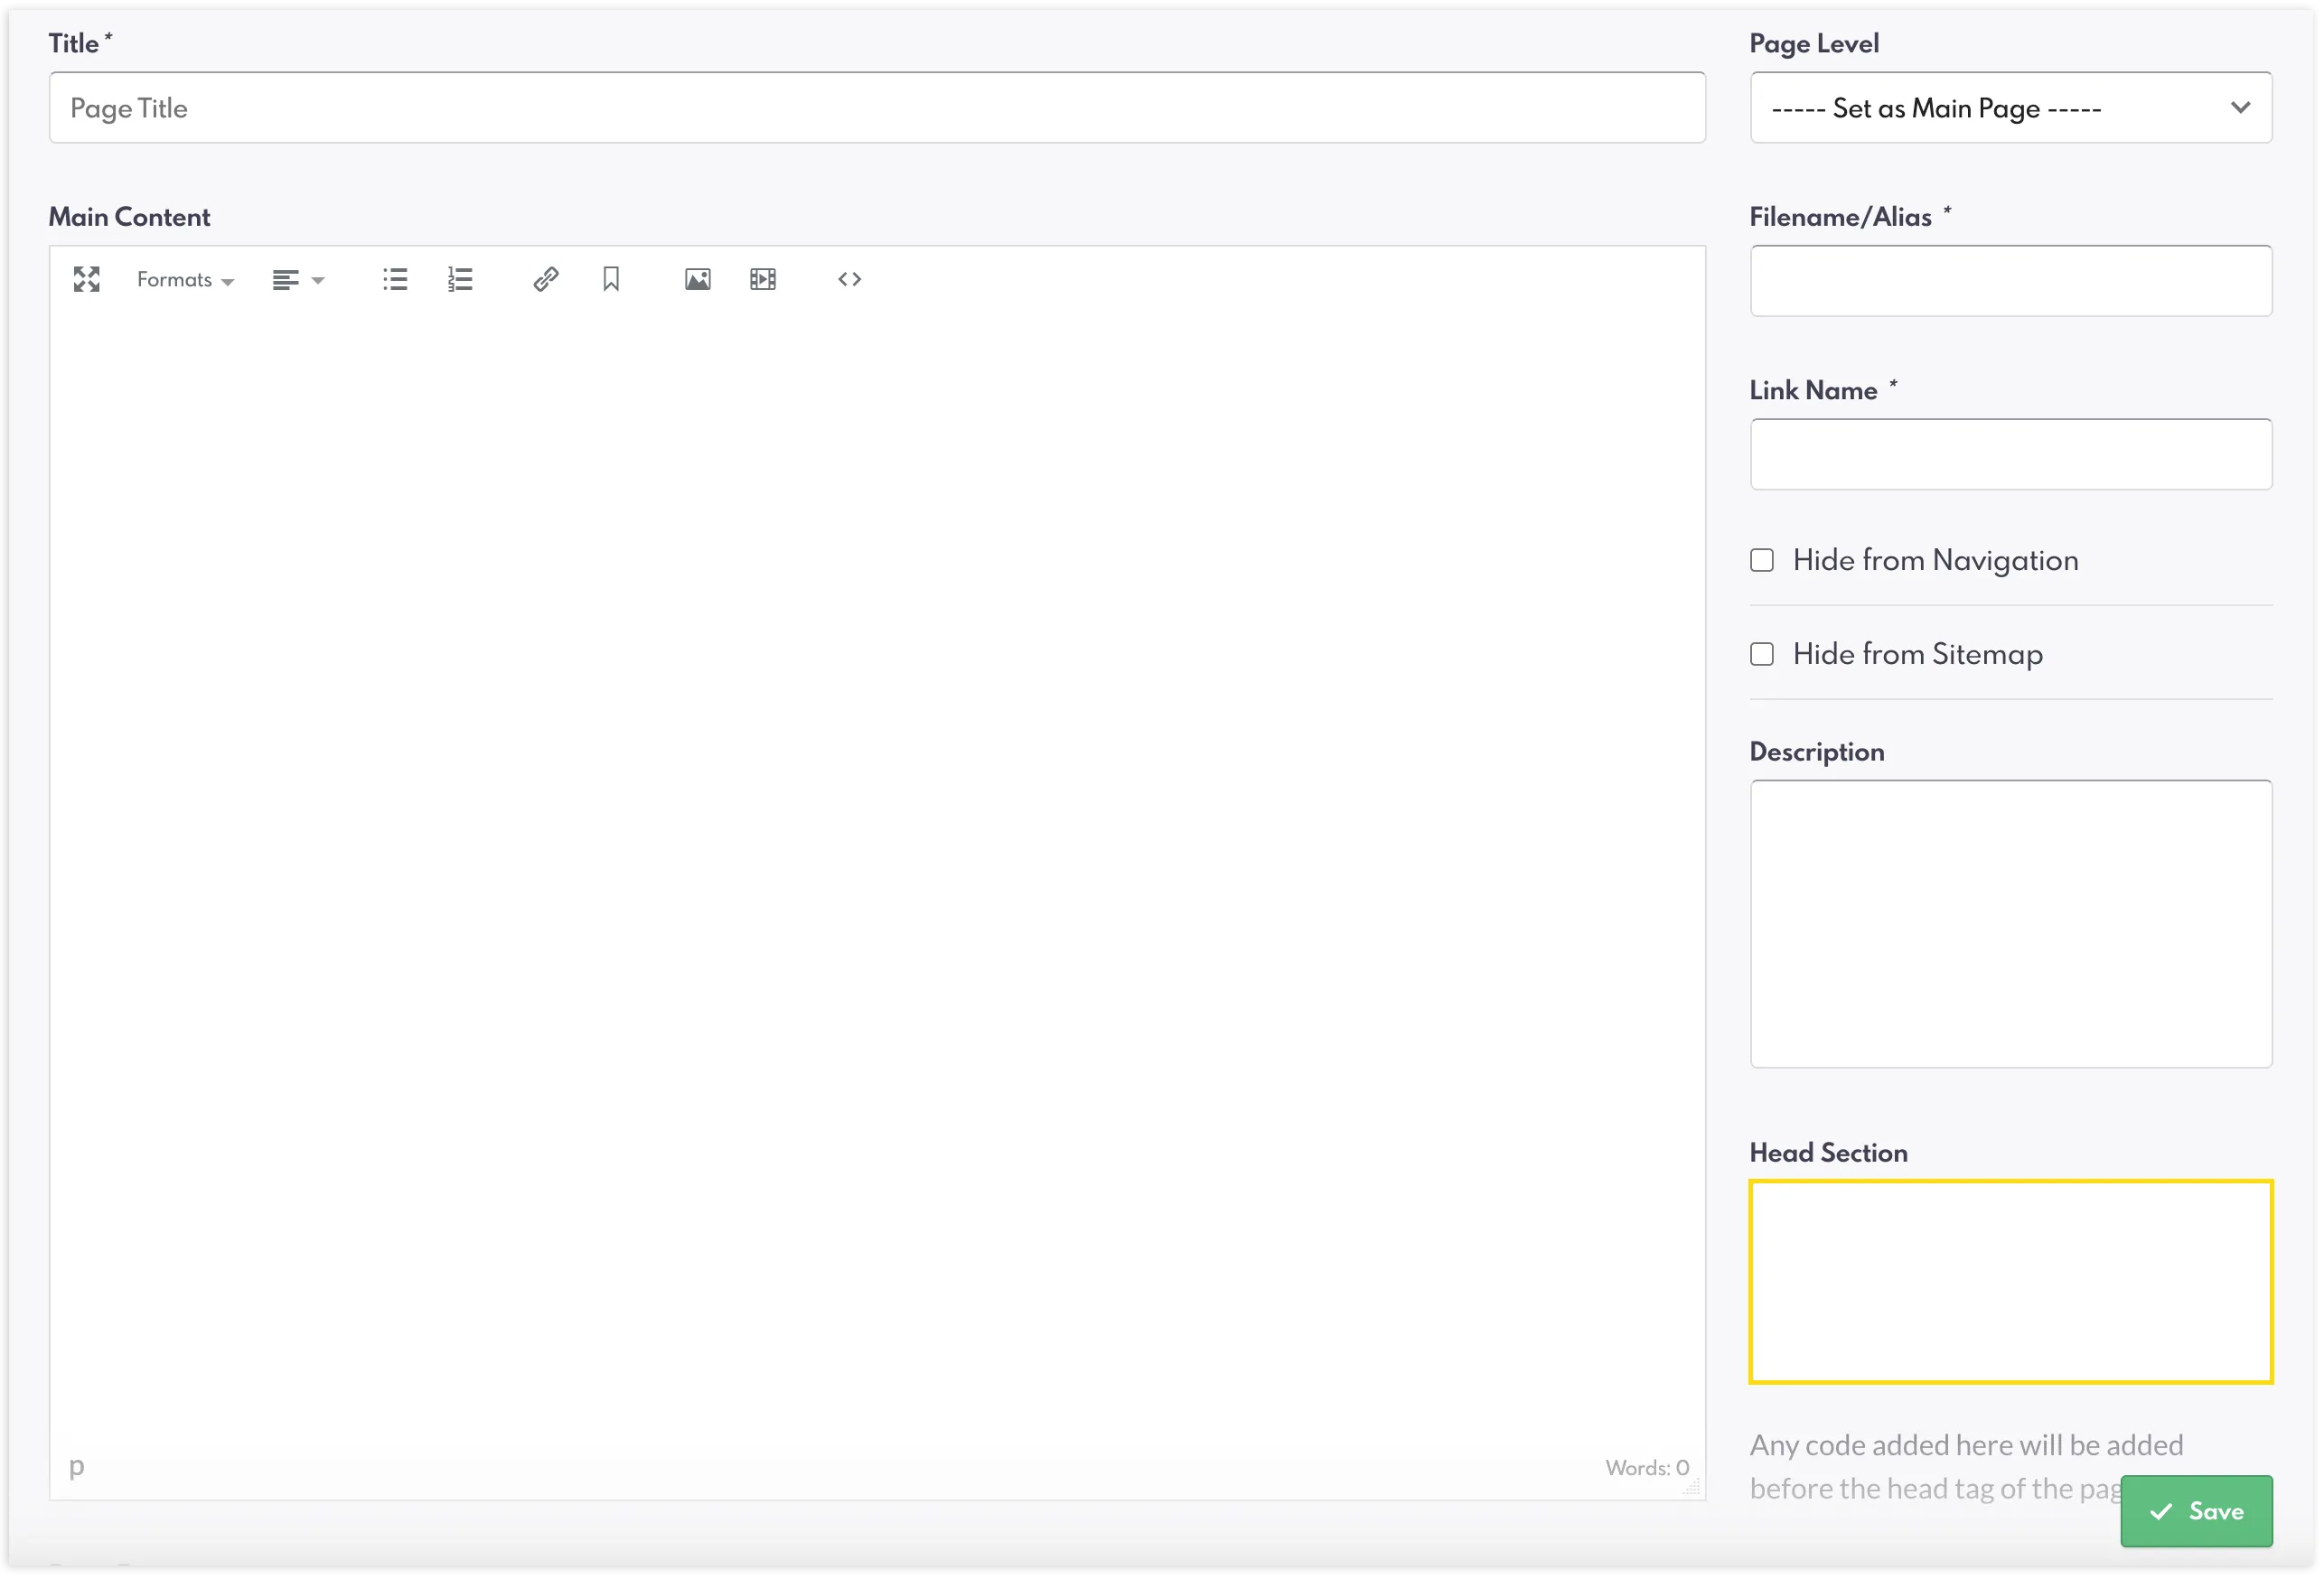
- Create your main content, fill out the necessary page details, and input your custom CSS code within the "Head Section".
- Click “Save” when finished.
This feature helps you take full control over your site’s aesthetics. You can now inject your own CSS code to personalize the look and feel of your pages, ensuring your brand stands out with a unique design that is entirely your own.
Closing Summary
We’re excited to bring you these powerful updates designed to streamline your workflows, leverage AI, and give you a competitive edge in today’s evolving real estate market. Whether you're automating processes, optimizing for AI, creating unique content, or enhancing the client experience with real-time data, these tools are built to help you innovate and grow. Subscribe to our blog for more tips and strategies on utilizing these features to their full potential.
What’s New In Our Summer Release! FAQs
Are these features available on all REW sites?
These features will be available for our GKE users only.
Which new Lead Rule Triggers have been added to Automations Phase 3?
Users will be able to select Email Recieved, Text Recieved, or Lead Returns to Website.
How does llms.txt work?
llms.txt provides a roadmap of your site to crawlers of LLMs. This may help you show up in AI results.
Does NORÉ create original content?
Yes, NORÉ provides you with original content that you can post on a variety of platforms. It does this by using your original video transcripts that you upload to NORÉ.
Can I add more than one home to My Homes?
Yes, you can add multiple properties to the My Homes section.
Does Compare Listings work with sold properties?
Yes, Compare Listings works with sold data, but you must ensure that the IDX snippet is set to the Sold feed.
If I mess up on a snippet from the Snippet Library, can I get the original code back or is it lost forever?
We recommend copying the snippets from the Snippet Library and making new ones instead of changing the example snippets. However, you can click "Revert Snippet" to get the original code back if you run into this issue!
Where do I put my new CSS code on the Canvas Page Template?
You can paste your CSS code within the Head section.